Modules 9
Distressing & Aging Techniques

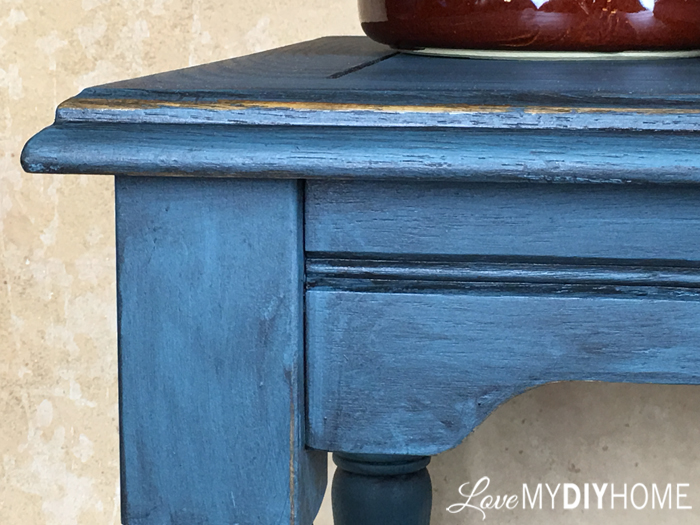
There are several different ways to distress and antique your piece and it just boils down to preference.
Keep in mind as you learn the distressing process that you’ll most likely get different results every time. Also, the look you create might be very different from the others you have seen. That's OK. Don't give up! There are no hard and fast rules when it comes to distressing. It's a great way to create your own unique look.
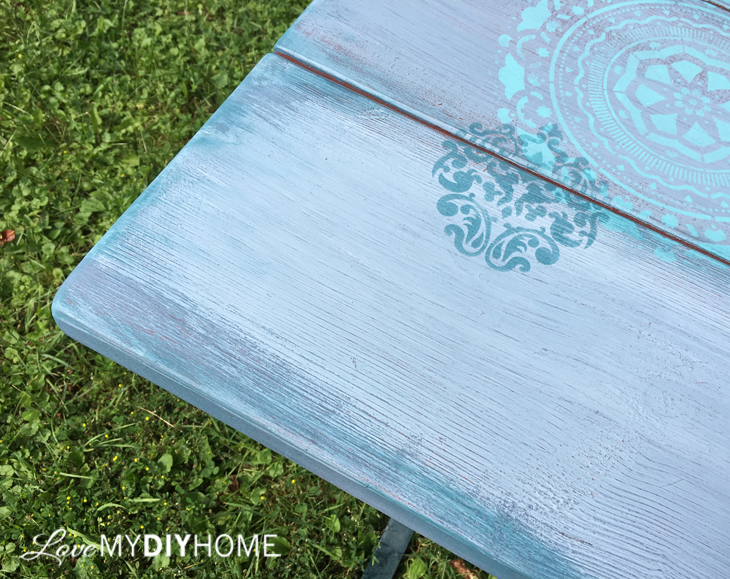
Distressing and aging make a great background for your decorative art.
Distressing Techniques
Distressing Using Sandpaper
1. Prep well.
2. Gather supplies: paint, paint brush, 220 grit sand paper or higher
3. Paint first coat of paint either all over or just in the spots where you plan to distress, let dry.
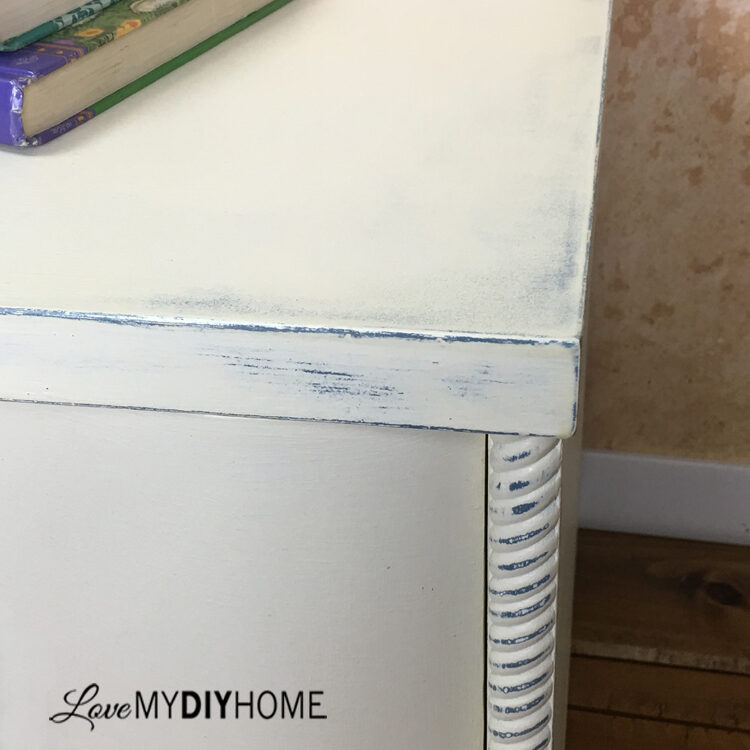
4. Paint your second coat and after it's dry, take your sand paper and rough up the areas where you want to bring out the base color, a little at a time until you are happy with the results.
5. Add as many layers as you want, distressing each time to bring out the other colors.
6. After you are satisfied with the amount of distressing and amount of color showing through, add a topcoat if you desire. This would be a good project for antiquing wax over top as it would emphasize the distressed parts and add an antique look.
NOTE: You can also do minor distressing of just the edges if all you want to do is show a little bit of "natural looking" wear. Take a 220 or higher grit sanding sponge and run the sanding sponge (or sand paper) just along the edges to take just a little paint off. Wax or stain over those edges will darken them if your wood below is light colored, adding to the aged look.


Distressing Using Multiple Colors and a Damp Cloth
1. Prep well.
2. Gather supplies: lint free rag, paint, paint brush
3. Paint first coat of paint, let dry
4. Paint on second color. This time you don’t have to have perfect coverage.
5. Let that second coat dry, but not totally. After about 20 or 30 minutes, use a damp cloth to distress the topcoat of paint, focusing on where it would naturally wear like edges and a bit of the flat surface. Rinse your cloth or get a new one as needed. Let dry completely.
6. At this point, you can add another color and distress it just like in step #5.
7. After you are satisfied with the amount of distressing, add a topcoat if you desire. This would be a good project for antiquing wax as it would emphasize the distressed parts and add an antique look.
TIPS: There are no rules, just distress to the point you are happy with the results. Some artists like minor distressing, others like the worn, very distressed look. Be sure to distress in areas where you would normally see wear and tear on a piece.


Distressing Using Petroleum Jelly
1. Prep well.
2. Gather supplies: rag or paper towel, paint, throw away paint brush, wax or Petroleum Jelly (Vaseline)
3. Paint on your base coat that you want showing through when you distress. Let dry completely.
4. Take a bit of Vaseline and rub it on the areas where you don’t want the paint to stick, like edges and details. You can use a brush, a rag or your finger.
5. Pour your paint out into another container (you don’t want to mix the Vaseline into your original paint container if you need to double dip your paint brush).
6. Brush on your second color of paint over the Vaseline. This is why you want to use a throw away brush (unless you don’t mind cleaning your brush once you have painted over the Vaseline).
7. Let the second coat dry just a bit but not completely so you can rub it off easily.
8. Wipe over the second coat with a paper towel gently, removing some of the paint that hasn’t adhered because of the Vaseline. Let dry completely.
9. If you desire to add a topcoat or glaze to give a more antique look, you will need to clean off any residual Vaseline. Clean with Multi-Surface Windex and a rag or paper towel until you are confident you are sure there is no more Vaseline left on the surface.
This technique works well for those who like the extreme distressed look. You could also use spray paint – it would certainly be less messy and you wouldn’t have to be concerned over your brush.
Again, just distress to the point you are happy with the results.
Distressing Using Vinegar
1. Prep well – go to prep module
2. Gather supplies: steel wool, rag or paper towel, paint, vinegar & water, spray bottle, water
3. Paint your piece with chalk type paint and let dry.
4. Mix up 50/50 white vinegar and water in a spray bottle.
5. Spray the mixture on the painted surface and rub with a rag or steel wool to take off the paint. Your material choice will be based on the amount of distressing you want to achieve. Your amount of rubbing will also affect the amount of distressing outcome.
Distressing Using No Prep Technique
1. Clean well but don’t sand your piece (this is a risky one because you don’t have a lot of control!)
2. Gather supplies: rag or paper towel, chalk paint, paint brush, metal scraper (putty knife or the like), dry or wet rags, or steel wool.
3. Paint on your chalk paint and let it dry to the touch in most places for a few minutes – not completely, just enough to stick but pliable enough to scrape, or rub off some of it off where it doesn’t adhere well because of the no prep.
4. Lightly scrape the surface, removing some of the paint randomly. Have a paper towel handy to keep your scraper clean. If using a dry or wet rag, have more rags handy or rinse it out when your rag is saturated with paint. If using steel wool, be sure to clean it out periodically if needed by rinsing it. The amount of paint removed will depend your desired outcome. Wipe off any leftover paint from your piece that has been scraped off when you reach the desired look. Let dry completely before the next step.
5. Paint on another color and repeat steps #3 and #4. Don't be afraid to experiment.
6. Add as many colors as you desire, repeating the steps.
This technique works well for those who like the extreme distressed look. There are no rules, just distress to the point you are happy with the results. Some artists like minor distressing, others like the worn, very distressed look. Distress in areas where you would typically see normal wear and tear.
Another option is to use a crackle medium over top of your already distressed piece and then paint over that with another color. This technique would to add to the distressed look and/or give more texture.
A thin coat of crackle medium will give you little cracks, a thick coat will create larger cracks. You can also scrape over top the crackled paint to bring out more of the base color (do this before this layer of paint completely dries).
Theresa Higby has a great YouTube video showing how she distressed a cabinet with this technique: https://youtu.be/nuVk2HYORUY
TIPS: Consider combining any of these techniques to add depth and interest. There is no one way to create a faux aged look. Top coating with glaze, antique wax are other ways to create that one-of-a-kind piece.
Distressing Using Paraffin Wax
1. Prep well.
2. Gather supplies: paint, paraffin wax, rag, steel wool and/or putty knife.
3. Paint base coat, let dry completely.
4. Take the block of wax and run it over the areas you want to distress, leaving the wax behind to keep the next layer of paint from adhering.
5. Paint your second coat and let it dry.
6. Sand over top of the second coat. The wax will allow you to lift up the second coat so the base coat will show through, giving you a distressed or chippy look, depending on how much wax you applied and how strenuously you distress. Another option would be to scrape the second coat with a metal or plastic putty knife or distress using steel wool.
There are no rules, just distress to the point you are happy with the results. Some artists like minor distressing, others like the worn, very distressed look.
Aging Techniques
Aging Using Vinegar & Steel Wool (Iron Acetate Solution)
A steel wool/vinegar combo will create a stain to give raw wood a rustic look, or you could use it to add a bit of an antique look to your already distressed piece. This is called “ebonizing”. It reacts with the tannins in the raw wood. Oak, cherry and walnut are examples of wood with high tannins. For wood without high tannins like birch or maple, see Aging Using Tea. Don’t sand with any more than a 180 or 220 grit or the solution might not take.
1. Wash your steel wool with soap and water to remove any oil.
2. Soak steel wool in white or cider vinegar from a couple of days to a week to develop a rusty solution and then apply to your piece. Be sure to loosely cover the container as it soaks to let out gasses, which btw, are flammable, so be careful!
3. Strain the solution to remove any steel particles because the steel wool will partially dissolve. Coffee filters work well for this.
4. Dab on the solution with the steel wool that has been soaking or you can paint it on. Wear gloves when applying. Let it soak in – don’t wipe it all off right away.
5. Give it time to soak in and then wipe it down with a paper towel to get off any excess. Give it time – it takes a bit to soak in and begin to change.
6. Repeat as many times as it takes to get the desired look.
Different surfaces will accept the stain differently. Some will look burnt with a more black or gray appearance; some will look brownish like a traditional stain. Be sure to experiment before committing. This is a very natural, transparent look that preserves the wood's details.
Aging Using Tea
This solution can be applied before using the steel wool/vinegar solution (iron acetate solution) on wood to add tannins to help achieve a better, more authentic aged look.
- Soak tea bags in water – make a strong solution.
- Apply to wood by painting it on. Let it soak in.
- If you are using this technique to add tannins to your wood, just paint on the vinegar/steel wool (iron acetate solution) over top the tea solution and watch it turn!
A.S.D. Rundown has a great video on both techniques by Laney: https://youtu.be/fUWwNmNWMOU
Aging Wood Using Baking Soda
This solution can be applied with a brush on wood and will react to the tannins. The different types of wood will react differently. Maple will not change color as boldly as a wood like mahogany that has more tannins. You won’t have much control over the resulting color since this solution can vary depending on how you mix the solution and the wood itself. Since natural aging of wood varies, this solution is a good way to speed up the natural process.
1. Add approx. 1 tbsp to a cup of warm water.
2. Paint the solution onto your wood and let dry.
3. Apply a sealer.
Why use baking soda to age wood?
1. The color change is permanent – it doesn’t fade like traditional stains.
2. This type of chemical stain appears more natural and authentic. This look is hard to replicate with traditional stain.
To see a good video on this process visit Marc, The Wood Whisperer, on YouTube: https://youtu.be/JYH083c8dEw
Aging Wood Using Glaze & Stain
Aging or distressing using a product underneath your paint isn't the only way to create a faux-antique look.
Take some time to experiment with glaze & stain by applying it in various spots over your paint/stained piece where it would naturally deepen in color due to age - cracks, edges, corners, etc.
“The wiser mind mourns less for what age takes away than what it leaves behind.”
- William Wordsworth (1770-1850)