Module 7
Stain Your Piece
Oil-based Stain
Preparing Wood for Traditional Oil-Based Stain
- Clean your piece.
- Start out sanding with a lower grit like 80-120 and go no higher than 180 (or 220 grit if you're wanting a less intense stain coloring) for your last pass. You want the grain to receive the stain, so an ultra smooth surface will be counter productive.
- Wipe down the wood with a damp rag to remove all sanding dust.
- Consider using wood conditioner and pre-sealing the end grain before staining (see explanation below).
- Apply the stain evenly with a brush or sponge going with the grain. Let it sit for 1 to 15 minutes, letting it absorb. The longer you let it set, the darker the shade.
- Wipe off excess.
- Top with your favorite finish. If you use oil based stain, you can top with oil-based poly after it is dry. If you are applying a water based poly, wait 72 hours for the oil stain to dry.
VIDEO - For a good explanation from Tom Monahan from General Finishes about the different types of stains watch: How to Select a Wood Stain.
(Used with permission)
Should We Condition Wood Before Staining?
The safest method is to use the wood conditioner sold by the company who sells the same brand oil-based stain. They are marketed together for a reason - the company knows how their product will behave.
Note: Some people will tell you that conditioning your piece, or using a wood conditioner isn't necessary, and others will tell you that it is absolutely necessary. This is one area you will need to decide for yourself by trial and error.
HOW TO APPLY CONDITIONER: Pour the wood conditioner on, wipe it all off and then stain while the wood is still wet.
HOW TO APPLY STAIN: Stain the same way. Pour the stain on and wipe off all that hasn't absorbed. This method will give you the most uniform look. You can apply as many coats as needed to achieve the look you are going for.
The woods that benefit from wood conditioner: softwoods, cherry, very absorbent woods like poplar, and in some cases, woods with unattractive twisted grain, such as soft maple.
If you need to pre-seal end grain, preventing excess stain from being absorbed there, wood conditioner will not be sufficient. Apply a dewaxed shellac like Zinsser SealCoat. Apply, wipe off what is not absorbed and sand lightly after it dries. This will allow you to get about the same look as you got on the other parts of your wood.
VIDEO - For a good explanation from Tom Monahan from General Finishes about the use of wood conditioner on the different types of wood watch: Tips For Creating a Uniform Stain Color.
(Used with permission)
Video below:
Comparing Gel, Dye & Water-based GF Stains
Java Gel on a Table Top Tutorial
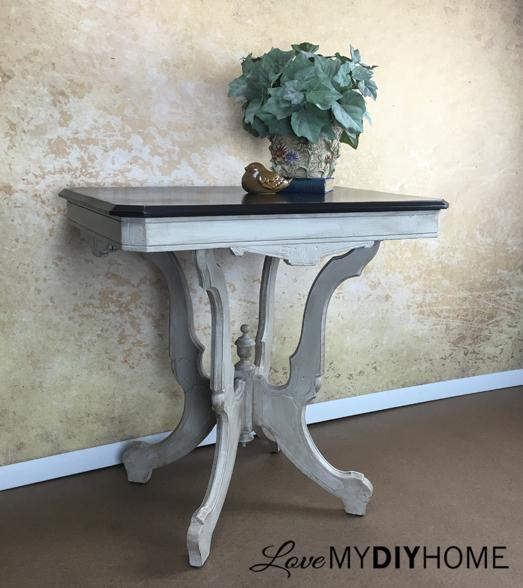
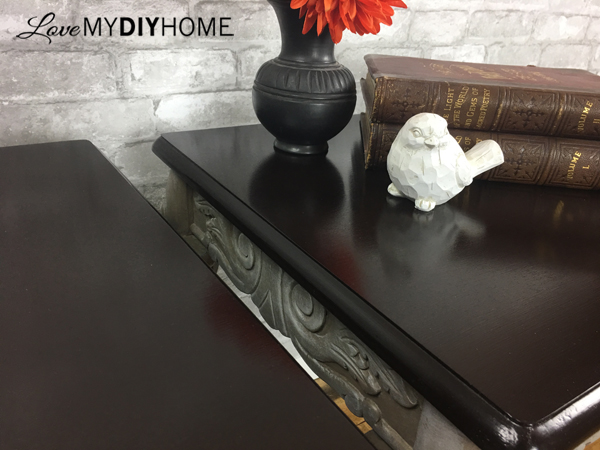
One of my first projects was an antique parlor table: Using Java Gel on a Table Top
TIP: If you want to use the Java Gel "painted on" instead of the traditional wipe on wipe off method, then you'll need two or three coats and will not wipe it back as you typically do with regular stain. Brush on the Java Gel and continue brushing in a straight line with the grain until you hear the sponge brush squeak.
The gel stains are easy to work with, but you do need to realize that since they are oil based, they are quite different from paint.
- They need to dry completely before adding another coat - if you try too soon, the prior coat will wipe off.
- Typically it takes 72 hours for it to completely dry, but can take longer if your room is very humid. The presence of stain odor is a good indication it's not dry enough for another coat.
- Consider the fumes to be volatile, so take precautions when using and storing, as well as disposing of rags and brushes.
- A sponge brush or staining sponge work well with gel stains.
Water-based Stain
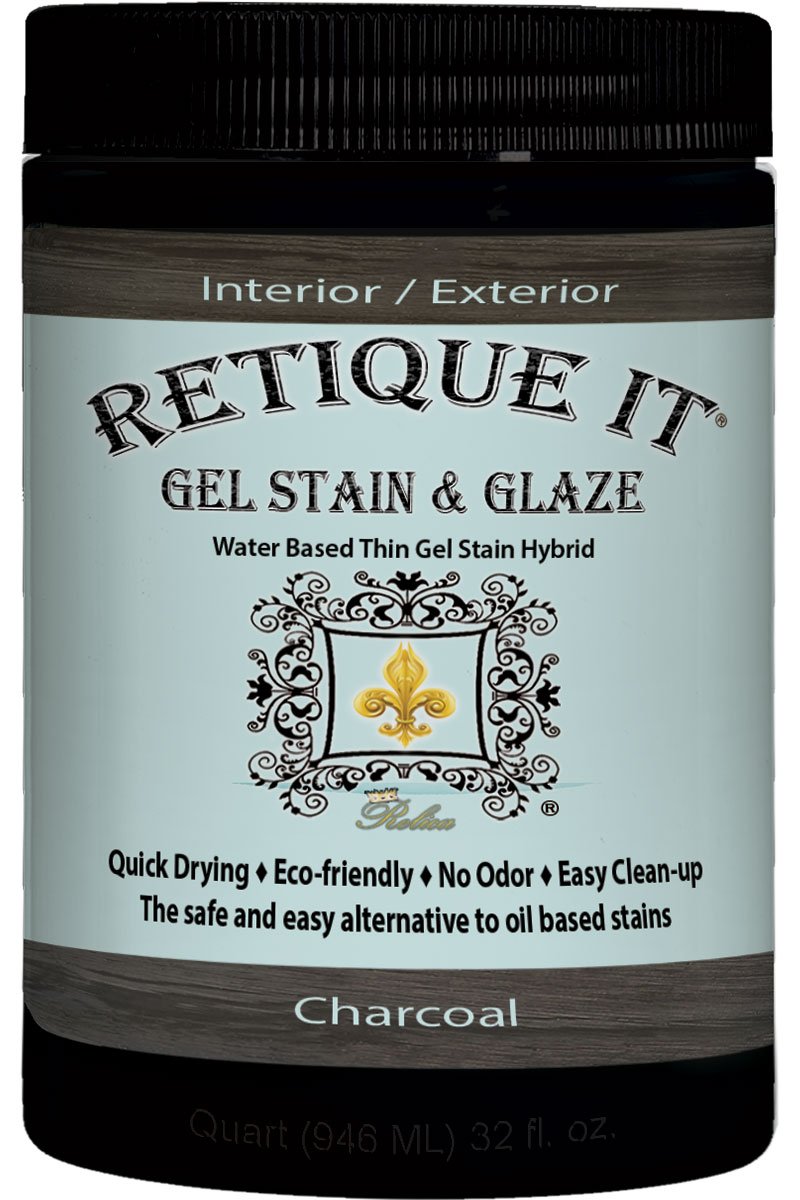
The current trend among furniture artists is to use water-based stains. Not only are they convenient because they are low-odor, fast drying, and easy to wash out of a brush or sponge, but it's very easy to mix and layer. FFM carries Retique It brand stain which can also be used as a glaze because of advanced technology.
See description/explanation below:
From FFM: Retique It WATER-BASED THIN GEL STAIN HYBRIDS
- [VERSATILE HYBRID TECHNOLOGY] New Nano-technology makes this the most versatile gel stain & glaze on the market
- [GEL STAIN] - This thin gel stain rides over an existing finish just like a typical gel stain
- [WOOD STAIN] - Thin enough to absorb into unfinished wood like a traditional wood stain
- [PAINT GLAZE] - Works just like a traditional paint glaze when applied over a painted finish
- [NON-TOXIC] - Water-based, non-toxic, hypoallergenic. It even smells like water
- [LAYER IT] - Get a darker color on each layer you apply or layer colors to get a more artistic look
- Water-based, low VOC, easy clean up
- [EASY TO APPLY] - You can paint it on with a brush or staining applicator. Easy clean-up, just use soap and water
- [FAST DRYING] - Complete your projects up to 3 times faster. Dries in less than an hour or using a hair dryer or heating device it can be dried in a few minutes.
- [INTERIOR / EXTERIOR] - Up to 300 square feet per quart coverage for interior and exterior applications
- [USES] - Great for furniture, trim, floors, garage doors, front doors, etc
Bring out the beauty of natural wood—lightning fast—with Retique It® Interior / Exterior Water-based Gel Stain. This high-performance stain features nano pigments, which intensify color clarity and highlight wood grain, delivering the perfect shade in just one coat.
TIPS: When staining raw wood with water-based stain, you may need to sand between coats since water tends to raise the wood's grain.
NOTE: This is not gel in consistency but in the way it works on the surface.
Dye Stain
From General Finishes: Water-based Dye Stains penetrate deep into the wood to beautifully magnify the grain. This low VOC stain will provide your project with more depth and color vibrancy than any other wood stain. This product is excellent for highly figured woods like mahogany, walnut or maple.
TIPS: Dye stains can also be used as a toner when mixed with water-based topcoats. GF dye stains are VERY thin, so use caution when using. It splashes!
From Woodcraft:
Advantages:
- Penetrates deeper into the wood and reduces the potential for future scratches to show.
- Allows the addition of deep, vibrant colors without obscuring the grain.
- Better suited to dense or figured woods.
Disadvantages:
- Dyes can be more prone to fading in sunlight than pigmented stains.
“I look at every piece of furniture and every object as an individual sculpture.”
- Kelly Wearstler


