Saltwash
“Great things are done by a series of small things brought together.”
~Vincent Van Gogh


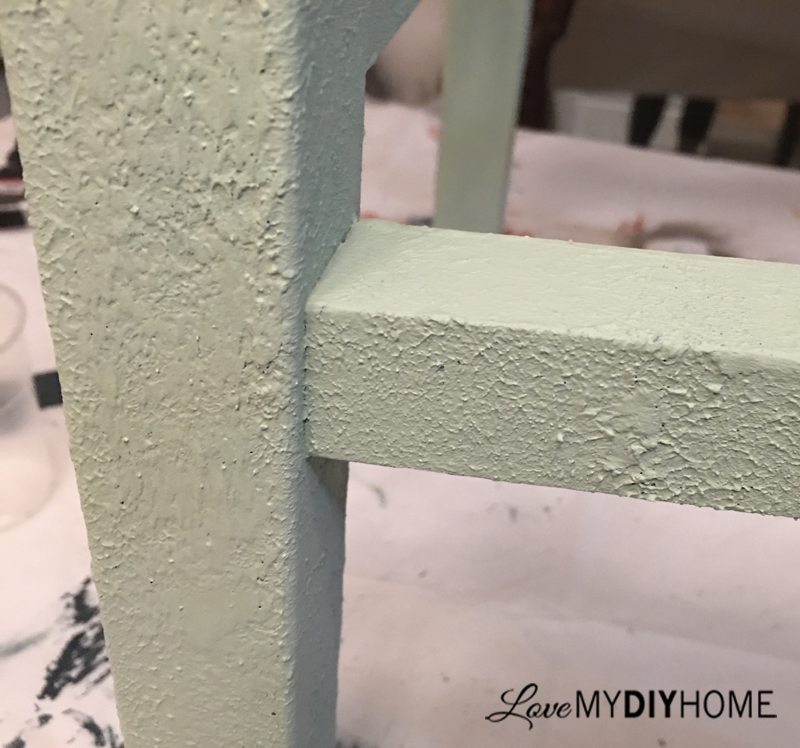
Step by Step Instructions:
1. Mix the Saltwash using the included 2 oz scoop into your paint. In a typical application, you will mix about 20-25 oz of Saltwash, per quart of paint. For best results, you want the Saltwash mixture consistency comparable to a thick cake batter.
2. Once your Saltwash is mixed to the correct consistency, you can begin to apply it to your piece of furniture, using a glob-like technique, leaving thick, tall peaks.
3. As the Saltwash begins to dry, and becomes slightly tacky to touch, you will want to lightly smooth out the peaks in a gentle, back and forth, or side to side motion. The strokes should only knock down the heavy peaks, leaving it slightly smoother, and a only a little more evenly-leveled. This step helps to provide the weathered, layered texture look - you want to retain some of the non-uniform coating of the base application. If the Saltwash layer has become too dry to smooth down the peaks, simply add a little water to your brush and easily re-smooth. You can always re-apply more of the Saltwash basecoat, to add more texture.
4. Once your Saltwash layer is completely dry you will apply your top coat of paint. This layer will have NO SaltWash added. Reapply the top coat of paint as desired.
5. Once your top coat of paint is completely dry, apply a light sanding. This will reveal the Saltwash base coat and give it the beautiful, multi-layered and years aged, “salty coast", look and feel.
TIP: Try combining various colors and experimenting with multiple layers and paint types, to create your own unique Saltwash style. As you mix, dust may fly, so consider wearing a dust mask.
Project Tutorial
Using Saltwash to Transform an Old Outdated Printer Table into a Plant Stand


STEP #5 Let your second color dry and take a sander to it.
I used high grit sanding sponge and Jillian used my Rigid hand sander to heaviy distress, sanding enough to bring out the Steel Blue, giving a weathered look.
Sand as little or as much as you like, revealing the layer below for a two-toned look OR, distress even more and bring out a little of the original wood surface. Be careful not to distress too much, or you'll lose some of the Saltwash layer. Just take your time and do a little at a time, step back, evaluate, then go at it again.

NOTE: Most are Amazon affiliate links, others are from retailers or artists in our niche. Let’s support our fellow flippers! If you buy from Amazon or any of the other links, you are helping keep this site and others up and running and updated.
ValFrania.com is a participant in the Amazon Services LLC Associates Program, an affiliate advertising program designed to provide a means for sites to earn advertising fees by advertising and linking to amazon.com.
STEP #1 Prep - same as always. Clean and sand to get it ready for the salt washed paint.
STEP #2 Mix Saltwash with your first color. You add 20-25 oz. of Saltwash to a quart of paint. Basically you just mix it to the consistency of cake batter. We used Pure & Original Classico Paint in Steel Blue.
STEP #3 Dab it all on, creating peaks and valleys. Be generous and really glob it on! After it begins to dry just enough to be thick and close to tacky, knock down the peaks with a dry brush. You can use Saltwash with any paint and use it on any surface that can take paint. It's super easy to use.

While at the General Finishes Conference, we met the Saltwash originator, Carol Hunter, and she gave us a 10 oz. can of Saltwash to try. Pure & Original had already given me two of their classic colors, Poetic Blue and Steel Blue, so we chose them to combine with the Saltwash.
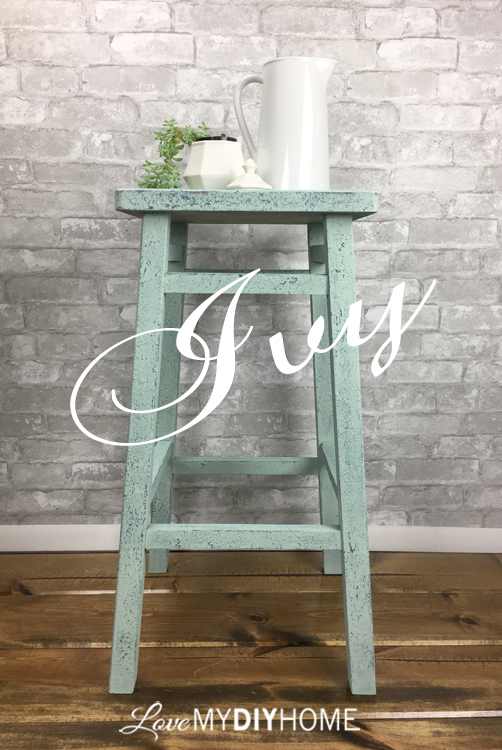
The combination was stellar.
The Saltwash gave it a unique look - one that will fit into any home from a classically traditional to Coastal, to Farmhouse. Not many designs can pull that off, but this one can.
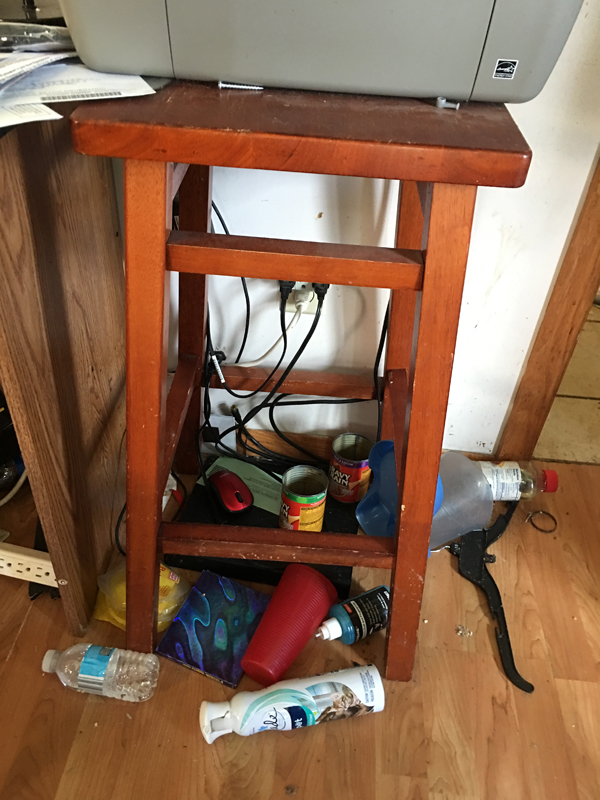
The Before is pretty sad >>>
"Ivy" was sitting in an abandoned house amidst piles of trash.
We almost missed her. We brought her home, cleaned her up, sanded and got her ready to try out a new look. She had great bones. We named her "Ivy" because she is no longer a printer table hidden in the corner, but a trendy, up to date plant table.
“Before anything else, preparation is the key to success.”
- Alexander Graham Bell