“There are painters who transform the sun to a yellow spot, but there are others who with the help of their art and their intelligence, transform a yellow spot into sun.”
- Pablo Picasso
Raised Stencils - Creating a Masterpiece
Raised stencils can bring dimension to your furniture like none other. This is very much a specialty finish that few attempt. Here is one project that I used raised stenciling on that turned out to be a masterpiece, inspiring touches that would not have been possible without this technique.
Hover over the before and after piece below and slide the arrow right to left to see what raised stenciling can do for your design. ↓


Creating Raised Stencils Step-by-Step
Many products have been used to create a raised stencil to add texture to an otherwise flat or smooth surface.
Suggested products: Joint Compound, Durhams Putty, Timbermate, Vinyl Spackling, Ready Patch, and Wood Icing (Textura Paste)
Step by Step Instructions:
1. Place and tape your stencil onto your piece and lightly spread a thin layer of your compound - don't push too hard or it will get under the stencil. If you make a mistake, just scrape it off and start over, or just carefully scrape off the problem area.
2. Smooth out and remove the stencil immediately.
3. Let dry several hours or overnight.
4. Sand to get the look you want.
5. Paint over it and dry brush to accent it.
ALTERNATE METHOD: Stipple the compound on with a brush much like regular stenciling, but leave behind enough compound that will dry raised.


Using Raised Stenciling to Create Matching Pieces
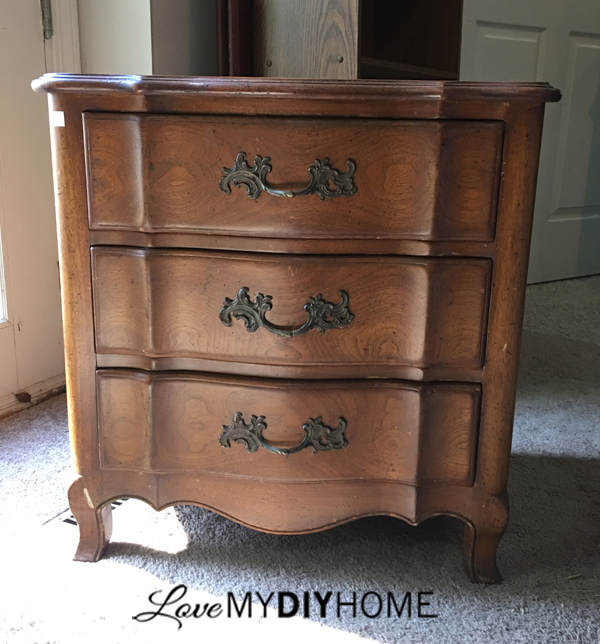
Raised stenciling is one way to take pieces that are not alike and bring them together. The pieces here are two matching Ethan Allen dressers and the third is an end table that had buttons, which we removed and filled in, and was stained a dark walnut color. I wanted to create a matching three piece bedroom set.
We sanded and primed. To create a matched look, I added a raised stenciled background motif.
After all three had matching top drawers, all I had to do was paint them alike and add matching hardware.

