Layering
"It is the supreme art of the teacher to awaken joy in creative expression and knowledge."
- Albert Einstein
Layering Paint By Brushing and Sanding
Layering paint can give you a weathered look that normally would take years to achieve. My first demo is with Old Fashioned Milk Paint, but you can layer with any paint. Some are easier to work with than others, but once you get a feel for your paint, you will be able to gauge what to do when and how.
1. Mix up Old Fashioned Milk Safe Paint Salmon with a little bit of warm water and add a tad of the bond because you want this first coat to really stick for when you layer over it with another color.. The paint goes far, so do small batches. I probably wouldn't have needed the bonding agent since the OFMP was Safe Paint, but I want to make sure it sticks for layering and then - FOREVER.
2. Paint the first coat with Extra Bond and the second coat without. I discovered I like my paint thicker than the directions suggest, so I just mixed it the way I like it. I usually don't sand between coats because I usually like a bit of of texture when I'm layering. If you prefer working with thicker paint and are not mixing your own, you can pour out your paint and let it sit for a while to thicken up.
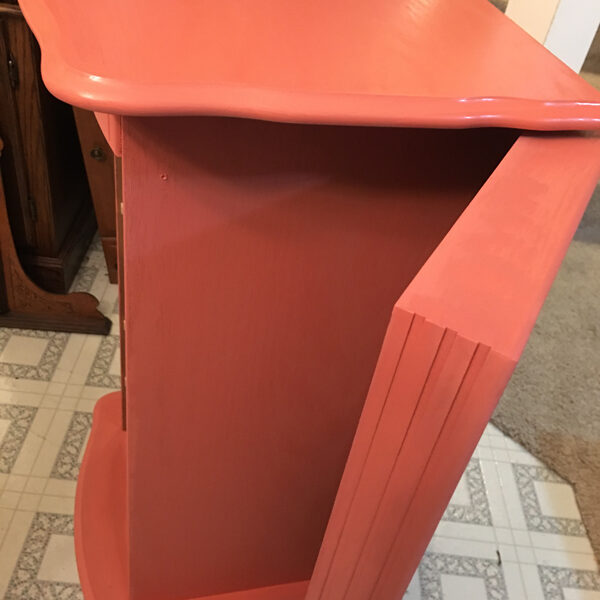
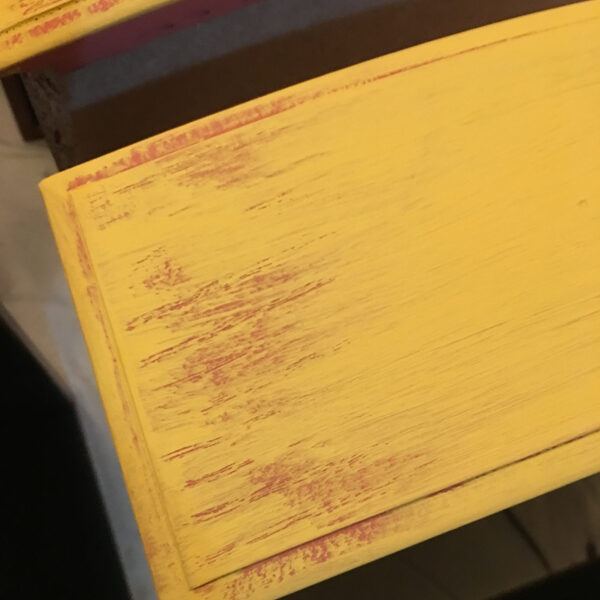
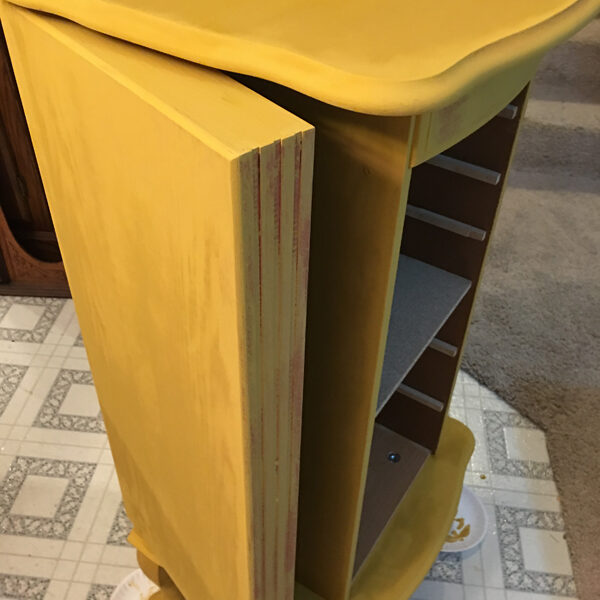
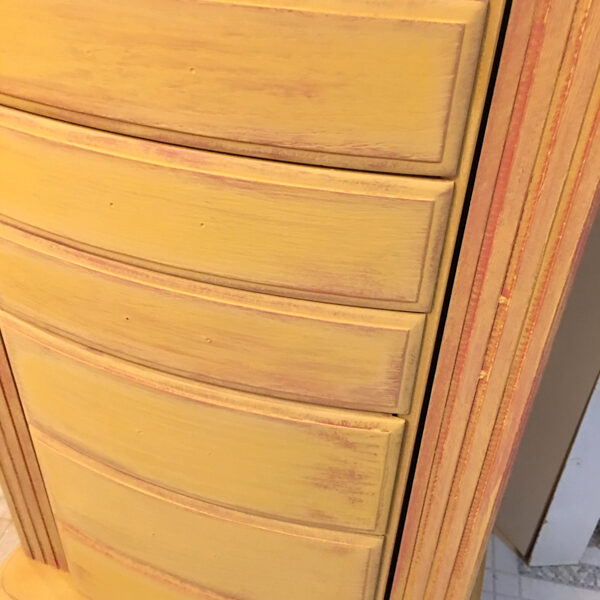
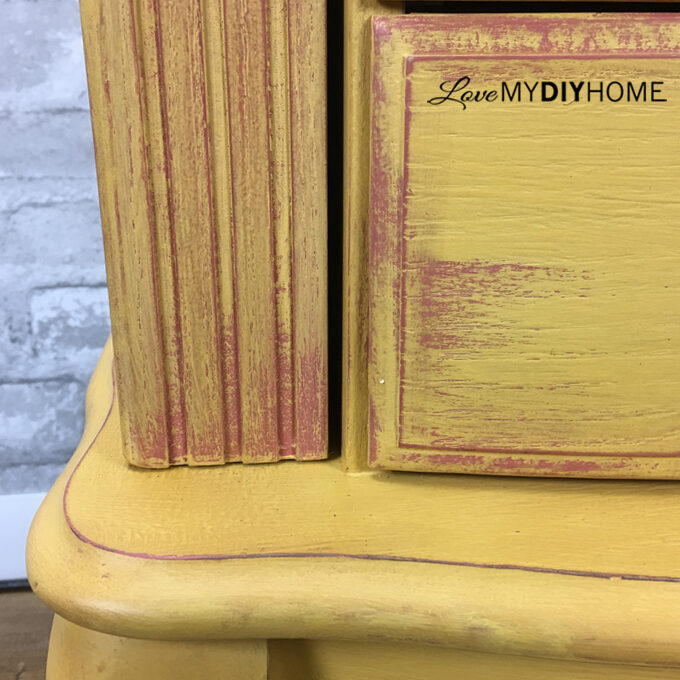
3. Next, mix up some OFMP, but his time a different color for layering, OFMP Safe Paint Marigold Yellow. Paint one coat. Since I mixed the OFMP to be fairly thick, it was easy to get this look just by brushing the yellow on but not going for full coverage everywhere since I wanted a weathered, distressed look.
4. Distress it a bit more with a sanding sponge around the edges. OFMP is amazing paint and I didn't have any trouble getting to the salmon, but it took a bit of elbow grease since it adheres so well. By going over your second layer with a sanding sponge, you can bring out a little more of the base color, in this case, the salmon.
Be sure to do it fairly soon, before it totally dries, if you wet distress (use a wet sanding sponge). Some prefer wet distressing. But for OFMP, if you wet distress, you may reactivate the paint, so I wouldn't advise wet distressing if you use milk paint.
Layering with Different Brushes Method
In this project, there was already a base of old red paint - layer 1 was already done. There was good texture also since it was a weathered picnic table, so layering by simple brushing with different types of brushes was the method of choice.
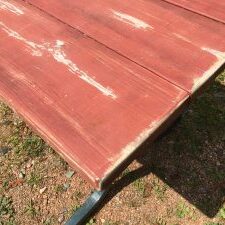
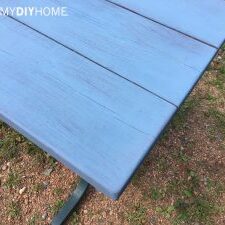
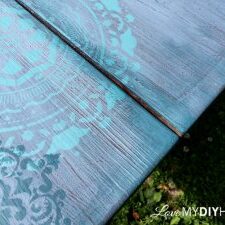
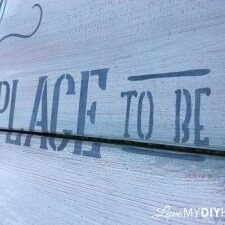

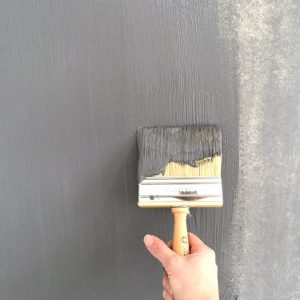
Since there was a rusty red over white, OFMP's Solder Blue, a medium to dark blue would contrast the red. Using a very large brush (the Fresco Brush from Pure and Original pictured to the right) to paint in a less than perfect manner over top allowed some of the red to show through. Painting with a big brush like this is something that must be experienced by every artist.
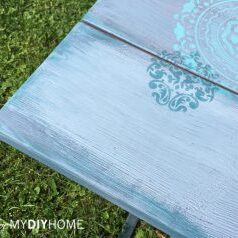
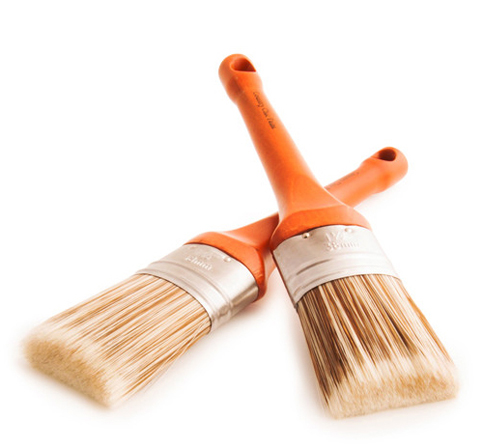
Going over that with a smaller, stiffer oval brush (from Country Chic bottom right picture) a lighter shade of gray blue, OFMP's Slate, gave even more dimension.
With layering like this, stenciled motifs look great over top, unevenly painted and then distressed with a sanding sponge. After stenciling, take the brush and highlight some of the edges. In this case, the brush that had some of the dark blue stencil paint worked perfectly. It tied it all in and gave a great layered look.
So basically, just play with your paint and brushes to achieve different looks. Don't be afraid to experiment - some of the best works of art come from free expression.
To see the complete project tutorial, visit A Picnic Table Flips for Our Family at Love My DIY Home.
Layered Look with Spray Painted Edges
There is more than one way to layer your paint colors. One of my first layered pieces was a combination of Annie Sloan Old White and Rustoleum's Painter's Touch spray paint.
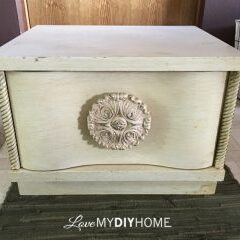
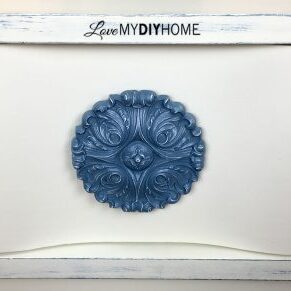
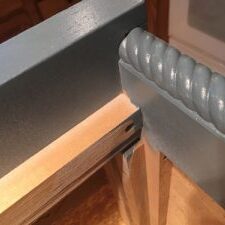
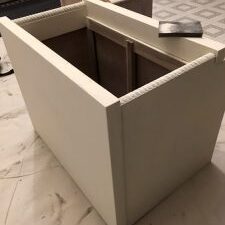
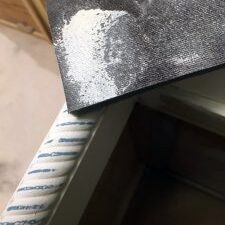
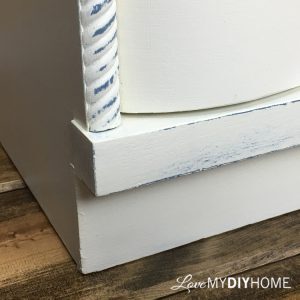
We found an old ugly nightstand that needed brightening so we settled on a nice blue for the accent piece, a large plastic flower knob attached to the big drawer. To tie in the rest of the cabinet, we needed to use that same color for our base layer, beneath the white.
So we spray painted the flower and the edges of the nightstand, letting it dry for more than a week since it is an oil based paint. It's important to let it thoroughly dry so it doesn't interfere with the water based chalk paint that goes over it.
You could call this distressing rather than layering, but I call it layering BY distressing. We didn't distress down to the original wood, just down to the base layer of blue. Since we used chalk paint over top, it was super easy to distress, which is one reason many love chalk paint. It was just a simple quick sanding down to the blue.
Spray paint was great for this project because it strongly adheres to the wood, which makes distressing down to the first layer and no further much easier.
To see the complete project, visit 10 Steps to Revive an Old Nightstand at Love My DIY Home.