Glazing

Glazing - Easy but intimidating, at least at first.
The first time you pick up that brush to apply the glaze, you wonder what it will look like when you are done.
- Something so dark and thin might ruin my piece!
- I might get it all over myself!
- How much do I put on?
- How much do I take off?
- How do I apply?
- How do I wipe it off?
- When do I glaze?
- Is it first, last or in-between?
STEP BY STEP
- Prep your piece.
- Paint.
- *SUGGESTED STEP* Apply one coat of your topcoat and let it dry if using a flat or chalk type of paint that will suck up the glaze.
- Apply glaze
- Wipe off glaze.
- Topcoat.
Those are the basics. Now let's get specific and explain each step - just in case you feel you need it.
The process determines the look - you need to decide what you want it to look like and then choose your method based on your vision.
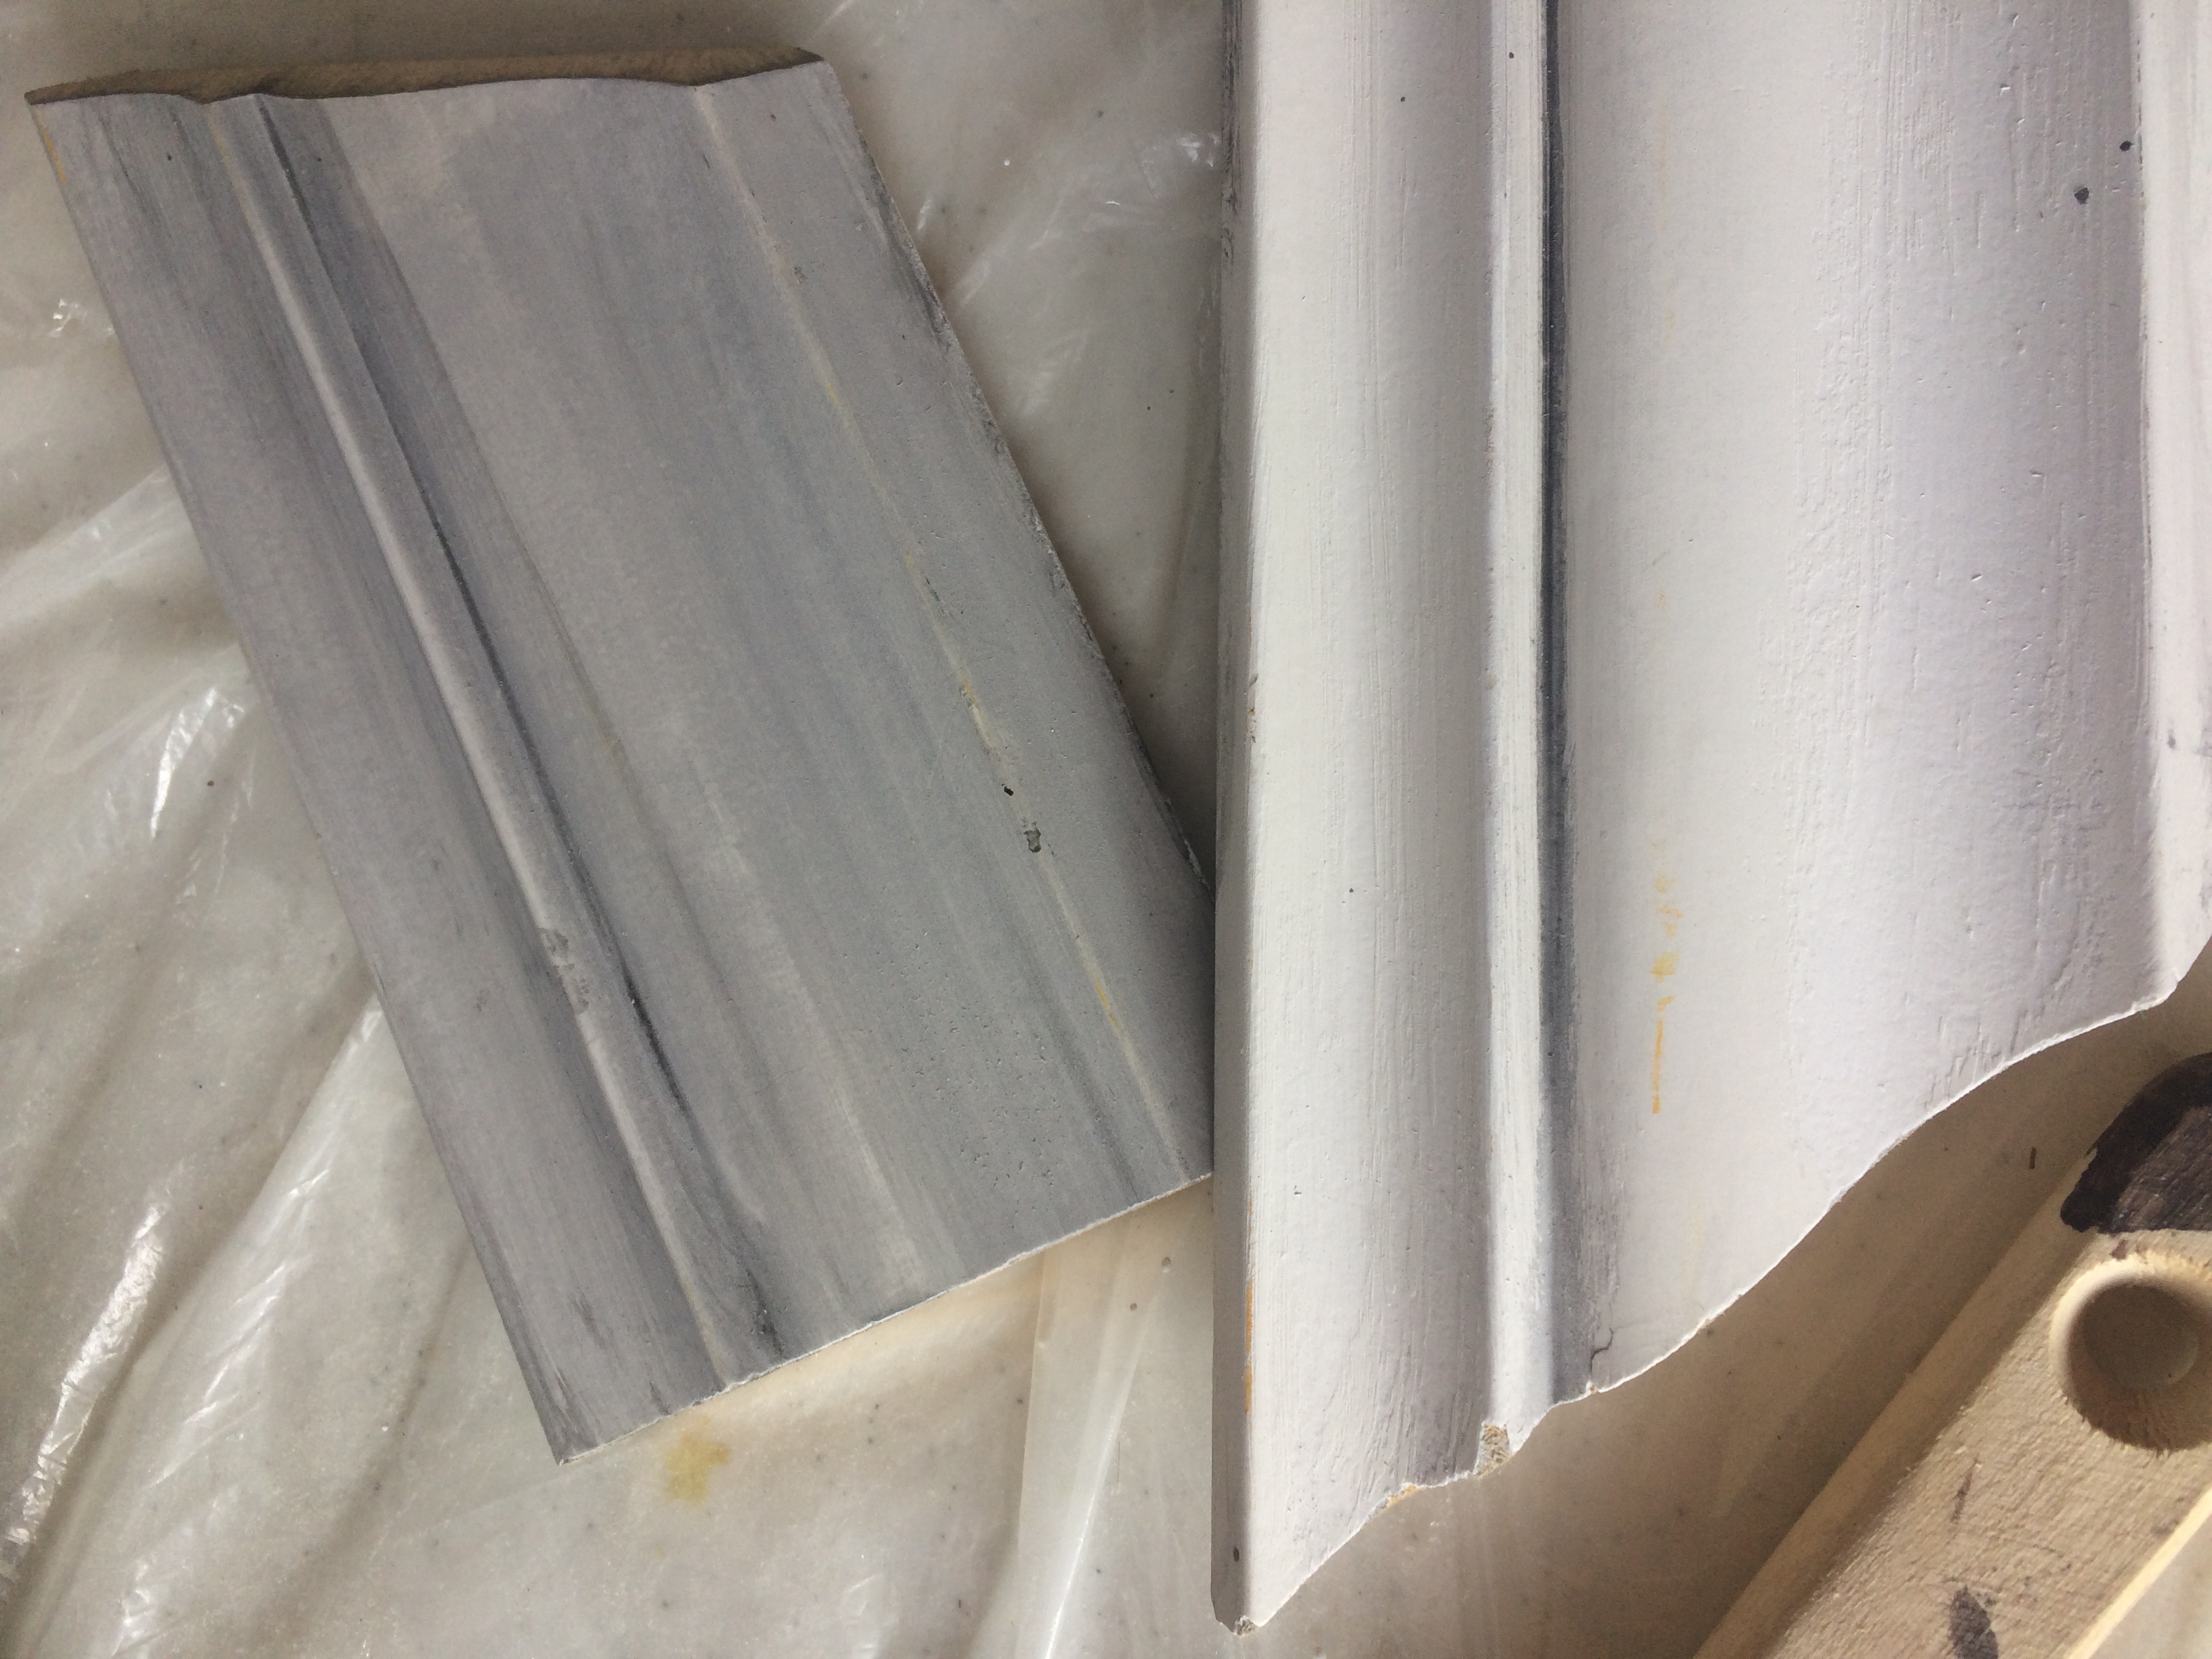
Glazing over chalk or flat type paint (a porous finish) - In the photo, the piece of trim on the left was glazed with Rustoleum's Chalked Smoked glaze right over Pure & Original's Silk White chalk type paint and it absorbed into the paint causing the white to change into gray-ish giving it a very weathered, antique look. The trim to the right has a coat of poly on it BEFORE glazing.
FYI: Since this piece, I've switched over to Retique It's Stain and Glaze because it's so much more versatile.
I prefer using polyacrylic first, before glazing to give it a smooth non-porous surface for the glaze to sit on and not soak in. You get a cleaner look, maintaining the basic white look. You will get the same look glazing over a non-flat latex paint.
You can see how one extra step can give you a completely different outcome. One is not better than the other, just different.
In this video, we used a chip brush to paint on the glaze and wiped it off with Scotts disposable rags.
The base coat was a white chalk paint with one coat of polycryclic applied prior to glazing to give us a non-porous surface. We didn't want the glaze to soak in, just highlight certain areas. Once it matched our vision, we let it dry and then topcoated with polycrylic once the glaze was dry.
Click to see this project's tutorial visit Love My DIY Home.
You Can Glaze Plain Flat Surfaces - Don't Forget the Edges
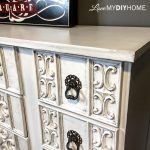
A layer of poly was added on the chalk paint first before glazing.
The first step in glazing was to glaze the entire top and sides of the dresser, painting on, wiping off, to subdue the stark white just a bit. This by no means should be "perfectly glazed". Variations in the glazed surface will add interest.
Then we accented the edges of the dresser with the glaze. The first video on the left shows how Jillian started adding glaze on the edges using a sponge and paper towel to build the look she was going for.
The second video is an added layer after the first dried. The aging effect was multiplied by sponging, smudging and blotting another layer of the glaze.
Once you get the hang of glazing, you can get very creative - if you allow yourself the latitude to experiment and play with the glaze. You can start small and keep adding layers until you are satisfied.
TIP: If you are finding your glaze is drying too quickly, you can add General Finishes Extender to increase open time (so it doesn't dry so fast) and have a wet rag handy to wipe off the glaze if needed. The wet rag won't work as well if you don't have a layer of topcoat on your chalk paint, but it works perfectly to remove any and all of the glaze if you have put on a layer of poly before glazing.



These are the two glazing videos along with a couple of tips that I posted in May 2019 for the workshops I offered during enrollment. Just ignore the pitch at the end, you're already a Blueprint member! BUT, it is a good reminder of how we need a tribe for encouragement and to build our confidence.
We're always BETTER TOGETHER.