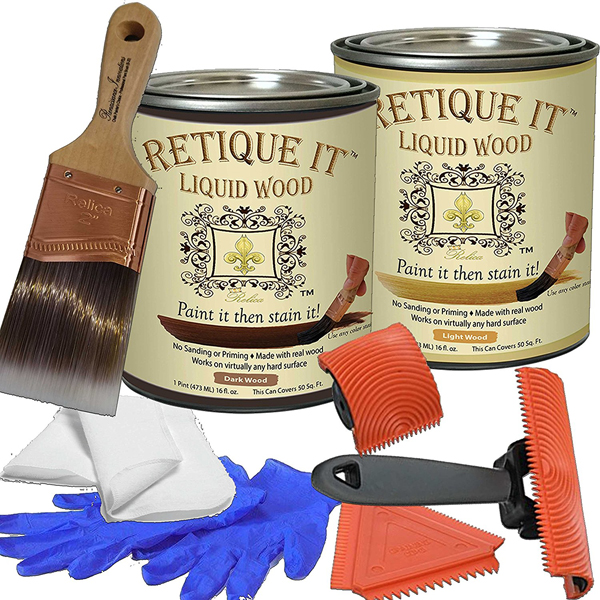
Creating a Faux Wood Finish

Steps to Create a Faux Wood Finish With Retique It.
- Clean the surface well and scuff it up. I wanted a dark stained top but the dresser had a laminate top. Retique It was the perfect solution. You can see a video as I used Retique It on my project below - it was the first time I had used it.
- Paint on the lighter Retique It. When completely covered, take your brush and lightly brush in the direction you want the grain in long sweeps. Let it dry at least two hours.
- Paint on the darker Retique It over the light base coat. Sweep your brush again.
- Take the graining tool and with light pressure, rock it back and forth randomly as you pull it down your first strip. Since my workshop is fairly chilly, I should have waited longer than 2 hours for the base coat to dry and had a little adhesion problem, so I repainted where it didn't adhere well. Then continue with the graining tool until the entire top looks like it has realistic looking grain. If you mess up or don't like a strip, just redo it till you get it right. You can add more Retique It if needed.
- If you want it smoother after you are finished with the graining tool, just lightly brush over the entire top to knock down any high spots.
- Let it dry. I waited over night.
- Lightly sand for an even surface.
- Stain and let dry.
- Apply a topcoat.
Using Retique It to Create a Faux Wood Finish
Using Retique It (click to see the different wood kits) for a faux wood finish was super easy. Thought, the "faux" doesn't really fit since there IS wood fibers in the liquid wood. I filmed the first time I used it to show how easy it really was.
Materials:
There are different Retique It choices for colors - you don't want to use the dark Retique It when staining white or gray. In this demo, I used the bleached liquid wood and then gray liquid wood. To the right, I used light and then dark liquid wood.
This video is from The Complete Furniture Redesign Course. You'll see the completed project at the end of the video, an Ethan Allen Sideboard. I bought it and another cabinet for $40 and sold the sideboard for $500.
“Have no fear of perfection, you’ll never reach it”
- Salvador Dali