Module 6
Painting Your Piece
Be sure to prep your piece well before painting. Never follow the “no prep” suggestion, the “just grab a brush and start painting”. There could be dirt, furniture wax, or a shiny surface that could cause your paint to not adhere or, stains and tannins might bleed through your paint. Prep, prep, prep!
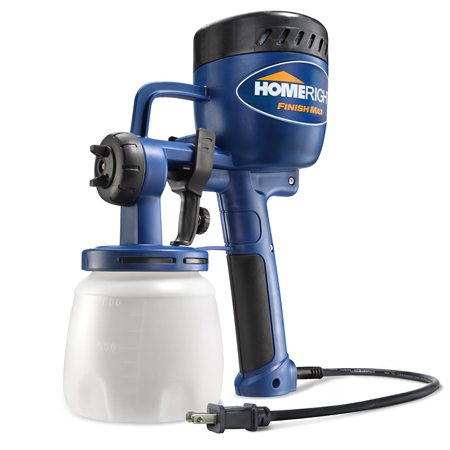
Using a HVLP Sprayer
- Prep your piece - be sure it is dust free before you spray
- Thin your paint as needed. Use the viscosity cup to measure your paint so see if it is thin enough to spray by timing how quickly it drains. Most paints should take between 30 - 40 seconds to drain out of the viscosity cup.
- Practice spraying with up-and-down and side-to-side strokes, using the same technique.
- Adjust the nozzle as needed.
- Spray while moving the gun from side to side, starting off the piece on one side and then extending your spray past the piece on the other side. This will keep your paint from pooling unevenly and dripping.
- Do thin coats using a sweeping motion evenly, careful not to create drips.
- Keep the tip a uniform 6 to 12 inches from the surface while you spray, and avoid arcing at the ends of your stroke.
- Adjust the distance and speed of movement to get full, even coverage.


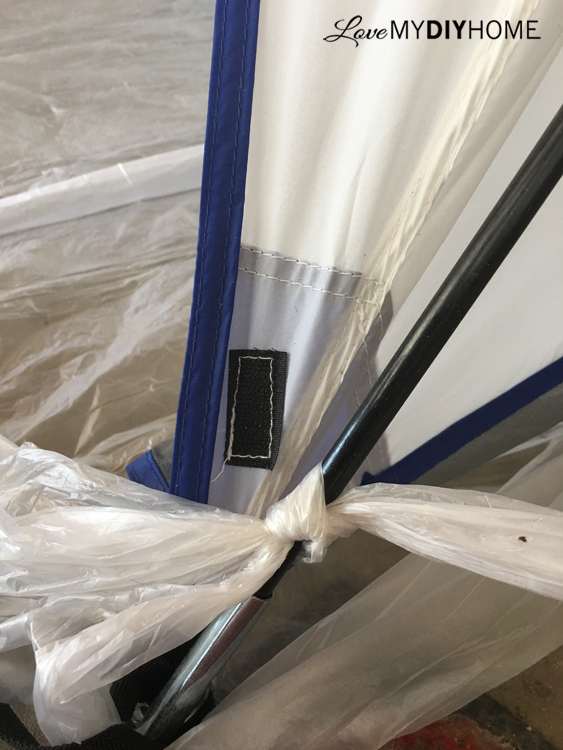
Quick Tip: If you are using a HomeRight spray shelter, it doesn't come with a floor, so tie off the four corners of your drop cloth.
Videos: #1 Testing Spray Pattern and Flow, #2 Placement of Paint Feed Tube, #3 Preventing Pooling as You Spray
Videos: #4 Adjusting Spray Pattern, #5 Time-Lapse Painting a Drexel Nightstand
HomeRight Finish Max TIP: Adjust the spray pattern by turning the air cap. The spray pattern is the opposite of the flanges on the air cap (the piece that blows air to direct the paint into its spray pattern). If they are horizontal, it will give you a vertical spray for your back and forth of the flat surfaces like a top or side of your piece. If they are vertical, it gives you a horizontal spray which you will use for narrow frames (see video #4 for a visual).
Watch HomeRight's short video on the step by step process using their Finish Max HVLP Spray Gun.
TIPS:
- Spray moving side to side using your arm and not your wrist to get a smoother spray pattern.
- Two or three light coats are best.
- Using a sprayer for the first time can be intimidating and it might take a minute to get the hang of it, so practice on a piece of cardboard first to get a feel for the sprayer.
- Be sure to clean your spray gun well after use.
- Spraying Chalk or Milk Paint: Be sure to strain the paint beforehand so the little undissolved particles won't clog your tip. You may get some spitting (especially if you don't strain first) but this may create a very nice textured finish.
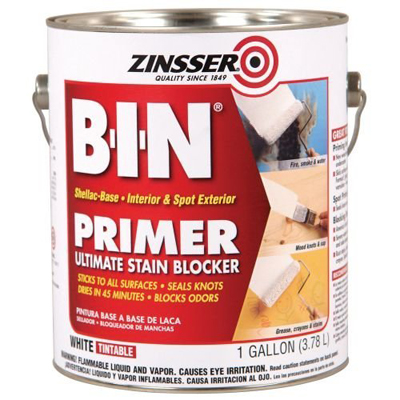
- Primer is typically thicker than regular paint, so you will need to thin it even in the new HomeRight Finish Max sprayer.
- You can spray oil based paints and topcoats. You will have to clean it up with mineral spirits.
- When spraying a table top with a HomeRight Finish Max, angle the feed tube to the front to keep a consistent paint feed as you spray.
Should you use a Roller, brush or sponge?
Often it boils down to preference, but here are a few tips:
Roller: A roller can speed things up on a large surface. When painting details, you can start out with a roller and then use your brush to get into the detailed areas. Foam rollers give a decent finish, just be sure not to push down and create tiny bubbles in the paint. Several thin coats work better than one thick. For best results, be sure to not overload your roller with paint, always maintain a wet edge, and do not overwork the paint with your brush and roller.
Paint Brush: Use the correct brush for the paint. Use a nylon or polyester brush for latex paint. Use a natural bristle brush for oil based paints. Treat your brushes with the utmost respect. Clean them out until they look new and store them in their original packaging if they come with a cardboard keeper and they will last. I thought using cheap brushes were a money saver until a friend let me try her brush. I've never looked back.
Some of the fave paint brush brands are ClingOn, Purdy, Wooster, and Zibra.
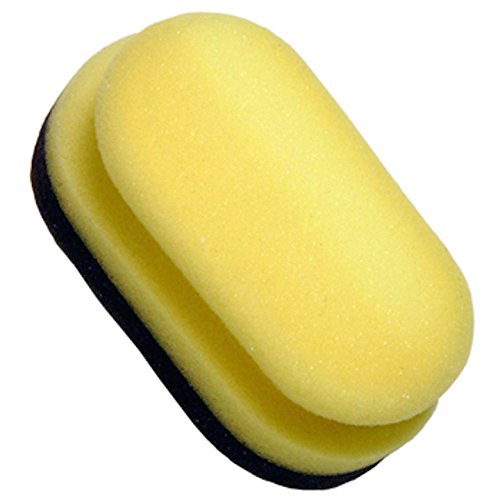
Sponges: Sponges work great for spindles and hard to read areas. Use a brush to smooth if needed.
Sanding Between Coats of Paint
Sand paper – (400 grit or more) for smoothing flat surfaces
Sanding Sponges – (fine or super fine) Best for working on curves, corners or contoured surfaces (though I like it for all surfaces and often use this instead of the 400 grit sandpaper)
0000 Steel Wool – Fine sanding between coats or use in hard to reach places (never use on/for water based paint or finishes). Use different grades for for cleaning, polishing, buffing and refinishing.
Tack Cloth – use to remove dust after sanding (oil based tack cloth for oil based finishes only)
Damp cloth – use to remove dust after sanding for water based finishes.
GENERAL TIPS:
- If you are trying to avoid brush strokes, work in small sections. Rolling or brushing over paint that has started to dry may cause a more textured finish.
- If you want to smooth out brush strokes, sand with a 320 or 400 grit sandpaper or sanding sponge in between coats after the paint is dry. Wipe off with a damp cloth before adding another coat.
- Consider adding Floetrol to your paint on hot or days with very low humidity when you paint because it helps to level it out and lessen brush strokes, lengthening the dry time.
- The surface of your piece will affect the finished look, so make sure the surface is smooth and even by sanding and filling in any cracks, scratches or gouges/holes. Deep scratches can be evened out by using wood filler. See the prep modules.
- Quality tools do make a difference.
- The type of paint you choose will make a big difference in the smoothness of the surface. Chalk paint will give you more texture than a self-leveling latex like Benjamin Moore Advance. Get to know your paints.
- Pour paint out of the can into a cup and paint from there – don’t dip your brush into the can. Some paints have been known to go rancid if you contaminate the can with your brush
- Store your brush, sponge, or roller in a baggie or wrap in plastic wrap between coats, or if you are using a Cling On brush, suspend the tip of your brush in water until you need it again.
- Use natural bristled brushes, sometimes referred to as China brushes, for all oil-based finishes (including paint). Use synthetic bristled brushes, sometimes referred to as nylon brushes, for latex, acrylic or water-based finishes. Rollers, sponges and rags can work for either type of finish.
- Use a laundry or bath sink for minor cleanup regardless of type of paint. Some paints can ruin kitchen disposal.
- Don't skimp on paint - you typically get what you pay for.
- Proper prep will help your paint to adhere. Too often the paint is blamed when prep was insufficient. Always prep. Always.
Shrink Wrap for the Save
Popsicle Sticks for Paint Chips
Plastic Wrap for Brushes
Common Household Products
Number Parts Before Painting
Avoid Contaminating Paint
Paint Specific Tips:
Chalk Paint Tips
Most chalk paint companies claim no prep needed, but I recommend to always prep your piece.
- Chalk paint is a flat finish and preferred if texture is needed. Coverage is usually good, seldom requiring more than two coats.
- It's an excellent paint for layering and distressing.
- If there is a chance that you may want to redesign the piece by stripping and staining one day, be sure to provide a good layer of sealer before chalk painting to prevent the chalk paint from soaking into the wood fibers.
- Annie Sloan Chalk Paint (ASCP) is a copy right protected brand. Other brands use the terms “chalky,” “chalk type,” “chalked” paint, etc.
- There are different types of "chalk type" paint – some have harsh chemicals and some have low or no VOCs. Investigate your brand if you are sensitive to chemicals or prefer green products.
- Homemade chalky type paint can be made from any type paint except for the paint that has the paint/primer combo.
Old Fashined Milk Paint Tips
- OFMP comes in a powder form that you must mix with equal parts water. It dissolves better if you start with warm water.
- For your first coat, Extra-Bond is recommended if you don't want to chance a chippy finish. This will not always cover well, but your second coat will have excellent coverage.
- Another option is to get the OFMP in Safe Paint. You don't need a bonding agent with this version.
- Mix by putting very warm water in a cup first and then add the powdered paint. Mix with a plastic spoon, popsicle stick or submersible blender. Let it sit for a few minutes before using.
- Only mix what you will use because the paint is natural and will spoil. If you need to, you can refrigerate the paint to extend its life a day or two.
- If using in a sprayer, you will need to strain it.
Metallics/Pearl Effects Paint Tips
- Since coverage isn't great with these paints, a similar painted base color might be in order before applying the metallics, especially if you brush paint.
- Your topcoat can affect the look of the metallics, so be sure to test on a sample board before using a topcoat.
General Finishes has a great video showing different finishes using their metallics:
Water Base Acrylic & Alkyd Paint Tips
- These paints come in different finishes and do not require a topcoat.
- Easier to strip back to the original finish, these are good choices if you think you may want to strip the paint off one day.
- If you are concerned about brush strokes, it self levels well and tends to be a more flawless finish.
- You can paint match - which means you can take in a swatch of any color in the rainbow and have the clerk mix up that paint at many paint stores.
- You can mix products in these paints to make your own chalk type paint. Do not use paint with a built-in primer if you are making your own.
Spray Paint Tips
- Spray paint is oil based and gives a very strong painted surface without brush strokes.
- Paint light coats starting off the piece and spraying past it in even strokes.
- If you prime first, which is recommended, take a quick sanding sponge over the surface to take off any grit from the primer. Kilz spray primer is easy to use and covers well. Rustoleum 2x Painter’s Touch is my preferred spray paint.
When you can't take out the drawers:
How to get that finished look when there are gaps in the trim:
“I dream my painting and I paint my dream.”
- Vincent van Gogh


