Creating Texture
"Interesting brushwork creates the kind of music that you can only see close up, a key element of a great master."
~ Barry John Raybould
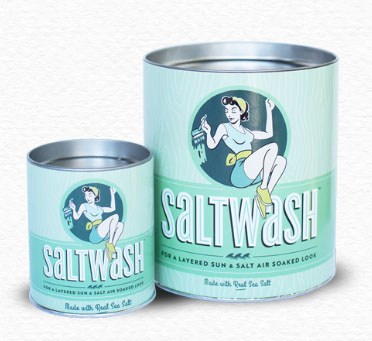

From the Company: Saltwash is an easy to use, base coat formula, that can be mixed with ANY brand or type, of paint. Any type and brand of paint can be used, from an inexpensive eggshell, to a high dollar gloss, paint and primer mix, acrylic, latex, oil, or even mixed with a specialty type, such as any chalk paints. It is important to note that the Saltwash formula itself, has no color. Your base coat paint will retain its exact color, even after mixing in the Saltwash product.
This video by Saltwash will show you how to properly mix and apply the product in a few easy steps.
The Saltwash formula and technique can be applied to anything paintable. Wood, metal, and any other surface that accepts paint, can be Saltwashed. A tutorial will be delivered in module 10, on week six.
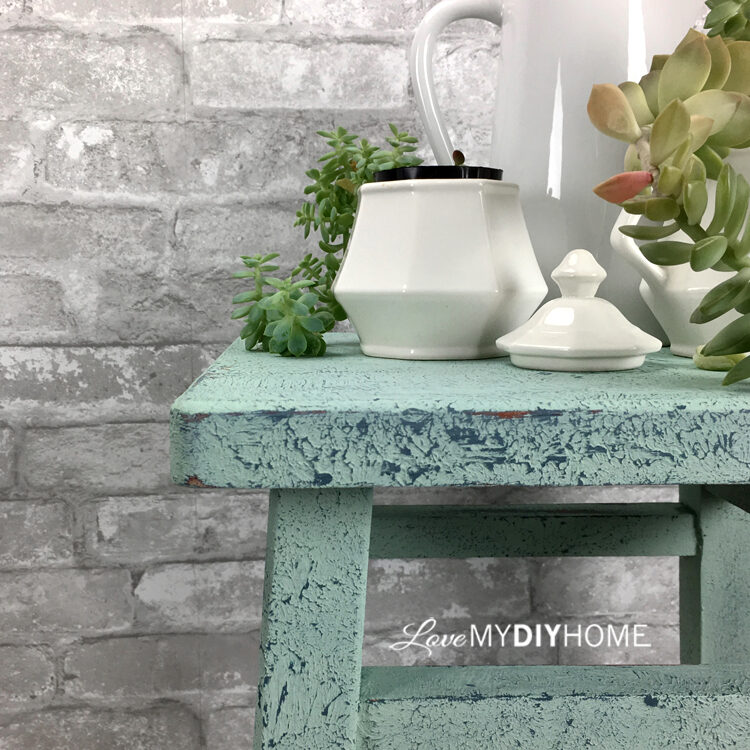
Photo below, left
CLAY TEXTURE
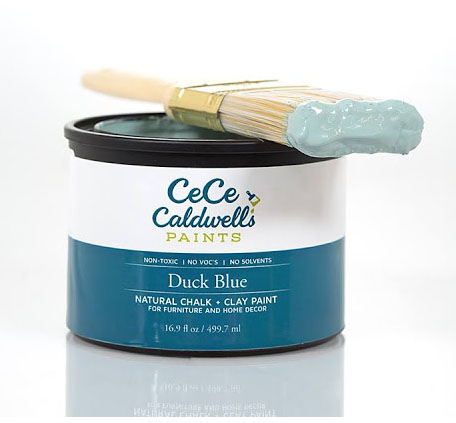
CeCe Caldwell paint is made of clay and can be sculpted and played with to create texture if applied liberally and manipulated.
Step by Step Instructions:
1. Paint on your first coat of paint and let it dry. It can be of a contrasting color to your finish coat.
2. Paint on a fairly thick second coat and before it's completely dry, scrape it a bit to reveal some of the base coat and reapply by scraping it back on to create a bit of texture.
3. After it is dry, wipe off the loose chunks and sand as needed to distress and obtain the look you are going for.
4. For more effect, wax the layers after they are completely dry and add aging dust before the wax dries. You may have to do this in sections so you don't miss the window of opportunity for the aging dust to adhere to the wax.
5. A thin coat of wax will dry over night - buff to give a nice satin finish.
6. Let cure.
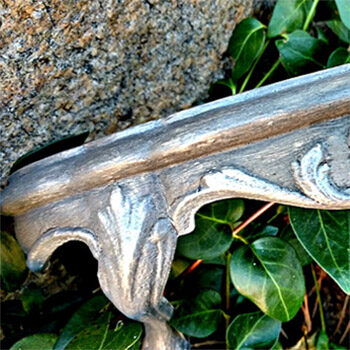
Photo below, middle.
VENETIAN PLASTER
From the The American Paint Company: The thick, smooth Venetian Plaster is easy to work with and leaves a beautiful raised finish. Venetian Plaster is a very thick paint/plaster that works great with stencils, rollers and can be troweled on to a surface. Using the Venetian Plaster can leave a 3D effect and beautiful design on your furniture project.
Step by Step Instructions:
1. Apply with a chip brush or foam brush for the stencils (keep layering on your stencil to get the desired thickness.)
2. Typically the thickness is 1/8 -1/16 of an inch, or the thickness of a credit card but is also depends on the look you are trying to achieve.
3. You can buff the Venetian Plaster with a buffing cloth to give it some natural sheen, or you can seal with sealers and finishes.
Venetian Plaster comes in 4 colors including Home Plate (white), Cannonball (black), Shoreline (blue) and Fireworks Red.
American Grit
American Paint Company's grit is a powder that adheres to wax to create dimension and give an aged appearance. It's very easy to use.
Step by Step Instructions:
1. Brush on a little extra wax over your piece in the places where you will apply the grit for a more textured look. Don’t let the wax dry completely or the grit won’t stick. If you apply too much and see streaks, or it looks dirty, use clear wax to remove the excess or buff it out with a soft rag.
2. Apply the grit sparingly with a clean brush, really working it into any carving on the furniture. It works best on pieces with detail and lighter colors.
3. Let cure.
Creating Raised Stencils
Many products have been used to create a raised stencil to add texture to an otherwise flat or smooth surface.
Suggested products: Joint Compound, Durhams Putty, Timbermate, Vinyl Spackling, Ready Patch, and Wood Icing (Textura Paste)
You can create texture using a stencil and compound. You smooth it over the stencil with a something flat like a putty knife or credit card and sanding it after it's dry. The raised stencil technique step by step will arrive on week three.
Using Impressions for a Decorative Texture
From Wood Icing (Textura Paste) - A water-based acrylic product, which has the consistency of peanut butter.
Step by Step Instructions:
1. Spread with a spatula or trowel
2. Make impressions and designs with any number of objects or tools. (foam rubber stamps, mesh, lace, or any numerous other materials)
3. Let dry overnight to a hard crispy surface.
4. Sand to remove the high spots and clean up the surface.
5. Stain, glaze or paint.
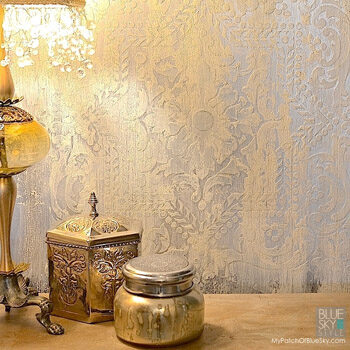
Check out an amazing textured wall called "Ice Palace" using Wood Icing by Debbie at My Patch of Blue Sky. Her wall is pictured below, right.
Photos used with permission
