About 4 years ago...
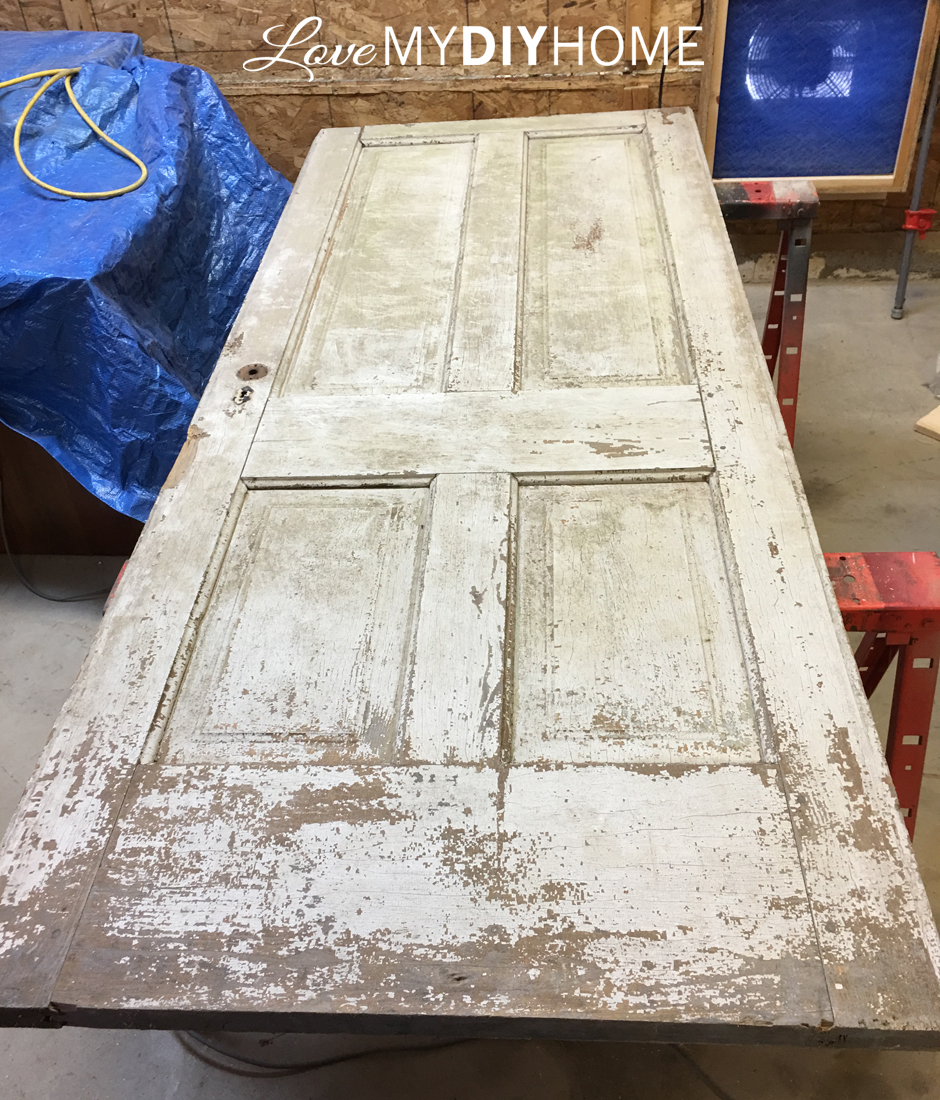
We bought several doors at an auction house that had been stripped off a house that was being torn down. The house was over 100 years old and falling apart. Since the chippy look is popular right now and ths door had natural chippiness, it was a great opportunity to create something authentic and also trendy. Any time you can spot a project that will be easily flipped, consider it. Time is money.
If I remember correctly, we only paid $8 for 8 antique doors. They had been taken off a 100 year old home that was being demolished. They've been sitting under a lean-to waiting for me to get to them. Sometimes a piece will sit until I find an inspiration piece.
THE BEFORE
PULLING BACK THE CURTAIN
If you were to go to my blog, you'd see dozens of projects. Before and afters, tips, videos, examples of projects, etc. Blogs are for showing off your work, gaining followers and presenting yourself as a viable business or expert in some area. Blogs are superficial. They focus on the beautiful end of what we do because that's what most people want - pretty pictures for entertainment.
But when we decide to advance into the nitty gritty of our niche like we do, the flashy, professionally staged projects and limited tutorials aren't enough. We do enjoy looking, but there isn't enough substance. We want to pull back the curtain to look behind the scenes to see what was real - to see all parts of the whole story, not just the end.
If this is you...
Welcome to the elite club. You are an insider. Top tier. In the know. An expert - or at least on your way to being an expert. And if you aren't truly an expert yet, you will be - because you have stepped through the gate from dabbler to student. The second you clicked on the link to this bonus, you set your course.
We will always be a student of our craft. No matter how much we are revered as an expert, to stay on top of our game, we must be ever learning. The quest for learning is what sets us apart from the "others" because the "others" think they have arrived. One never arrives. One can only become better over time. But time has a way of showing us we must always continue to learn to keep up. This world changes. Needs, styles, trends are always evolving.
Or perhaps I should say, "revolving".
The trends and styles we grew up with are just old to us. The next generation or two call it "retro" and revere it like it's something new. We shake our heads and embrace it as if we valued it as well because it's now "trendy".
So my intention is to take you back stage and show you the good, the bad and the ugly. Because that's how we learn.

The door, because of its age, had many areas that needed shoring up. I had to decide what I wanted fixed and what to leave for authenticity. Chippy...OK, OLD, isn't really my forté. But this door was a perfect specimen of days gone by and I decided to take advantage of it. My mom used to say, "All these people rave over 'antiques'. Why? It's just old furniture." I agree, but if I can find a buyer because I left the "chippy" then so be it.
Interesting craftsmanship, cool design? Yes. Historical significance, sure. I do have an original Abraham biography from 1865 with an original newspaper clipping of Filmore's obituary glued on the flyleaf. To me that's historical significance. But just "old" isn't enough to get me excited.
Photos above:
- The door was cracked and that's a foundational issue, so DH used Elmer's Wood Glue to secure the frame.
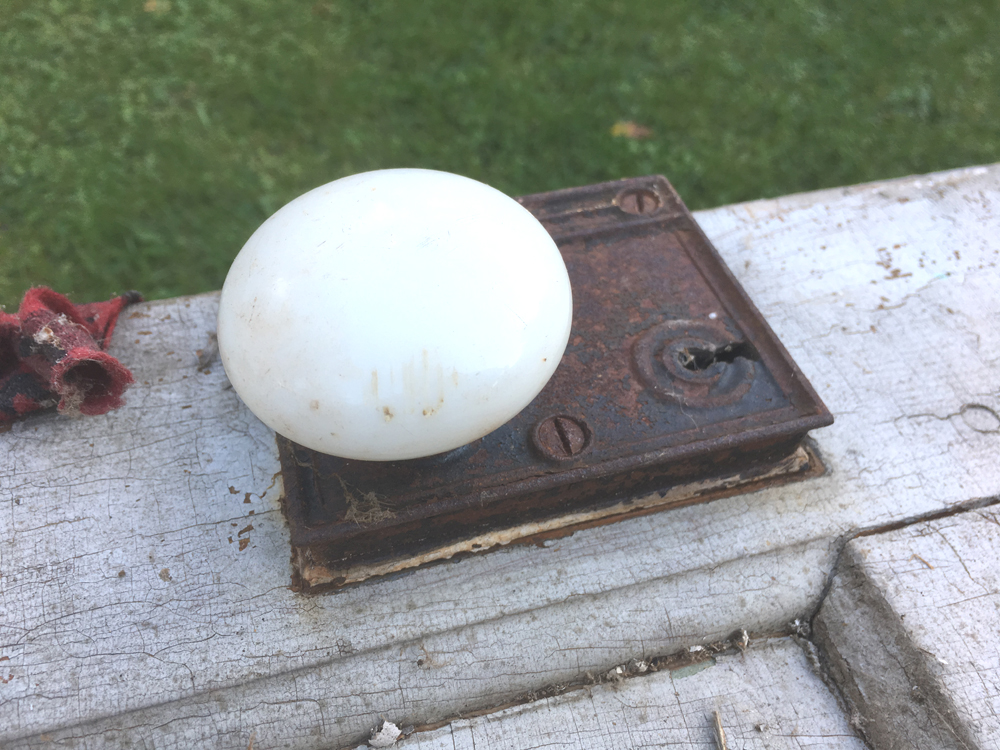
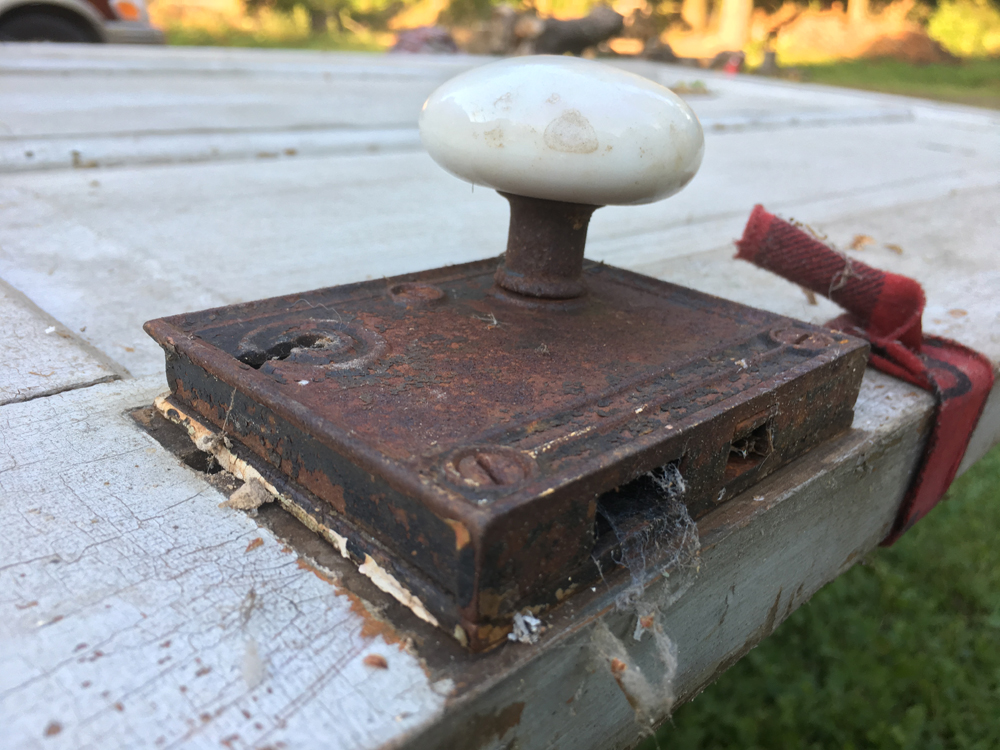
- The door knob was authentic, but very ugly. DH said to keep it but I had always been planning to replace it. He showed me how expensive and "valued" those types of knobs were so I relented with one condition. We had to change it somewhat to make it "prettier."
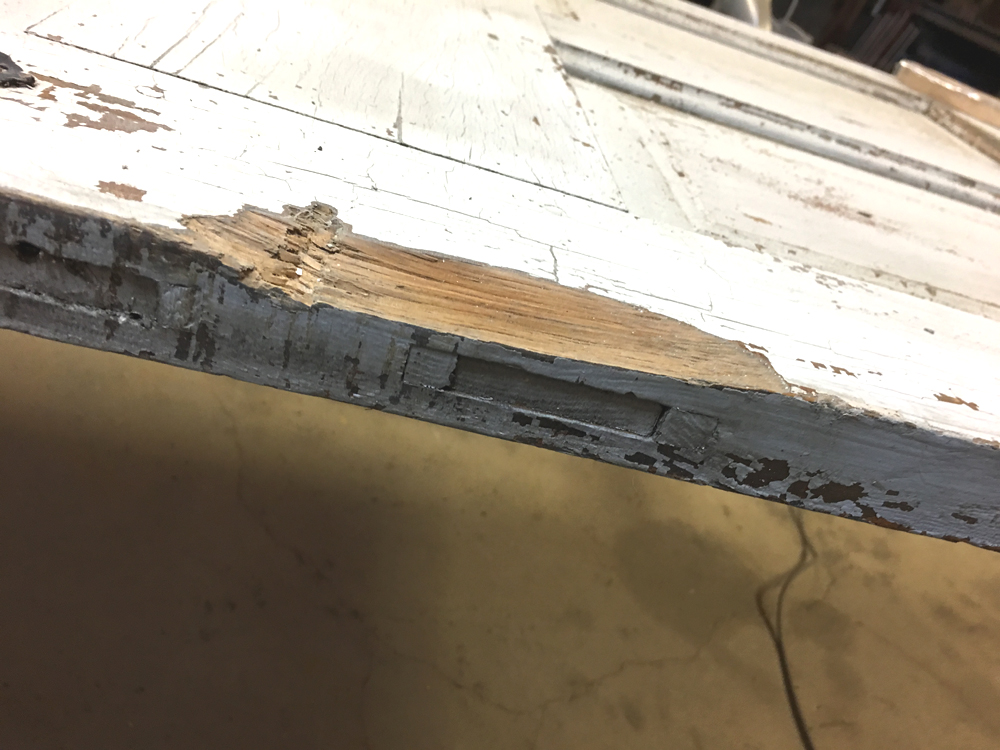
- There was a big splintered spot on the door, so DH had to sculpt that area. I could have left it, but decided I wanted a complete frame. He used Durhams Water Putty to fix it.
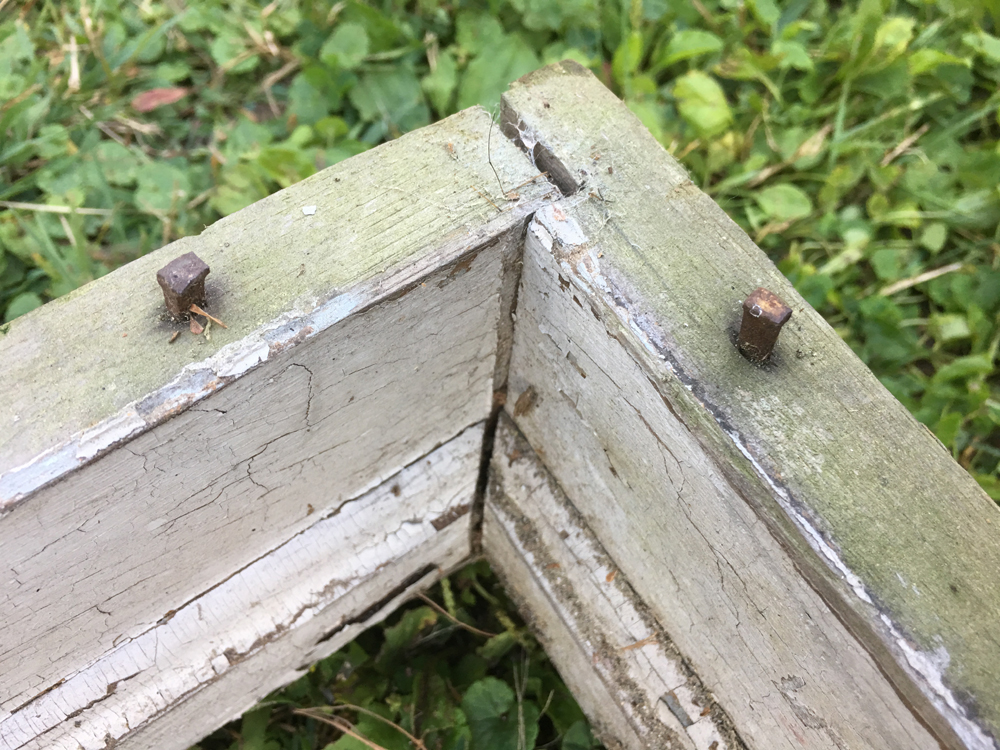
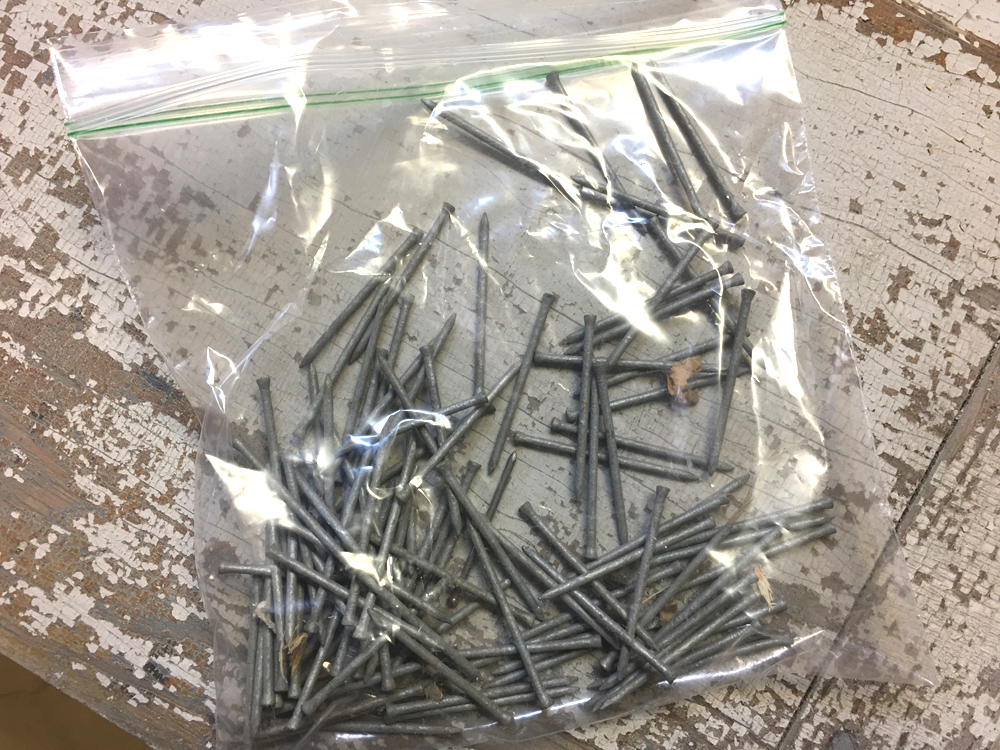
- & 5. Check out those square nails. Hardware, even nails, can help you identify the age of a piece. Of course they may have been replaced with newer models, so be aware that identifying a piece based on hardware might be deceiving. You could tell these were original. We removed them to use on another project one day. Always keep it all. You never know when you might need it. Put all extra pieces in a baggie and label it. If you think square head nails are no big deal, check out these ones on House of Antique Hardware.
WE GET TO CHOOSE
We start out with a raw piece and it may be an easy flip or it may be more involved. As time goes by and we get more experienced, we can evaluate a piece before buying and know how involved the restoration or re-design process will be. At first we just bought whatever was cheap because we knew it would be better to experiment on something that wasn't a huge investment.
By buying cheap, if I messed up, we would only be out a few bucks.
As time goes by though, we as furniture artists learn the ins and outs and are willing to take on more challenging project or, know which ones will be something we can crank out quickly. We decide. The more we learn, the more control we have over what we do. That's one of the beautiful parts of our craft. No two pieces are the same and we get to decide if we want to tackle it or not. We certainly don't work on an assembly line.
We also get to choose what we keep and what we want to deal with. Just like I chose to change how the door knob would be attached or even if I wanted to keep the door knob at all - it was my choice. The end result is our choice and no one else's. The hardware piece above is cool, yes. Not my style, but interesting to look at. But to get the look I wanted, it had to go. Perhaps I will sell it along with the knob from the back side.
Mistake or not, it's my mistake to make. Just like all of your choices are yours to make. Do your research. Then decide. It's not a religious experience. It's not law. It's not life or death. It's hardware. It's mostly opinion what is valuable and what is not - and opinions change. Just like my mom thought antiques were just old junk. I had a friend that filled her house with antiques. I thought it was old and boring. She thought it was amazing. To each his own.
It does frustrate me a bit when I read on FFF comments like, "You should have kept the original." or, "Don't ruin it by _______." Sure, if we live in the antiques world and feel it's our job to restore and preserve history, then go ahead and run your business by the "should have rules." I frequent antique shops and see the same pieces sitting for months unsold. Few people will pay top dollar for an antique. And few people want antiques in their homes. If we do our research and then decide what to do with our pieces, then we're good. I'm sitting on a piece that I bought for $20 that might be worth a few thousand if left alone - but there is no guarantee it will sell even if it does have an appraisal confirming its value.
I do agree that some pieces are extremely valuable and if restored or left alone in pristine condition, could fetch big bucks. But to become an expert in the restoration business is very involved and it's own world that I have no desire to live in. So I watch and wait and usually end up with pieces that can and should be re-designed.
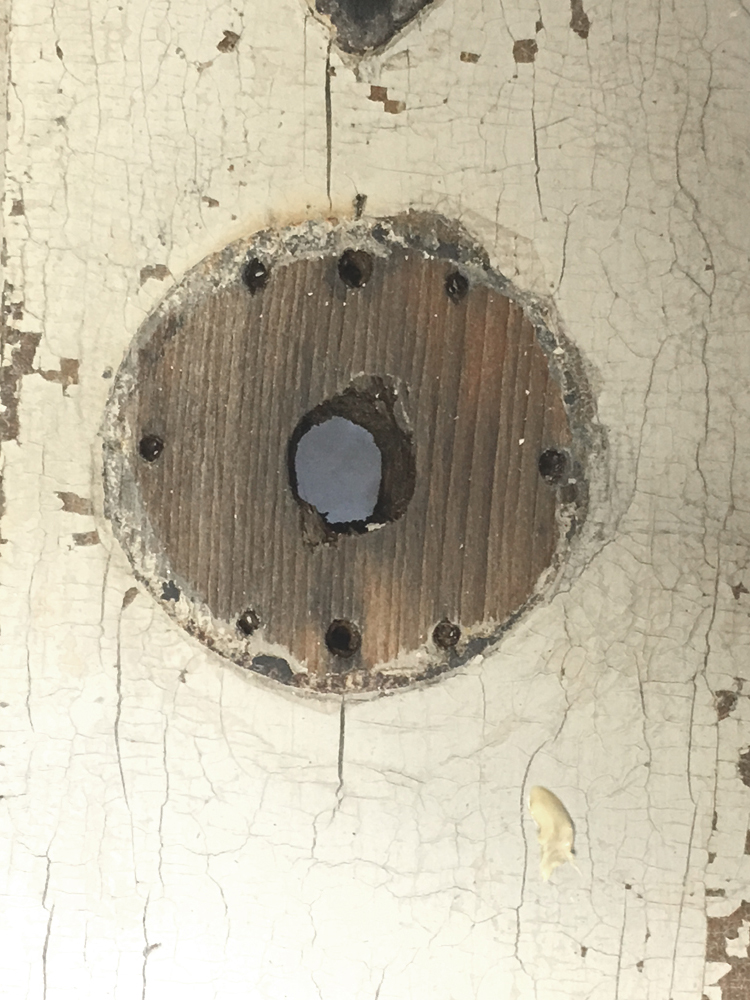
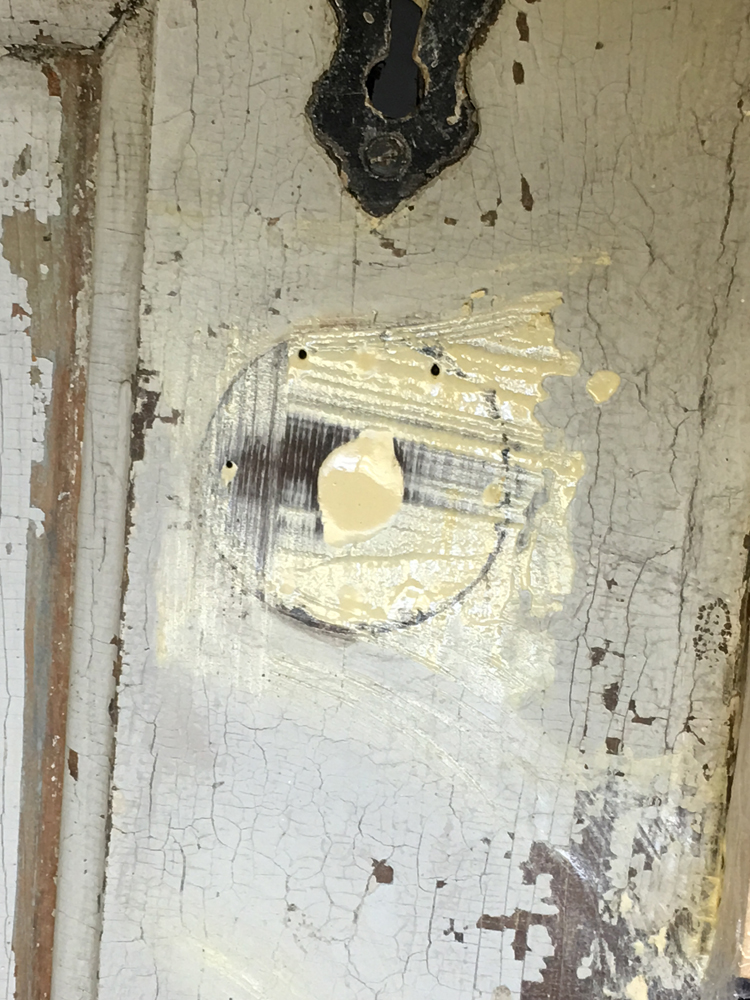
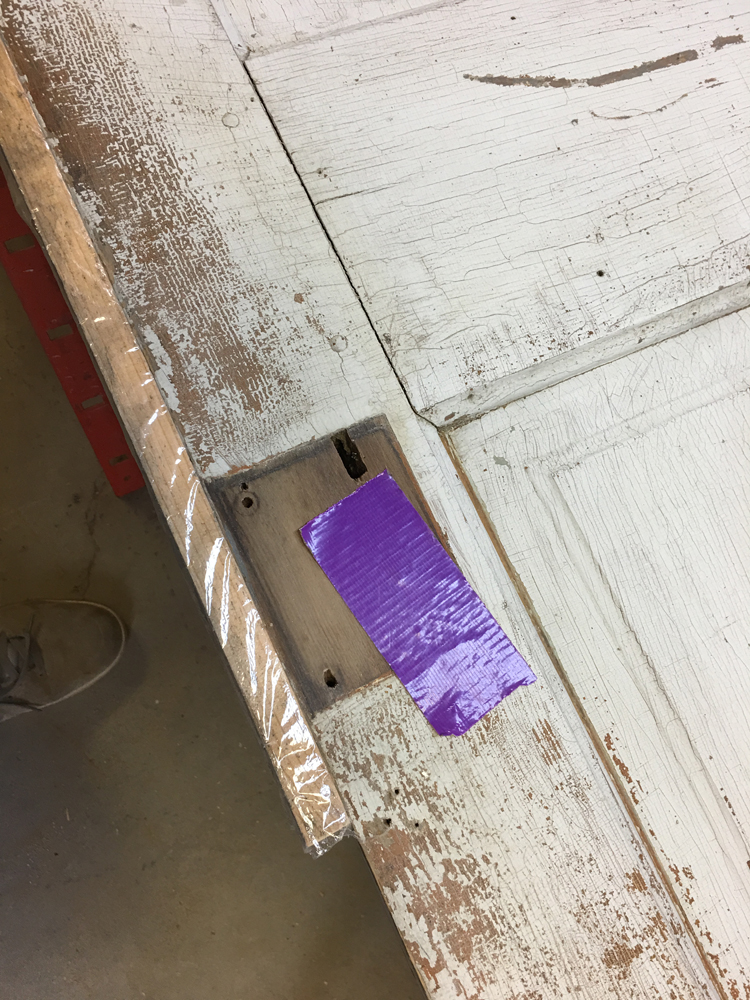
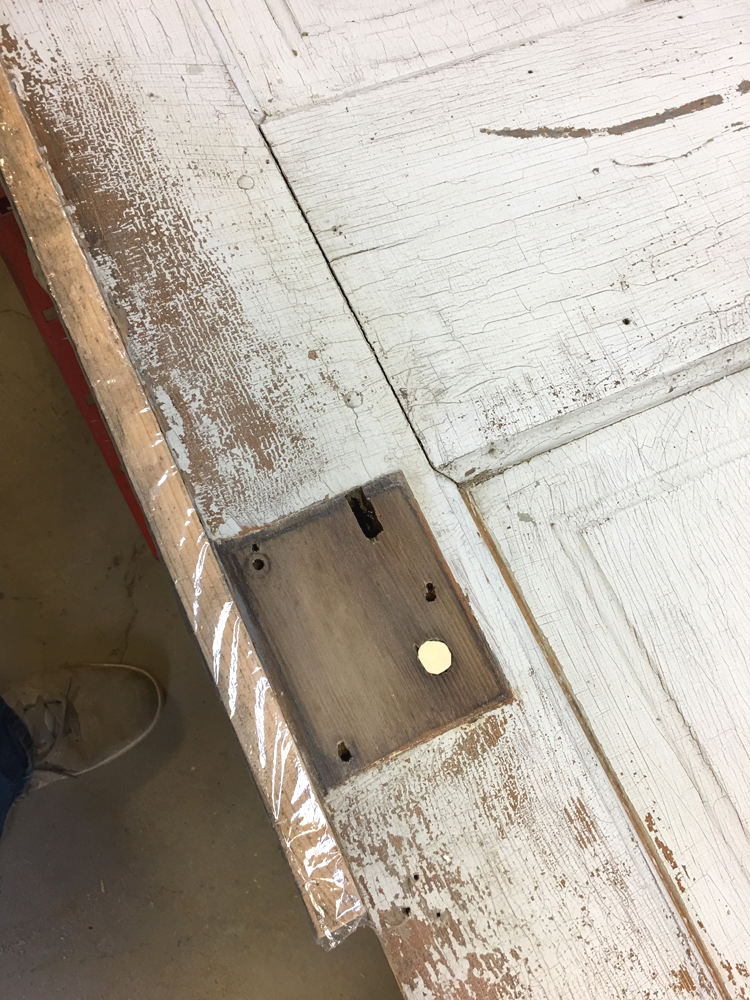
- On one side you see the round indentation from the door knob and
- how DH filled it to give me a smooth surface to work with since I was planning to use a different knob (before DH talked some sense into me). It did need filling because we weren't going to attach the other knob on the other side, but at that point the plan was a faux door knob. Seldom do I follow my original plan for a piece. It just kind of evolves as the project advances, though I do start out with an idea of what I want it to look like in the end.
- & 4. You can see how he used duct tape to cover the hole so when he went to fill it, it wouldn't seep out the other side.

To repair the gash in the side of the frame, DH wrapped a piece of wood in cellophane and tacked it up against the frame. He then filled in the spot with Durham's Water Putty. Once dry, he just pulled the wood off, sanded, and had a perfectly straight edge for the door frame.
Some things you leave, some things you keep. There are no rules other than to gauge what looks good to you.
The Re-design
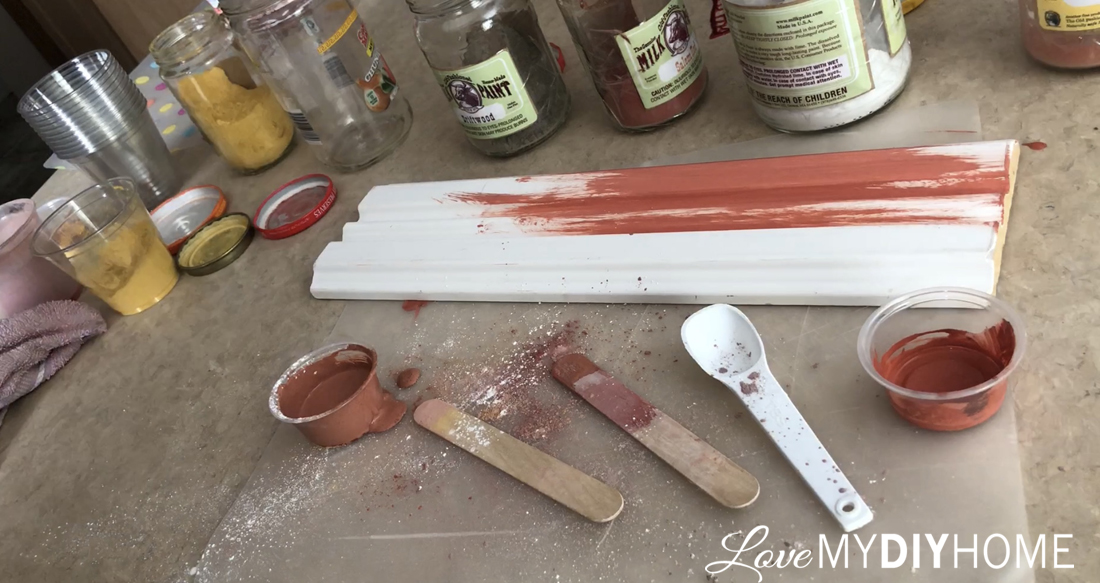
After cleaning and sanding off the loose paint that was chipping, I white washed it with Old Fashioned Milk Paint Snow White before painting the coral that I mixed up using Marigold Yellow, Salem Red and Snow White Old Fashioned Milk Paint.
The coral color I mixed up was a choice made by my Facebook group, Furniture Flipping Forum. Coral won the poll, so coral it was. I watered it down more than normal, painted it on and then used a Scotts Rag to wipe some of it off to give it a more transparent look and bring out the chippiness that was already there.
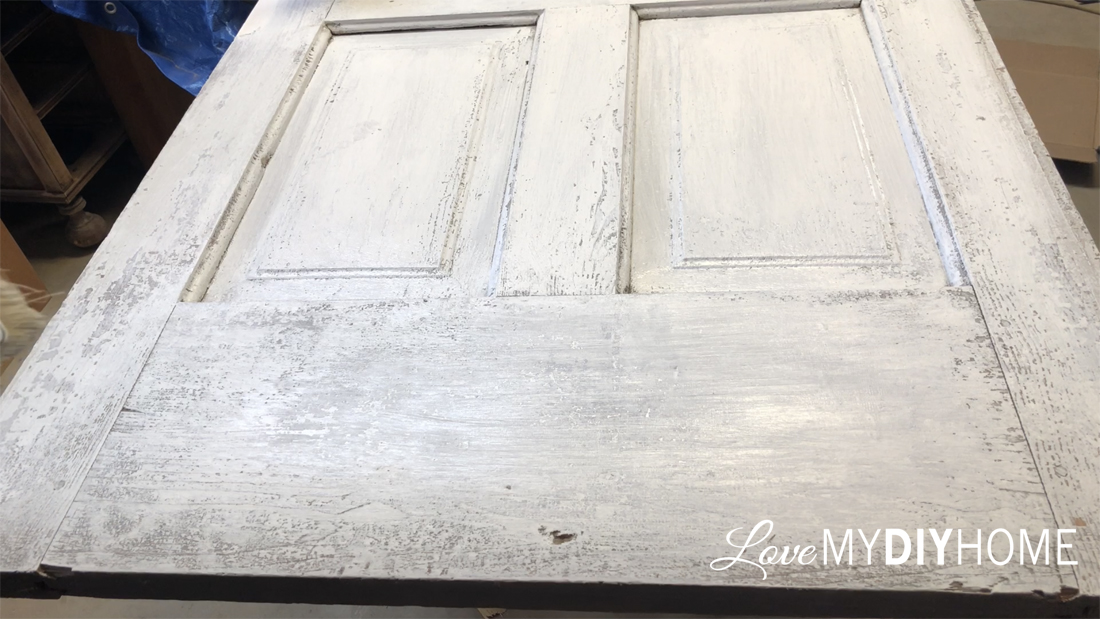

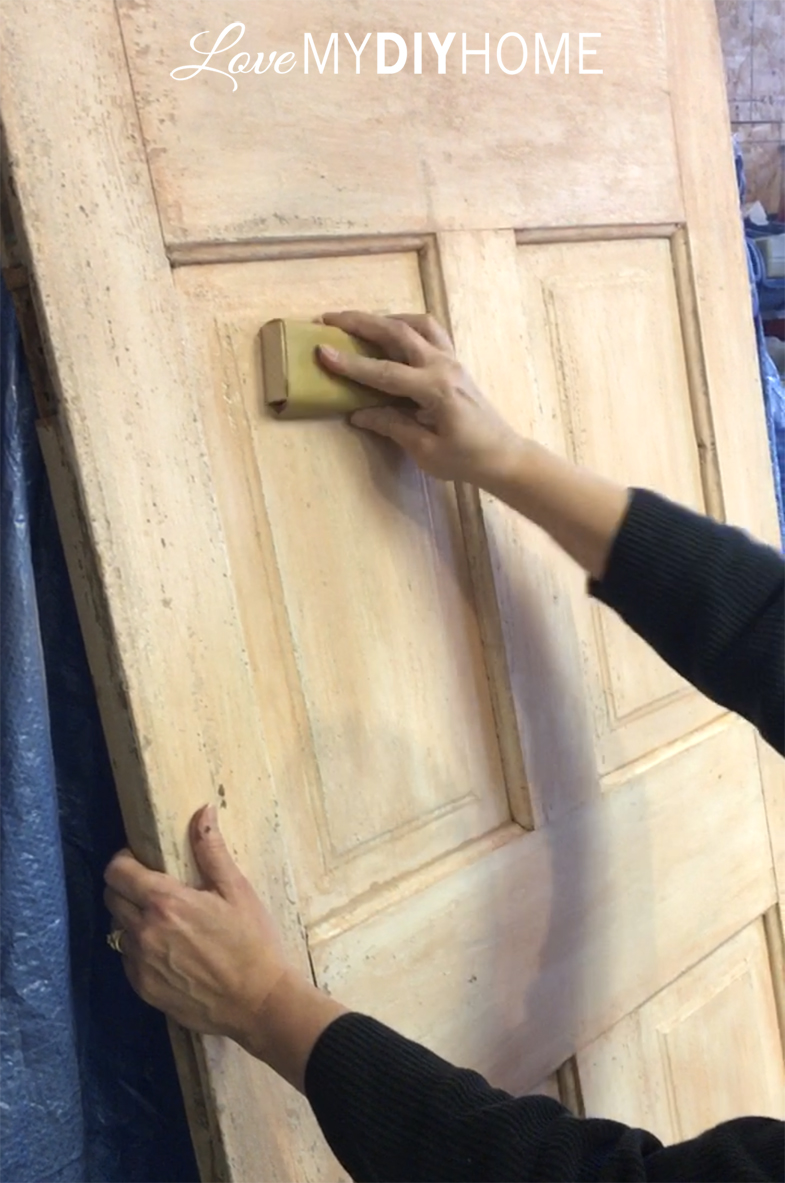
The next step, hand sanding with a sanding block further accented the chippiness and made the look more natural and complete, preserving the antique look with a touch of color. My DH cut me a special sized wood block that I could wrap my sand paper around that would fit right in all the indented parts of the door. After years of sanding, my hands have been affected, so I try to alleviate any physical stress possible with these little aids.
Be aware that your body can and will be affected by the type of stress we put on it doing what we do. Consider taking precautions now so you don't suffer later.
I have a video for you to show each step:
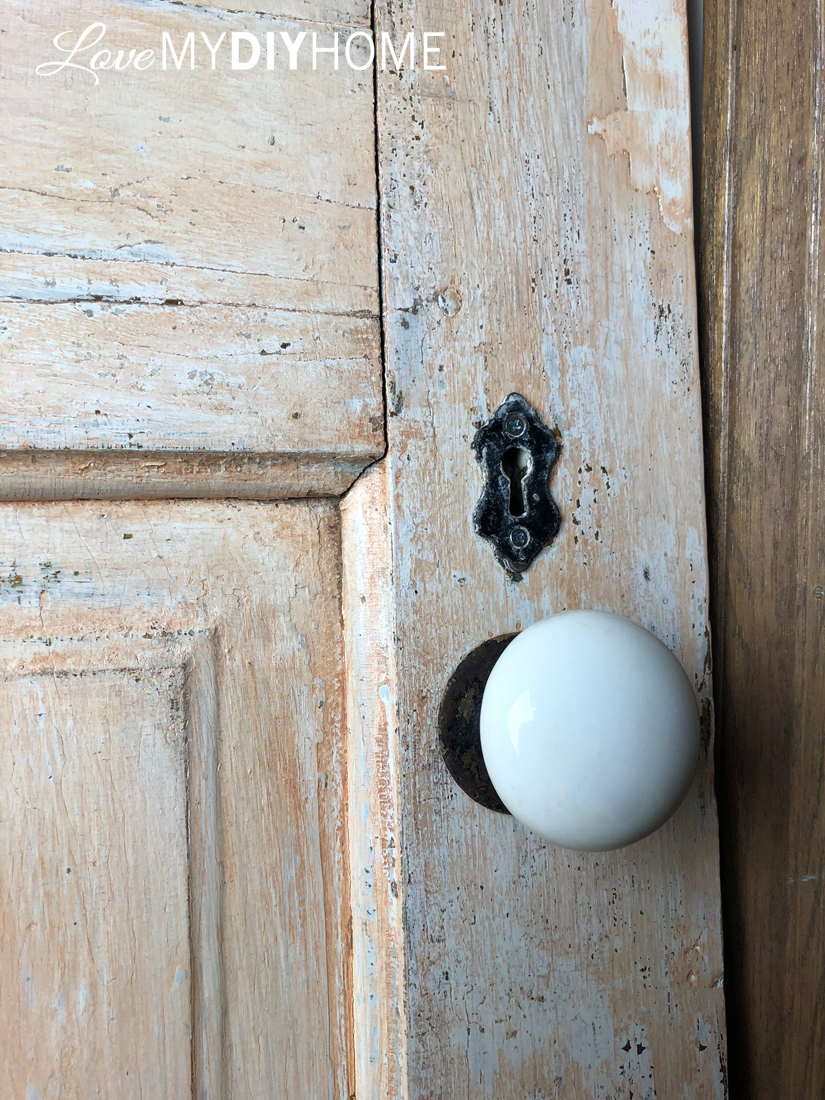
We then added back in the original door knob by gluing it in place rather than passing it through and attaching another one on the other side. I want it to lay flat against a wall.
To preserve the door's new look, I used Polyvine Satin Wax Finish Varnish.
The key hole cleaned up fine - I didn't exert too much scrubbing pressure bc I wanted the patina to stay. Dh lost one of the original screws (this is a normal occurrence around here), so we had to go to ACE and find two screws small enough to attach it. I used a black permanent marker to color it darker so you couldn't tell they aren't original at first glance. Nothing worse than a shiny new screw to throw off the look. We added three hooks from Hobby Lobby to finish the hall tree hardware.



Dry Brushing
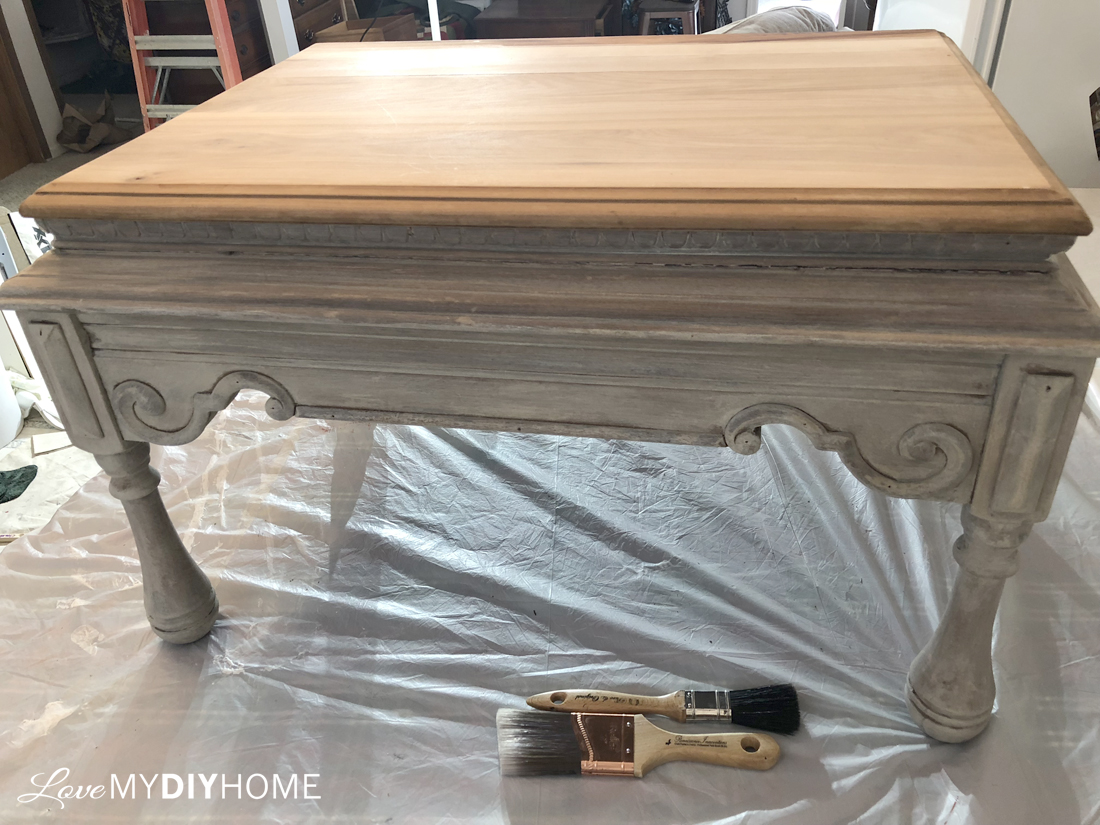
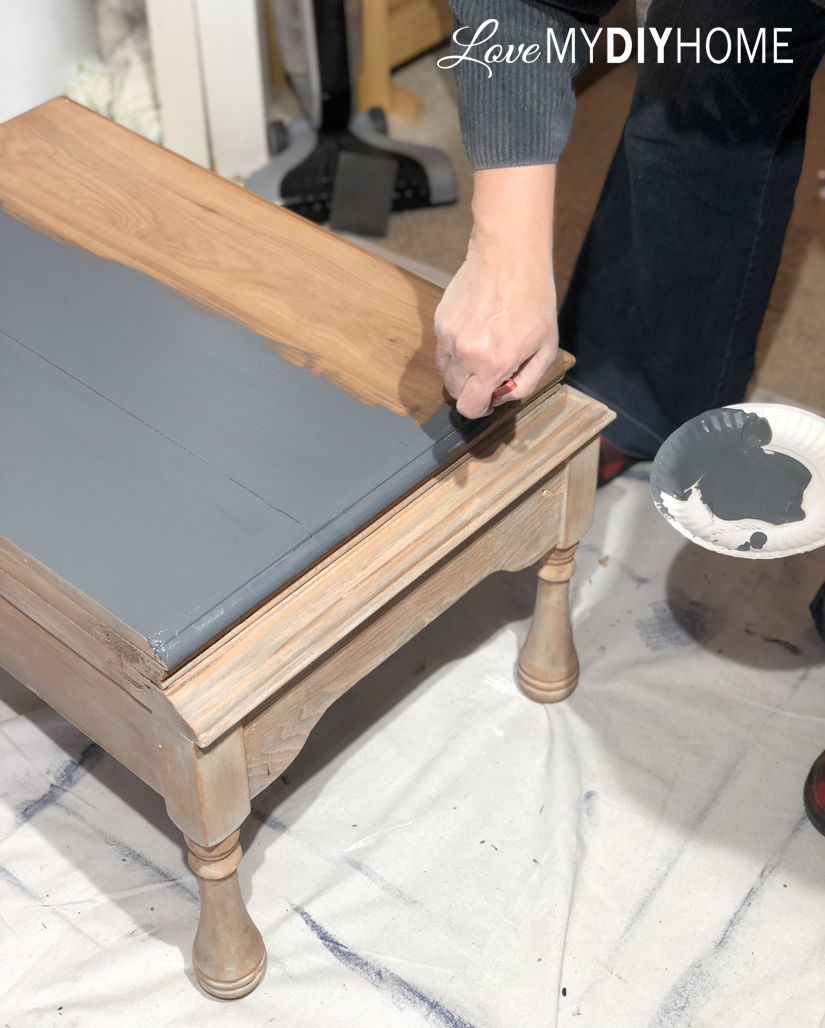
Once you get the hang of dry brushing, it's no big deal. The first few times I did it, I was very timid. Now I just go at it without much thought. Dip offload, swipe in a non-perfect manner until you like what you see.
Veneer/Staining/Sealing
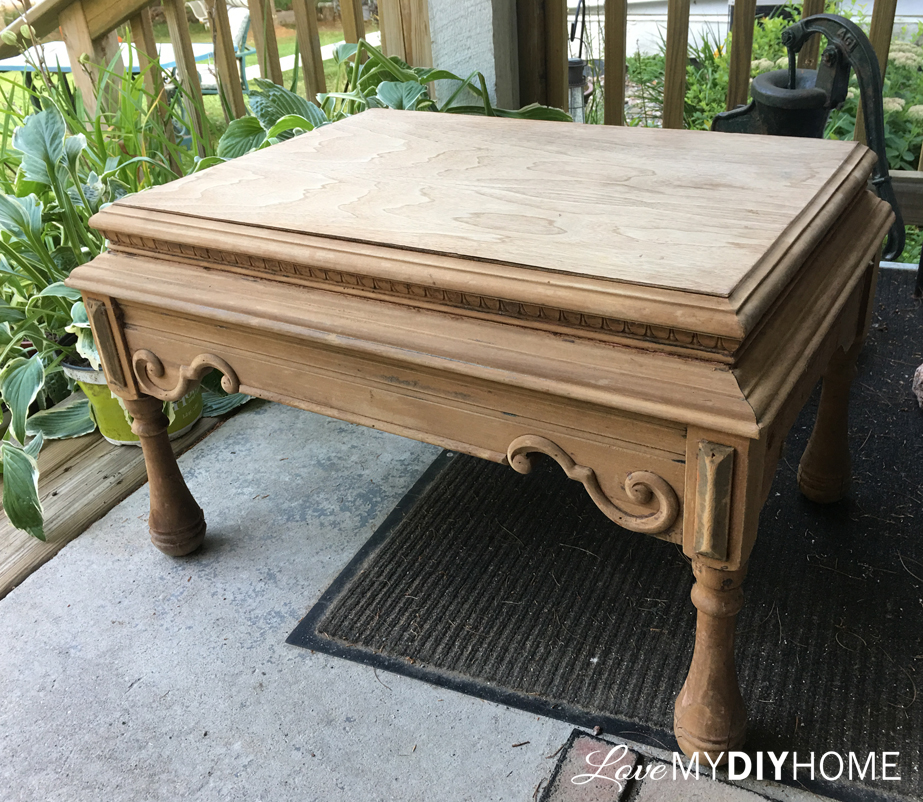
There was a thin veneer on top of the radio cabinet base that DH removed. It was damaged and since it wasn't anything special, removing it was the best option. You never know what will be underneath, but we figured it would be something decent considering the piece. Once off we found interesting wood pieces that didn't match, which was fine. It added to the charm. Two of the boards were separated just a tiny bit so I left them as they were rather than filing in the crack or trying to fix it in any way. I liked how it looked. Every time DH walks past it he says, "Did you know there is a crack in the seat?"
He likes to annoy me. He knows that if he starts his sentence with, "Did you know..." when he walks past any of my pieces that it will get a rise out of me. He likes to freak me out. He is NOT funny.
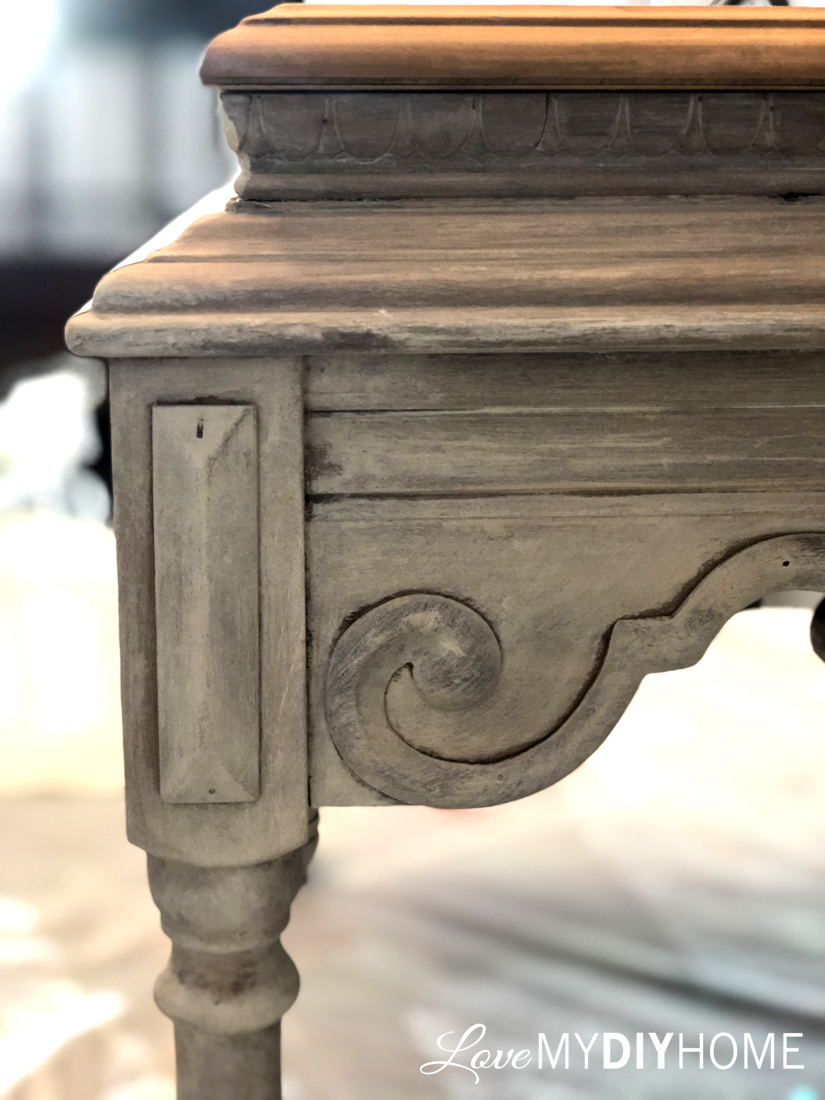
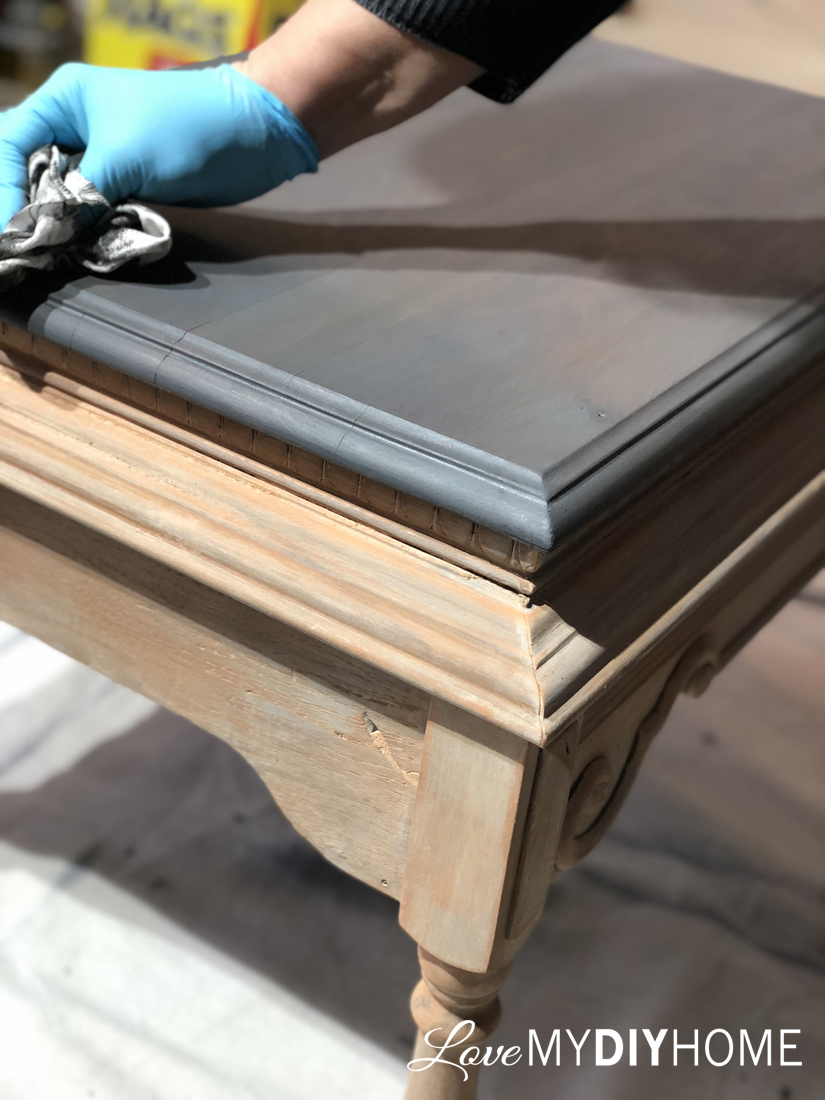
The top was sanded down to bare wood and stained with General Finishes Gel Stain in gray and wiped back to leave just a hint of the gray. I sealed it with General Finishes Wipe on Poly. I so love that stuff.
Attaching the Seat
We took a couple of weeks to attach the seat because I couldn't decide how I wanted to do it - keep the pieces separate and let the buyers figure it out or do it ourselves in a way that it could easily be taken apart for transport. DH had to figure out the best way to decrease the likelihood of damage while moving it since there were very thin panels in the door that wouldn't hold bolts. We also needed the door to sit flush with a wall since it's a hall tree. So while I pondered, he did too. We finally decided we DID want it attached, so he worked out a plan. Sometimes we just need time to mull things over.
While pondering, we discovered the door needed shaving on one end since it was terribly crooked.


Two Heavy Duty Bolts
He ended up going with two heavy bolts through the back, vertically, with washers on both sides to protect and stabilize both entry and exit areas, bolting it to the seat through the middle panel. This way it would be strongly attached, but easily separated if needed, and it would be flush on the back side.
THE AFTER
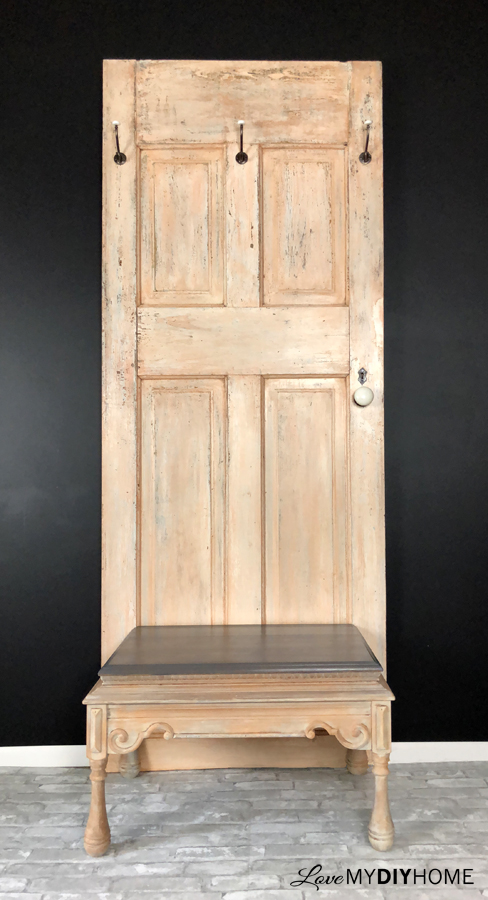
Staging
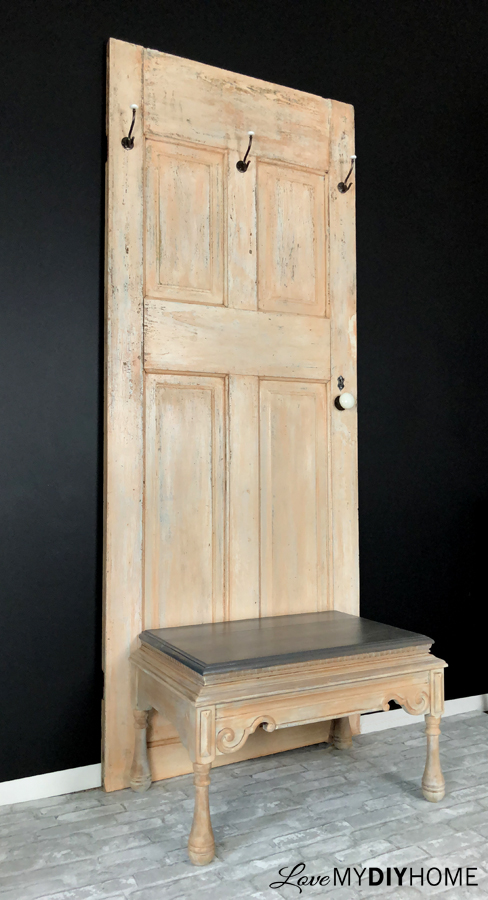
Since the piece was tall and wide, I had to get creative for staging. Fortunately I had a black wall next to where I normally stage that would be a good background to show off the light colored hall tree. I used my 4x8 faux brick wall for my floor and a loose piece of white trim to give me the floor trim. It's all a necessary illusion that adds to the character of the piece, giving it a romantic feel. Marketing.
Everything is about marketing, and it's worth the effort to present your work. You saw the charm of the piece as you painted it. Now it's time for you to get your customers to see it too. Can you sell apiece without staging? Maybe. Probably. But why not go the extra mile? Often it pays off.
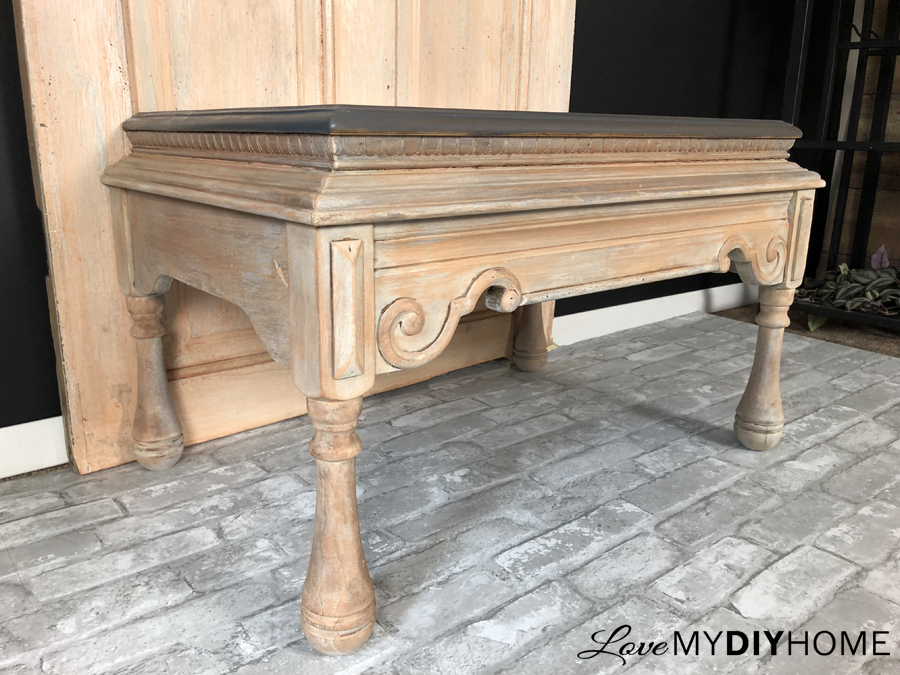
Just a PEBBLE
The first time I try out a new product, I feel a bit of intimidation. It's not because I lack confidence. It's not because I dislike trying new things. It's because I want to do it right the first time and not have to deal with a re-do. I hate re-dos.
I hate missing my exit and having to drive over the same road I just traveled. I hate repainting, sanding off what I just did, or changing my plan because of a mistake or problem with the product. I hate re-dos. Sure, you learn something each time, but I'd rather just do it right the first time. I'm not a jump in with both feet without planning type of person. I'm cautious. I'm careful. I'll walk around a project for a long time before starting out if I'm not sure. That's just me.
So if I can tell you the little things, the little tips that get you going and on the right path to avoid a do-over, or if I can take away the intimidation of starting out using a product that is different from the norm, then It's a win/win.
So watch the video and see if it helps you just enough. Just enough can sometimes get us past the road block. Sometimes just a pebble can be a major road block. Let's get rid of the pebbles.