Applying a transfer is easy once you know the ins and outs of how to apply it. Take your time, be systematic, and be meticulous.
This transfer took me 30 minutes to apply. It was a little finicky, but I was able to get it all down with a bit of elbow grease and patience.
Through the miracle of video editing, I was able to shorten the video to 12 minutes.
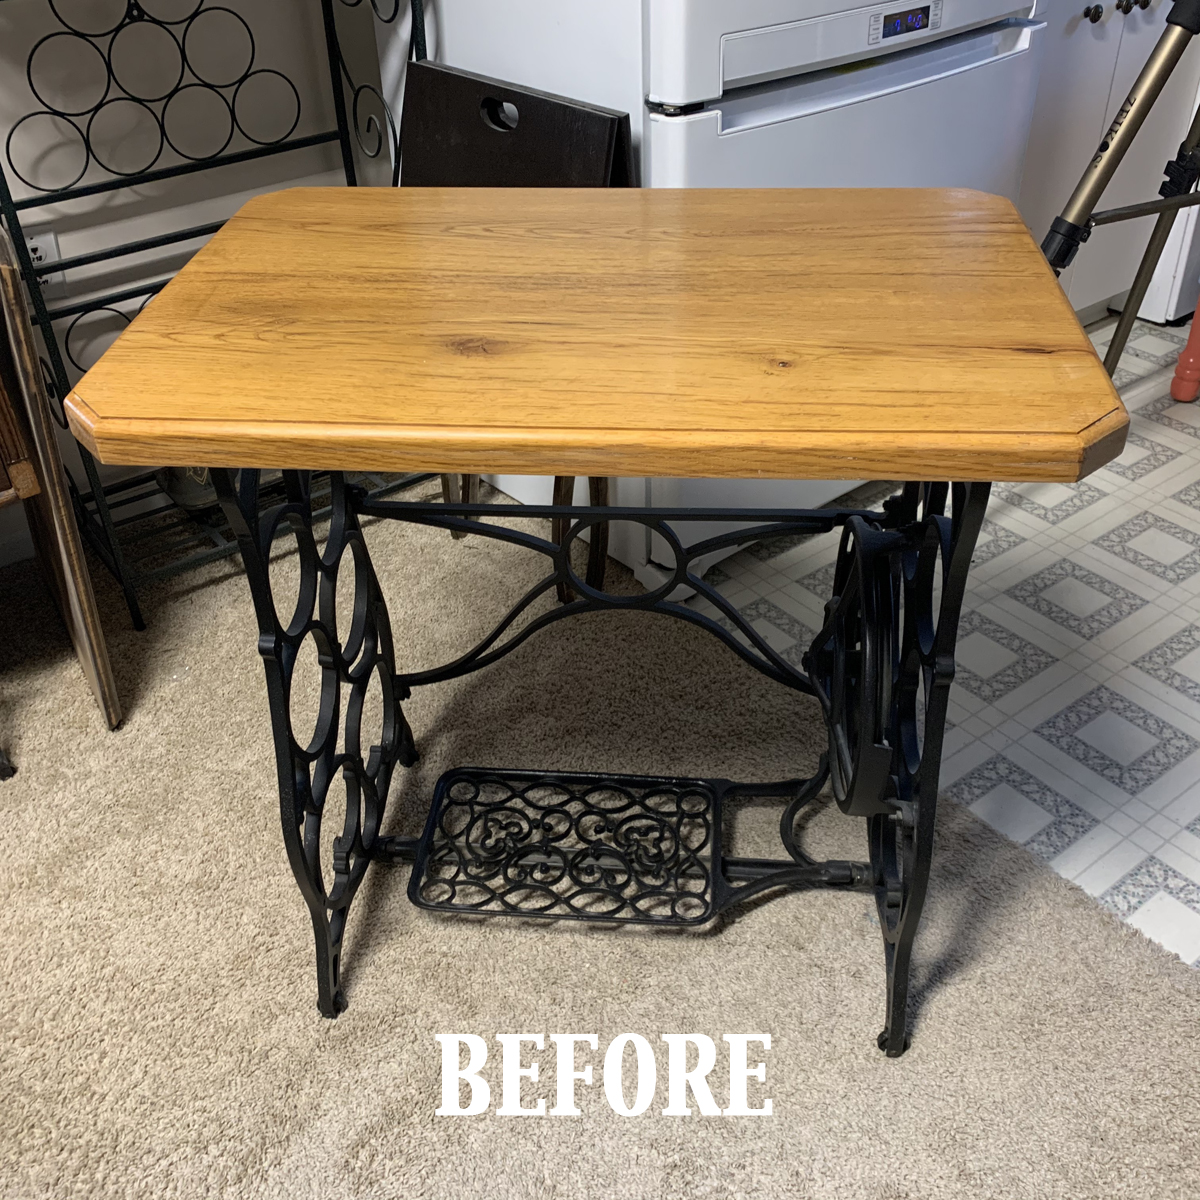
After the video, you will find a before and after.
Happy transferring - it really is quite fun to do!
I used grain filler from CrystaLac instead of wood filler to fill in cracks and holes on top.


Ya know how I know it turned out right?
I want to keep it. 🙂
PS: I used Dixie Belle Vintage Duck Egg for the base, then lightened that same color with white for the stencil and distressed it. I finished it off with Matte CrystaLac water-based Polyurethane.
I can’t wait to try a transfer and it is so helpful to watch an application! The lights I have are similar to yours. I have trouble as the area (garage) I use has florescent above and the reflection is difficult to deal with. I really like the CrystaLac poly I have and this wood-filler looks nice to work with. Is it easy to sand and is the benefit of it also that it dries clear? Thanks.