Welcome to
Redesigning Ruby
Your Step-by-Step Beginner's Video Course
Let's Flip Together FB Group (for a limited time) >>> https://www.facebook.com/groups/letsfliptogether/
You are here because you want to learn the ropes and learn them quickly and accurately. You have now placed yourself in the top tier of furniture flippers. I call you my top 20%. Not everyone wants to give their best, learn new things and commit to advancing their knowledge and skills.
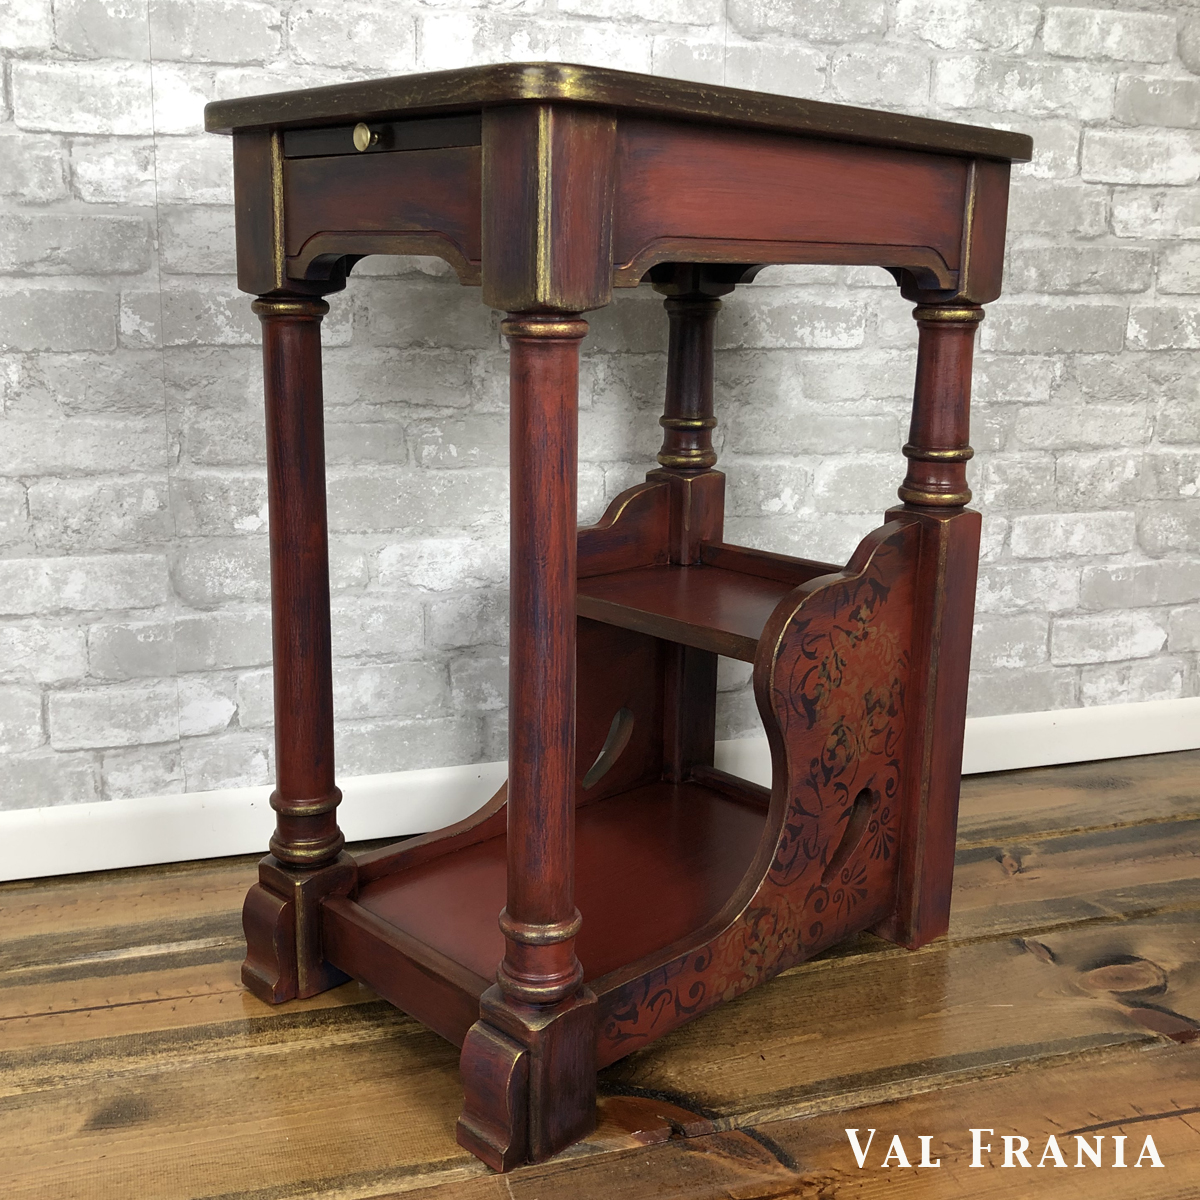
I will walk you through the transformation of a side table that I had in my guest room for a couple of years - it was boring and needed a facelift. I'll also throw in some tips for you that I house on my membership site, Furniture Flipping Blueprint. If you'd like a special invitation to join FFB - message me. I'm totally vested in your advancement, your success, in this our fun business of furniture flipping.
Now let's get started with A Prep Talk
PREP
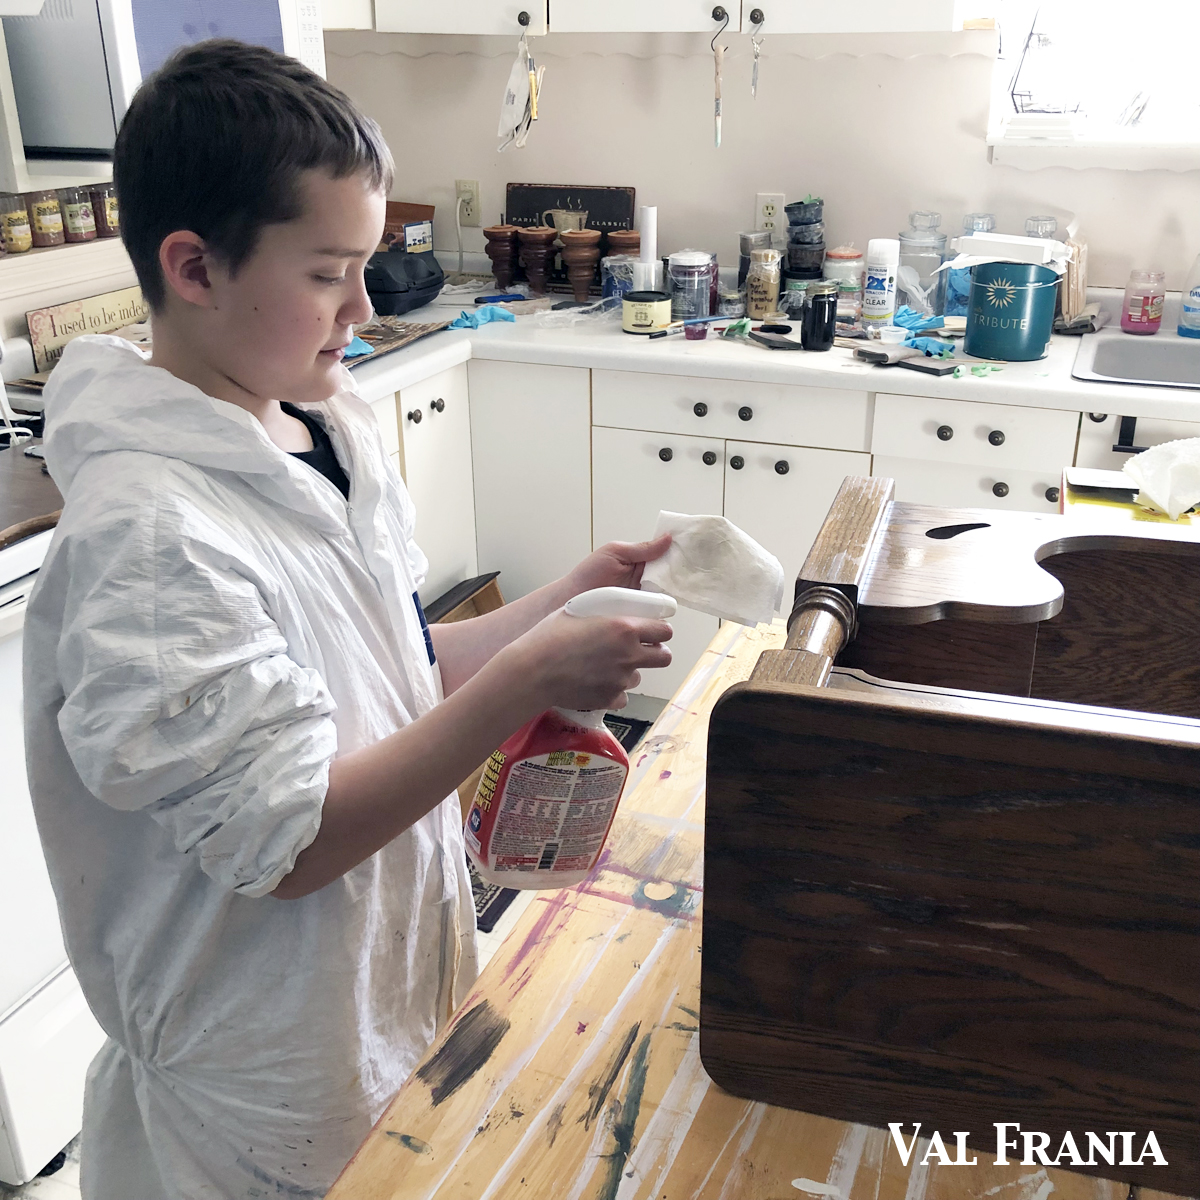
We cleaned with Krud Kutter and Scotts Rags, rinsed with plain water and then sanded to take off the shine on the finish with flexible sand paper wrapped around a sanding sponge. TIP: I had bought a big bag of disposable sanding sponges and once they are worn out the sponges are still good even through the grit is mostly gone. I then use them for finishing sanding and to wrap my flexibles around.
TIP: Enlist the help of kids around you to help with the prep. Not only will it save you effort once they are trained, it's good for them to learn the trade and spend time with you. Here my grandson, Hudson is cleaning, sanding and painting the first coat.
I will link the products with my affiliate link so you can easily find them.
Base Coats - Layering
I had Hudson paint the first coat of Renaissance Furniture Paint in Black Indigo. The second color is Renaissance Furniture Paint in Venetian Red.
I used a ClingOn brush for the second coat, not going for full coverage, since the plan was to dry sand distress down to the first coat.
TIP: those of you who are Blueprint members, I have a discount code for the ClingOns at Wise Owl in our bonus section.
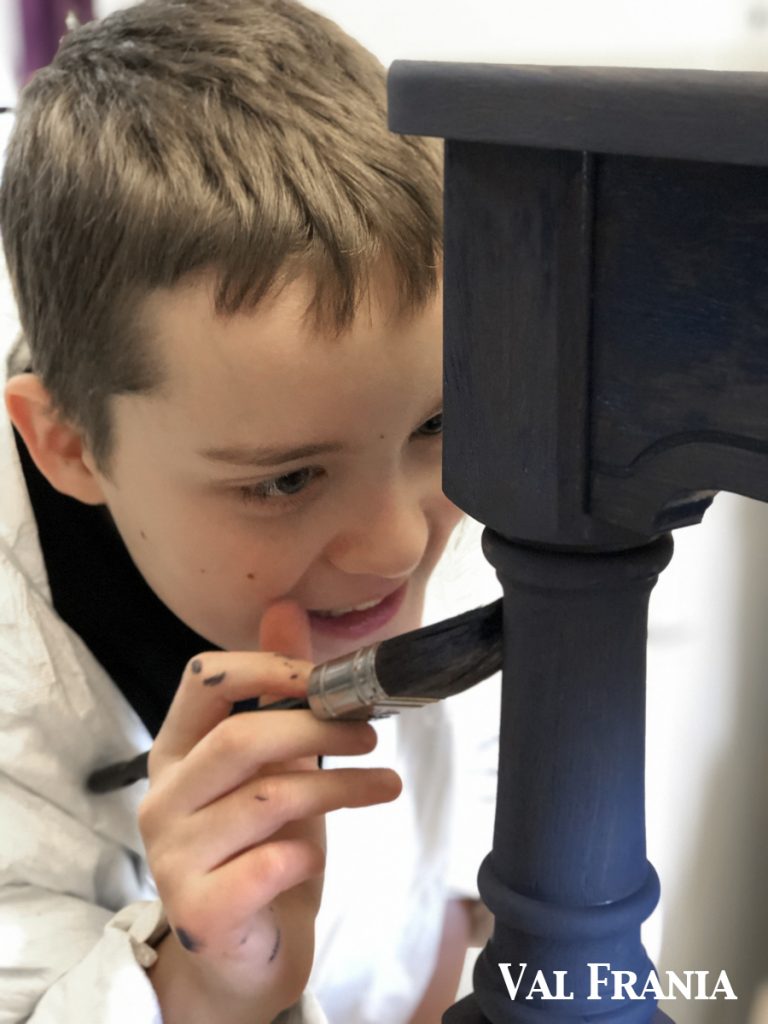
It's not seldom that I see a post about a painter who noticed a spot they missed while helping load a piece into the customer's vehicle. Here's a little tip for you. Paint, flip, paint again. Whether you start painting your piece's first coat right-side up or flipped upside down, be sure to switch it when it's dry and look for missed spots, catching them with a less than full brush so you don't have as much trouble with drips.
Getting an Aged, Worn Look
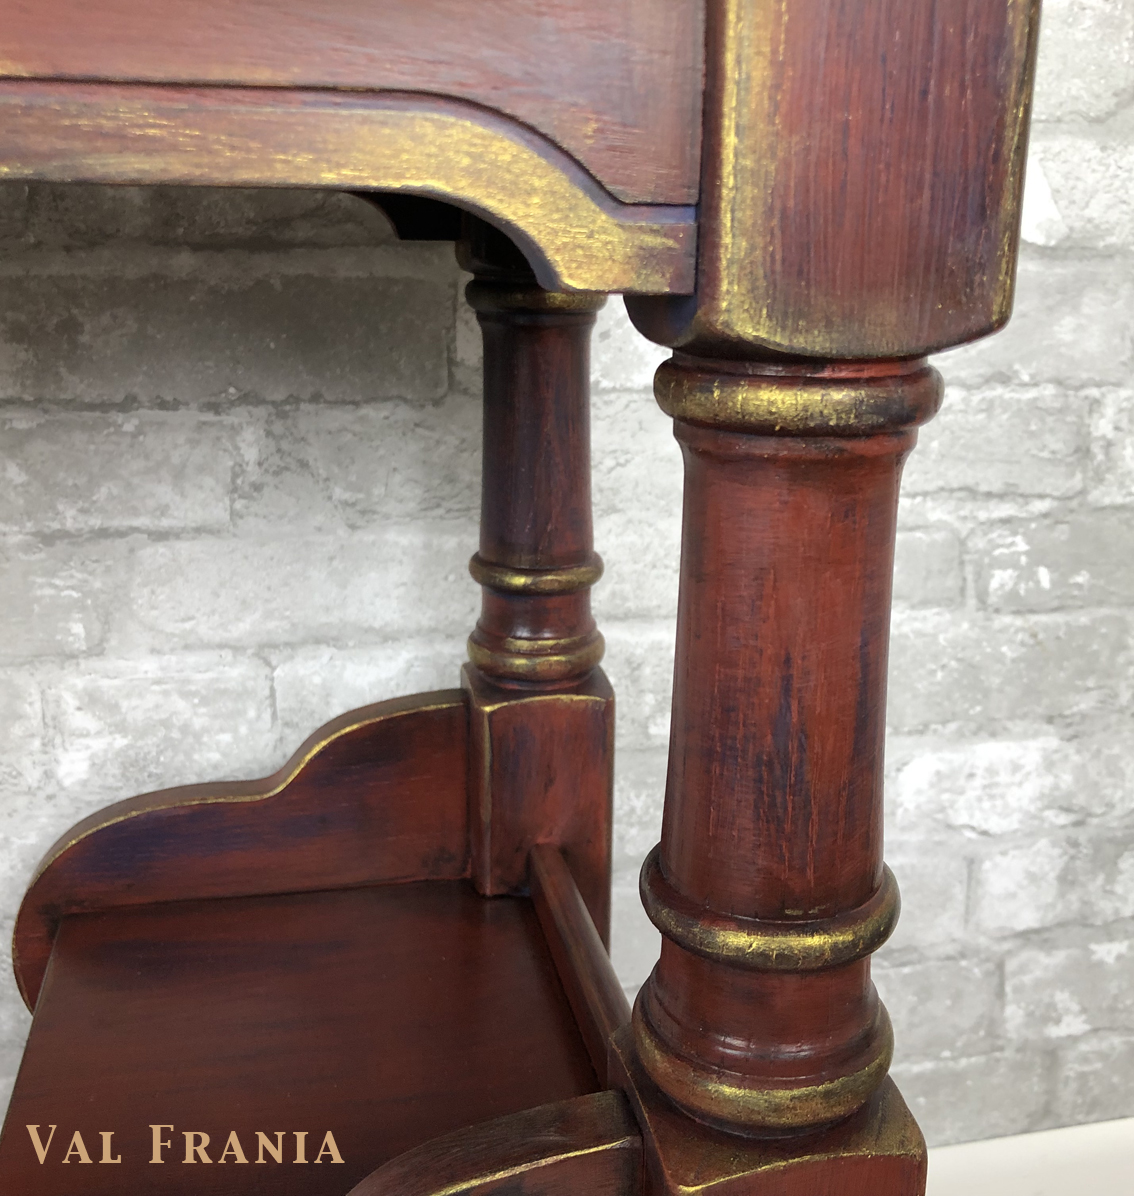
There are many ways to distress a piece using different methods and products - dry, wet, using paraffin wax, petroleum jelly, etc. Today I show you the dry sanding method. The method you choose will depend on the look you are going for and the paint you are using. Since I used the Renaissance paint, dry distressing is the best method.
DRY SANDING down to the BASE COAT
Once again I used my flexible sand paper wrapped around a disposable sanding sponge.
Many will use the wet sanding method, but for products like Renaissance Furniture Paint and Old Fashioned Milk Paint, the water would reactivate the paint and would make it difficult to achieve the look I was going for. Know your paints and methods to correctly choose.
Don't be discouraged, it just takes time to learn the ins and outs of products, methods and certain looks.
A Creative Finish with Retique It
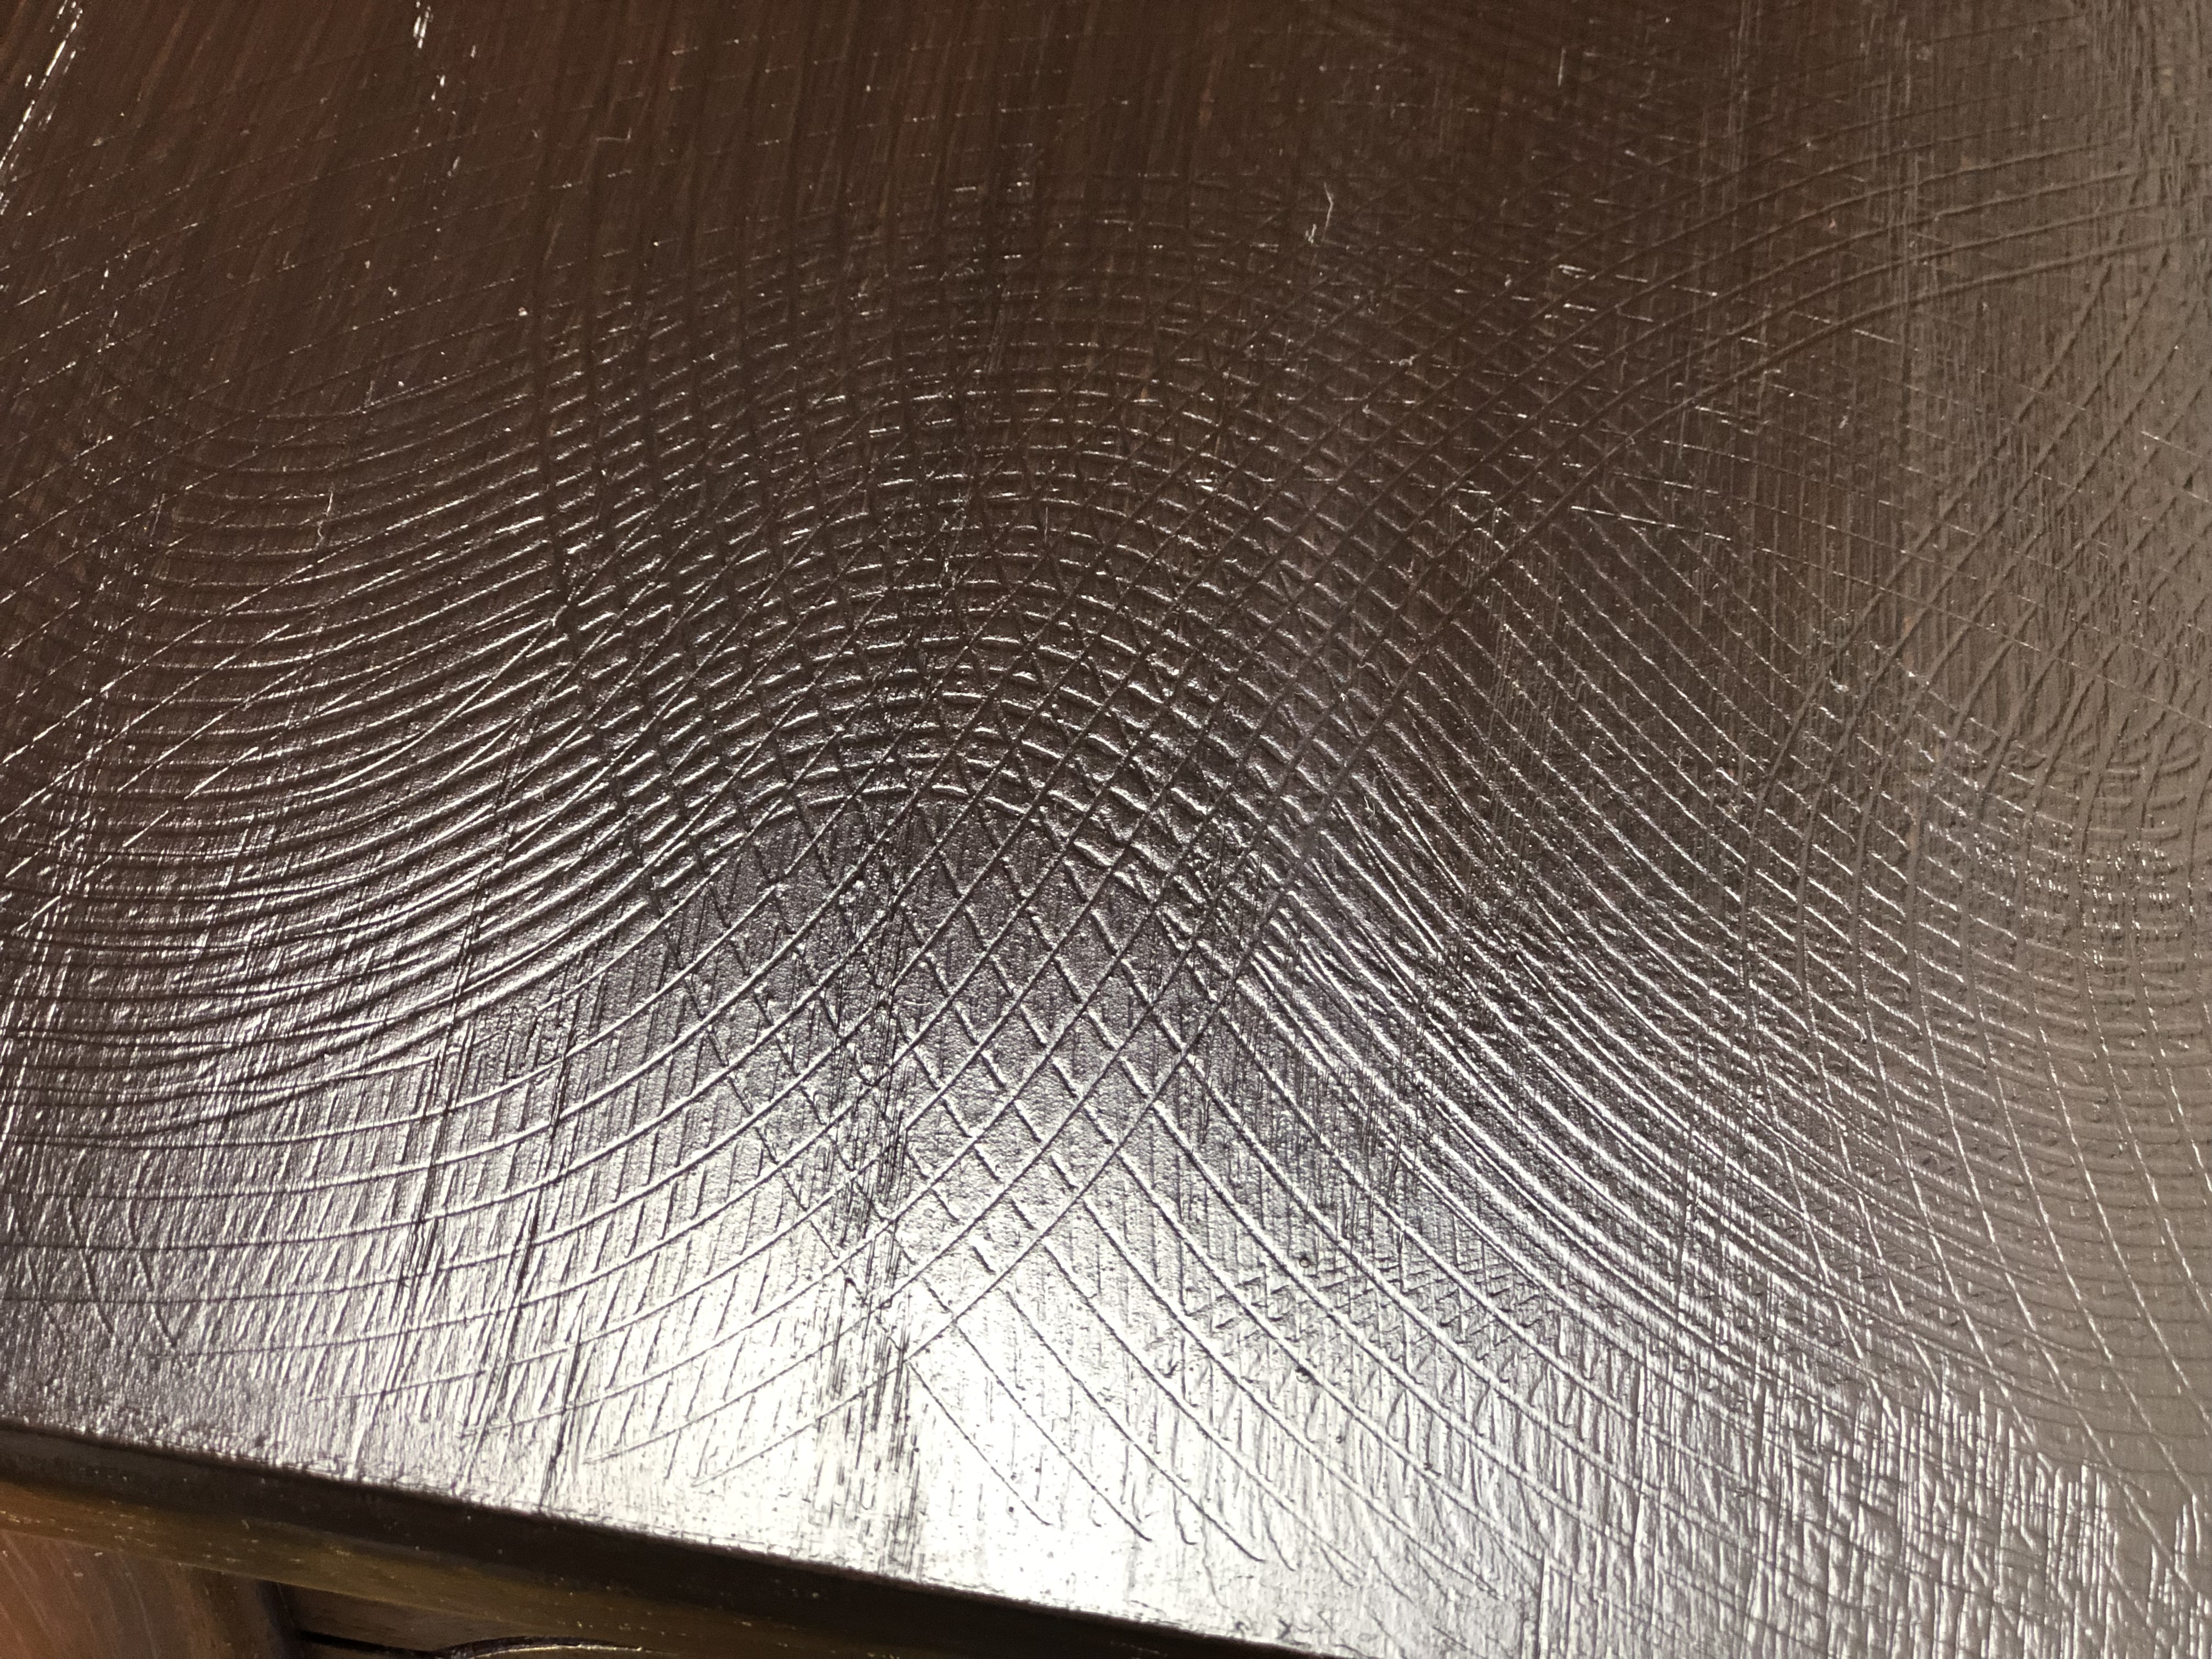
The piece is wood, but I had another idea for the top. The veneer was cracked and needed repair but I wanted a quick fix that I could stain - and get a little creative at the same time. Everybody does the grain look, right?
I used Retique It, Java Gel Stain by General Finishes and a special type of graining tool that is triangular and has three different choices of grain.
Final Coat of Gel Stain
This project was a little different than my others because of the type of grain I used on the top. As you saw in the above video, I used a t'shirt rag to apply the gel stain. Because of the tiny grooves, I kind of scrubbed it on. For the last coat, I used a staining sponge from Home Depot. I've tried cheaper ones, but the Home Depot HDX ones are the best in my experience. Be sure to beat on it a little bit away from your project to get rid of any fuzzies that might interfere with your staining.
Two products for Top Coats
On the top I used General Finishes Gel Wipe On Urethane because polyurethane is known for its durability. For the body I used Retqiue It's polyacrylic. Both are super easy to use.
This is the order of use:
1. Once the top was stained, I used the Gel Wipe on Poly, 2 coats.
2. After distressing, I used one coat of the Retique It polyacrylic, brushing it on.
3. I stenciled.
4. After the stencils dried, I brushed on two coats of the Retique It polyacrylic.
To the left is a tip about using the Retique It poly. It's on a different piece, but you get the idea.
Stenciling and Distressing the Stenciled Motif
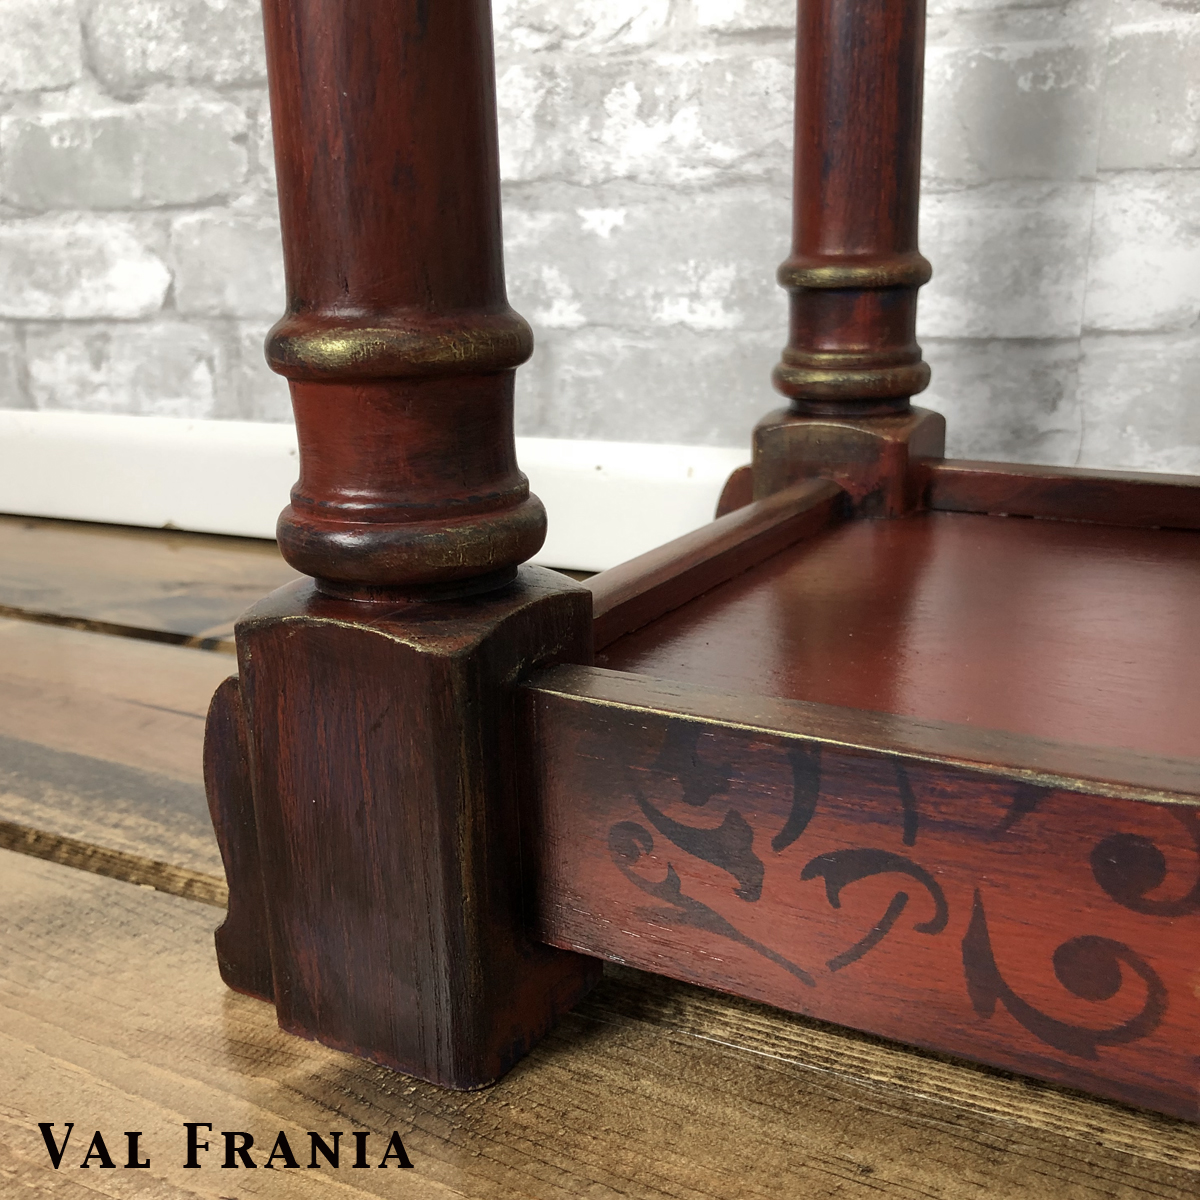
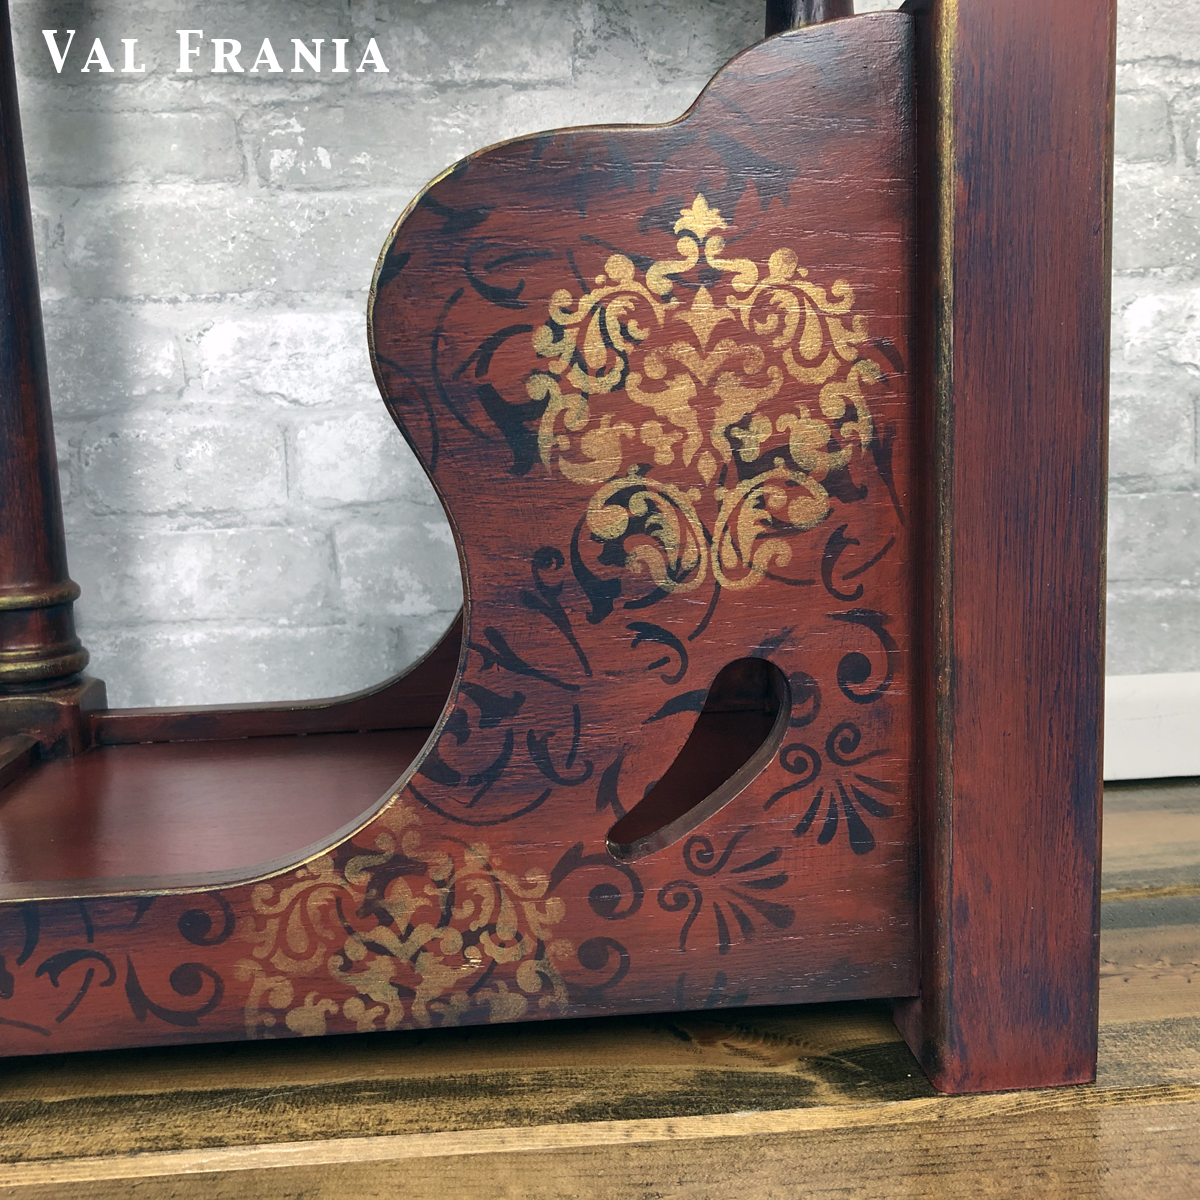
I used two different stencils, paints and then distressed the motif. For the back design, I used a dark brown acrylic craft paint. For the top motif, I used General Finishes Burnished Pearl Effects. Using a sanding sponge, I distressed the motif just enough to make it look worn. Be sure to only distress one way - right to left and left to right, or top to bottom, bottom to top. Or, you can lightly sand in a circular method, but watch out for any patterns that might develop. You don't want any circular patterns.
Antiquing with Gel Stain
Using traditional glaze to achieve an antique look isn't the only option you have. I tried out General Finishes Java Gel for the antique look and loved how easy it was to use. Be sure to wait 72 hours before you apply any water based top coat over the gel stain since it's oil based.
Adding a Little Glitz
It needed just a little more...not too much, just a bit of glitz. Plus, I really wanted to try out some gold wax from Retique it. It's a super value for the amount you get, which was a great surprise when I first got it. The other gilding waxes give you so little for a high price. This was easy so to use. It was the final step. No top coat needed.
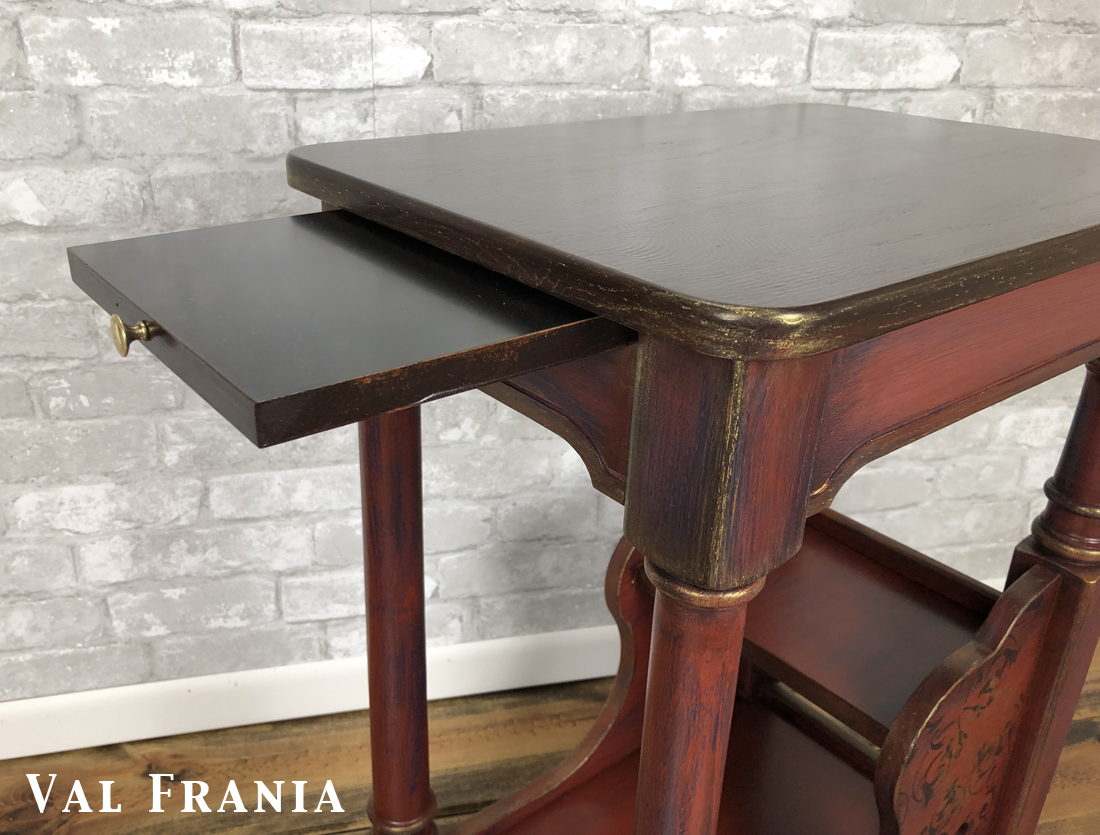

LIST OF SUPPLIES
Before ↓
After!
