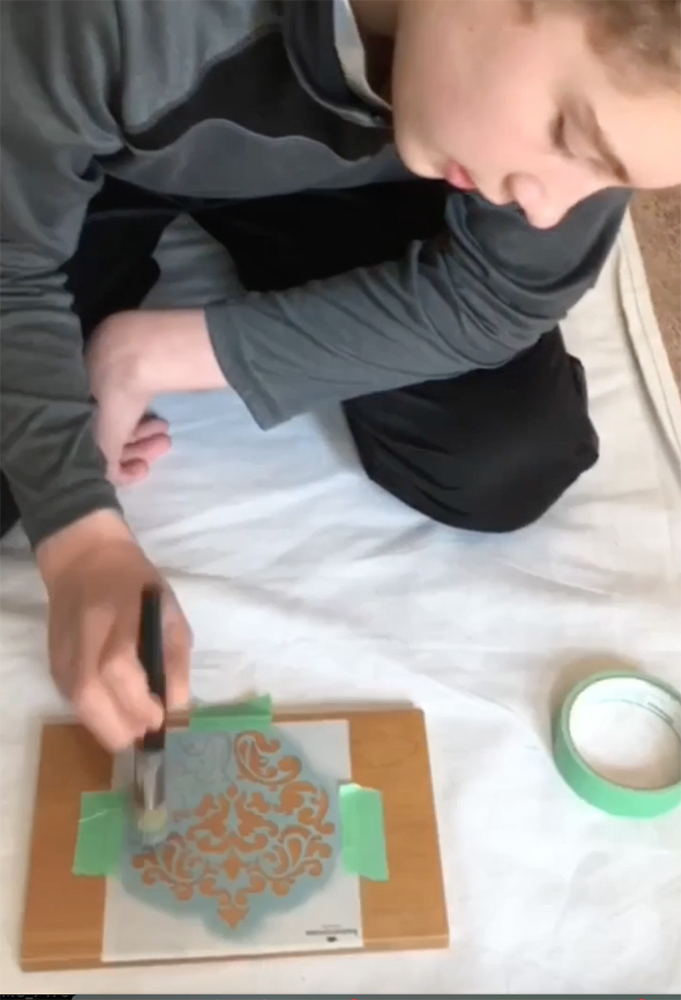
Most Think Stenciling is Hard
Stenciling is not difficult; it just takes practice. It's like riding a bike. Once you get the hang of it, you will always know how and enjoy it. With patience and practice, you will be able to say you know how to do what artists do - create beautiful works of art.
There are many different stencils available. Look around until you find one that you like. I have linked to the one Isaac used in the materials list.
Watch how Isaac "pounces"the stencil brush quickly up and down to get the paint onto the table top. This method helps keep paint from seeping under the stencil. Be sure to have just a little bit of paint in your brush before starting. This is called "off loading". Get paint, wipe most of it off onto a paper towel and then stencil. If you stencil with too much paint in your brush, it will bleed under your stencil.
8 min 45 sec
Materials
- General Finishes Burnished Pearl Effects
- Clock stencil
- Stencil brush
- Paint tape
- Paper Towel
- Paper Plate
- Sanding sponge - fine or extra fine grit (If you want to distress your design)
- Any top coat
It's best to stencil on a practice board first. Here you see Isaac doing that before stenciling the real project. It may take you a while to get the hang of stenciling. Patiently practice until you learn how much paint to have on your brush and how to apply it by the pouncing method. He used Polyvine topcoat on this practice piece, but feel free to use any top coat. On his finished piece, he tops it with CrystaLac Gloss water based polyurethane.
Stenciling the Top
- Collect the materials needed.
- Decide which part of the stencil you want to use and tape off (cover) the rest.
- Tape your stencil to your piece of furniture.
- Pour just a little bit of paint onto a paper plate.
- Dip your stencil brush into the paint and wipe most of it off onto a paper towel.
- Pounce (quick up and down) your brush onto the stencil so the paint transfers to your piece.
- Lift up one part of the stencil once you get started to make sure the paint isn't too thick or bleeding under the stencil.
- Continue until all of your design is painted onto your piece.
- Take off the stencil right after you have finished painting and clean it with soap and water right away.
- Wash out your brush with soap and water.
- Let your design dry for at least two hours.
- If you want to distress your design, VERY lightly sand over the design with a sanding sponge going only one way.
- Wipe off any sanding dust.
- Apply top coat to the top & let it dry for at least two hours.
- If you see your top coat has fuzz dried in it, you can lightly sand it with a sanding sponge if you decided to apply a second coat.
