You're Almost Done!
This is the final step! You will be amazed when you are done at how fun furniture art can be. This is your time to shine and show your talent. When you decorate furniture, you have a permanent piece of art that is usable as well as beautiful.
Before you get started, be sure to set out all of the materials you will need. Don't skip steps and take your time. Stenciling will bring life to your piece and make it stand out. Since you've put on a top coat, there is no reason to stress over your stenciling. If you don't like it, just wipe it off before it dries completely and start over. And remember, perfection isn't needed. No piece of art is perfect. This is the time to enjoy creating something beautiful and if you are happy with your art, then that's all that matters.
Your Final Step
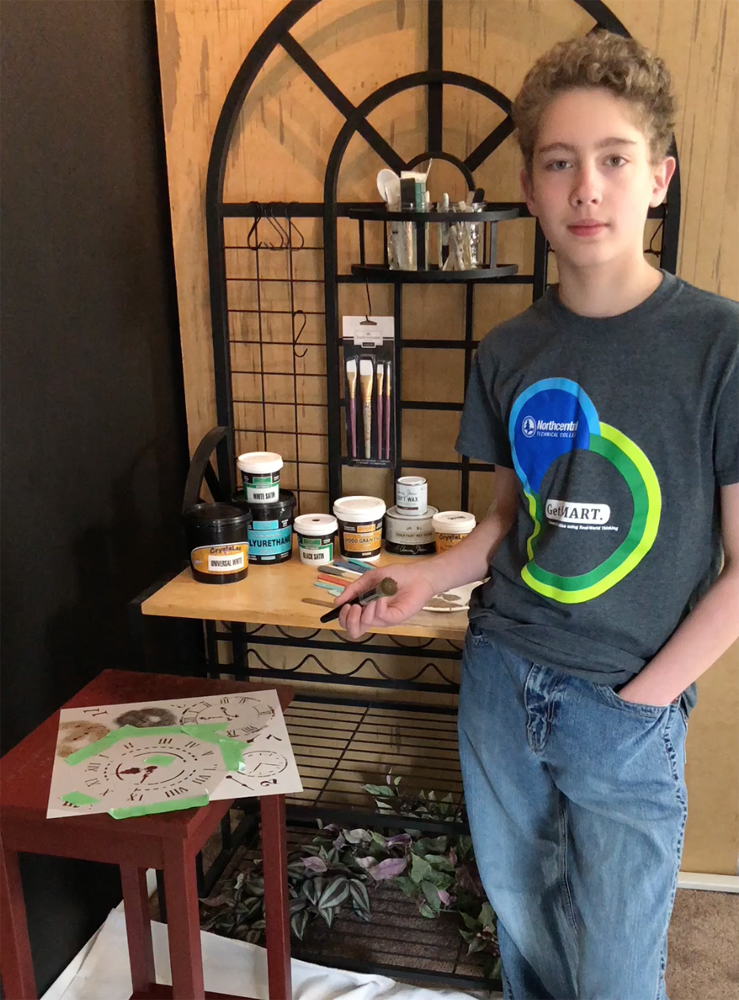
After you have finished decorating the top of your piece of furniture, you will want to finish it with at least two coats of a top coat. You can choose any brand and sheen. If you use a flat top coat, you will need more coats for protection since it's not as durable (strong) as a matte, satin or gloss. Isaac used CrystaLac topcoats because they are easy to work with. The links are in the materials lists. BUT, you can pick any topcoat brand or sheen.
After your piece is finished, let it cure for 20 - 30 days. "Cure" means to be sure the paint and top coat is completely dry and hardened enough to start using the piece of furniture. If you put dishes like hot or cold cups of hot chocolate or ice water on your piece, be sure to use a coaster. This should be considered a fine piece of furniture that needs to be taken care of.
Congratulations for making it to week 5! I hope you enjoyed creating your own special piece of art! Be sure to email me and send me a picture of you with your piece - you can find my contact button at the bottom. If you do, please let me know if I may publish the photo of furniture art to celebrate your accomplishment!
3 min 2 sec
Materials
- General Finishes Burnished Pearl Effects
- Clock stencil
- Stencil brush
- Paint tape
- Dry paper towel + wet paper towel
- Paper Plate
- CrystaLac top coat - gloss
- Sponge brush
- Sanding sponge (fine or extra fine)
It's Time to Stencil!
- Collect the materials needed.
- Decide which part of the stencil you want to use and tape off (cover) the rest.
- Tape your stencil to your piece of furniture.
- Pour just a little bit of paint onto a paper plate.
- Dip your stencil brush into the paint and wipe most of it off onto a paper towel.
- Pounce your brush onto the stencil so the paint transfers to your piece.
- Lift up one part of the stencil once you get started to make sure the paint isn't too thick or bleeding under the stencil.
- Continue until all of your design is painted onto your piece.
- Take off the stencil right after you have finished painting and clean it with soap and water right away.
- Wash out your brush with soap and water.
- Let your design dry for at least two hours.
- If you want to distress your design, very lightly sand over the design with a sanding sponge going only one way.
- Apply top coat to the top & let it dry for at least two hours.
- If your top coat has fuzz dried in it, you can lightly sand it with a sanding sponge before putting on another coat. Be sure to wipe off the dust from sanding before adding another coat.
- Apply another coat of top coat.
- Enjoy your new work of art!
Why Do We Sand Between Coats of Paint and the Top Coat?
Sometimes when you paint, you will get brush strokes and would like a more smooth finish. Sanding evens out the paint. When you top coat, fuzzies floating in the air can fall onto your top coat when it's drying and get stuck. Sanding smooths your finish out and will take care of any fuzzies that dried into it. It's called "building your finish." This is not required, but will make your finished piece much more smooth and pretty. BUT, if you like texture and don't want your piece to be smooth, then don't sand between coats of paint. If your top coat has dried without any bumps or fuzzies, then it's up to you if you want to sand between coats.
