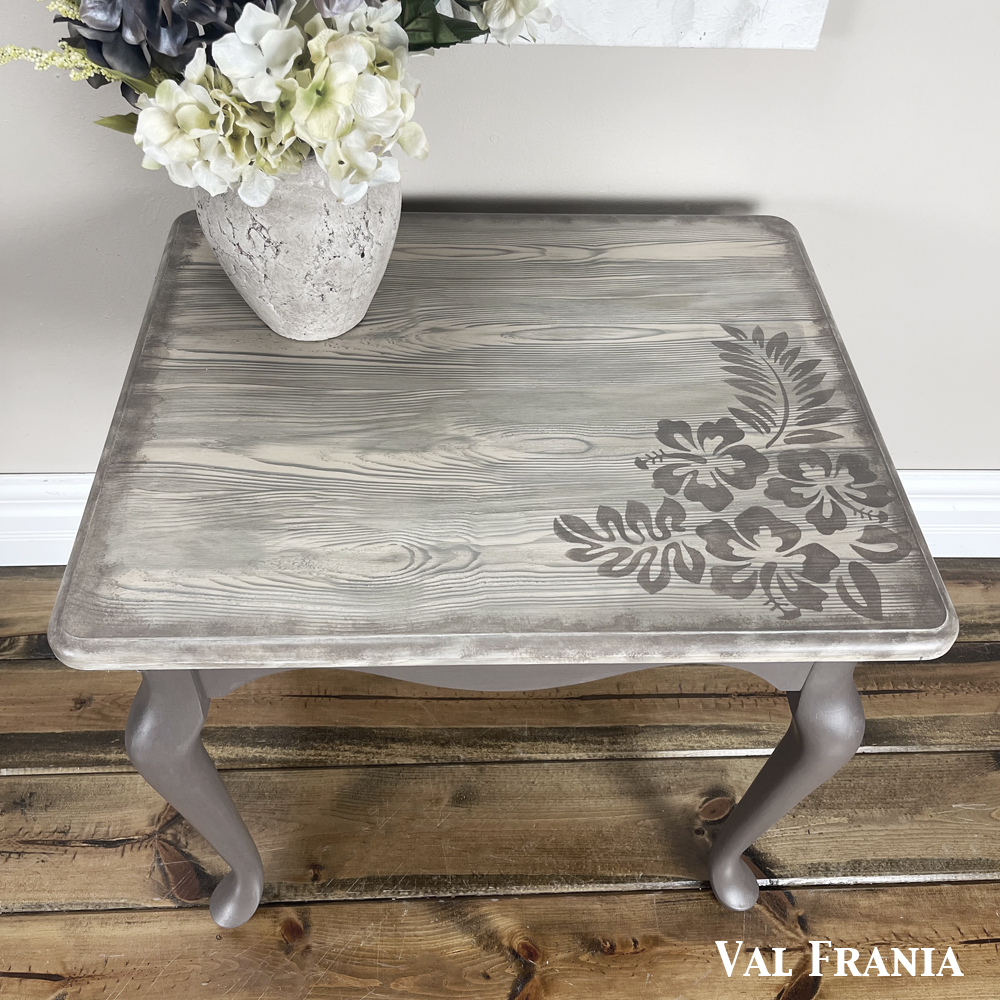
At our July 2021 Meet-up, we focused on learning and honing skills. One of the projects was a set of matching end tables and I challenged them to use Retique It Liquid Wood and 2 - 3 different stains to make them match. This wasn't an easy feat since we were using two shades of liquid wood and the graining tools.
The challenge was to make the tops look like the wood grain was naturally occurring and to tops will look alike, but not exactly, since natural wood grain from piece to piece is does not perfectly match. To do so, one must adapt a flow when using the tools that goes against the grain (pun intended).
This is accomplished by rocking the graining tool and not pressing down too hard. It's tempting to rock the tool too often and pressing down to where the tool will hop or skip.
We took some time practicing on little wood plaques graining, trying out the different liquid wood colors and to determine the perfect combination of two or three stains to give a unique look.
We all agreed they nailed it. After a couple of tries, both the plan for grain and stain came together beautifully.
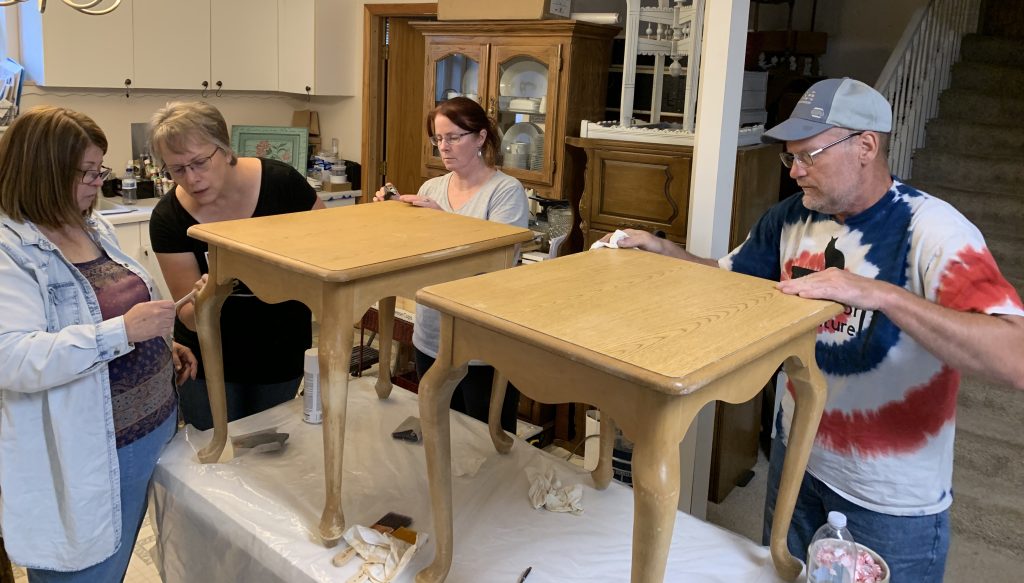
Pictured below L - R:
Lucretia, Val (me), Tara, Lloyd
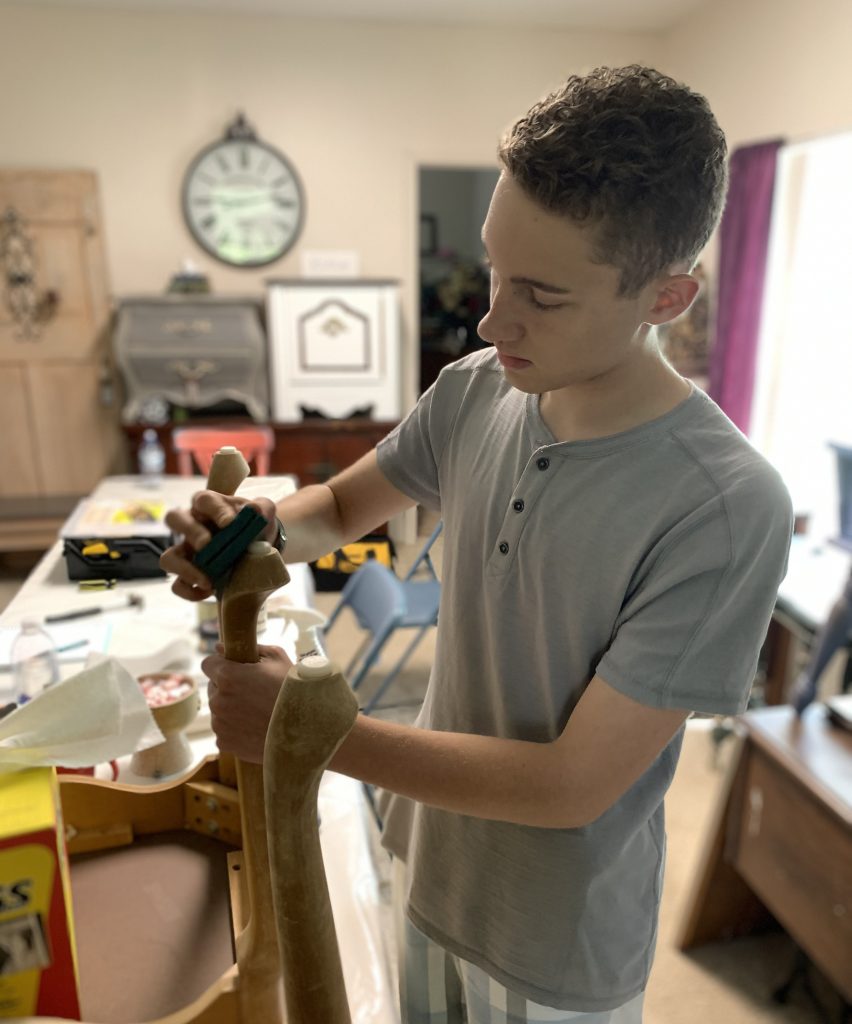
15 y/o grandson, Isaac, in the photo on the right is fixing the feet for us - he was on hand helping out all three days.
Below is a brief overview of our meet-up, and then after, I will share what I did with the project after they all left, while creating the videos I need for my new group, Furniture Flipping Basics.
It took me a long time to get back to the end tables, but I'm pretty happy with how they turned out!

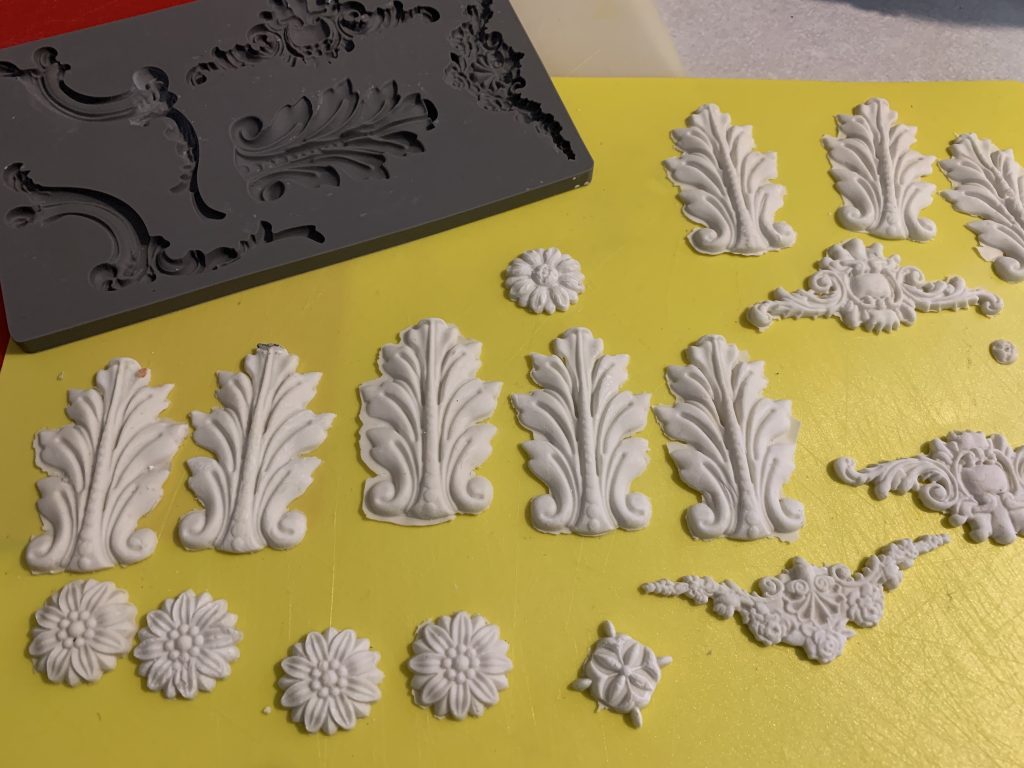
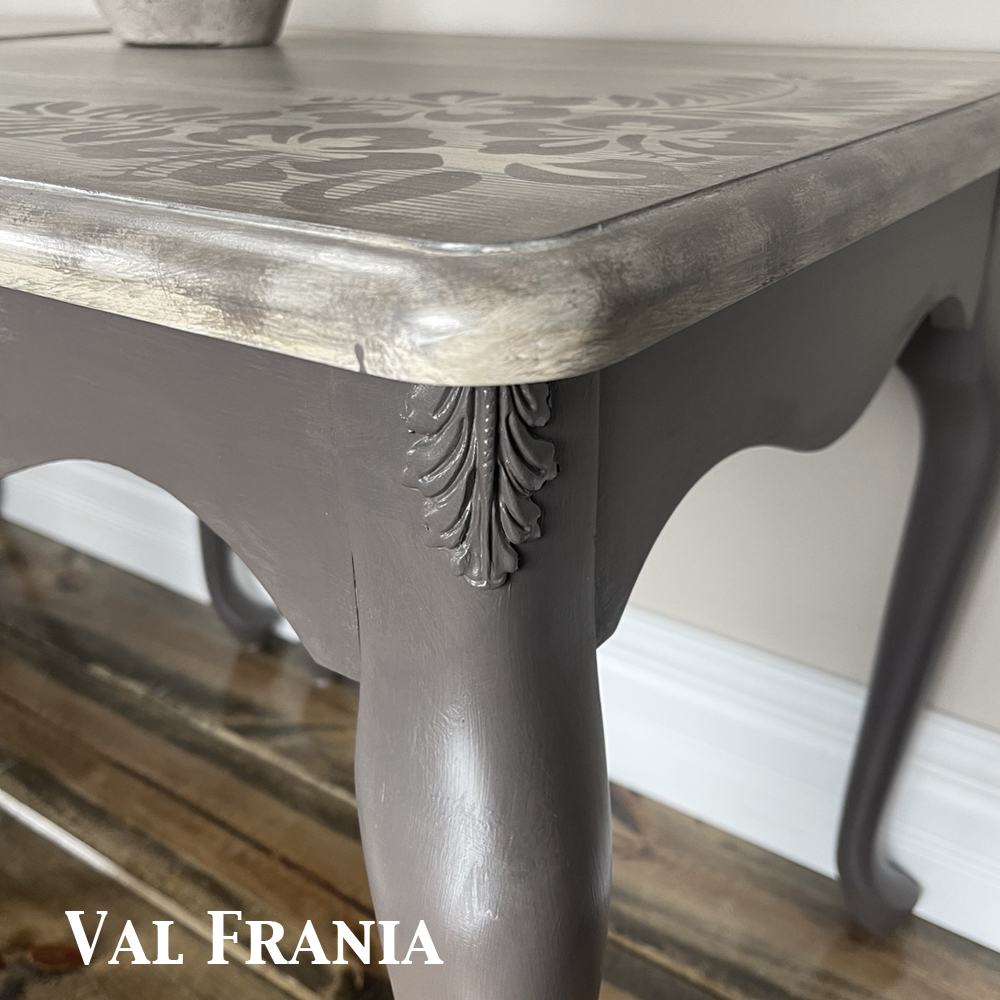
We also created appliques for the legs - that was fun! We used Form Flex Compound, following the directions that another member, RoseMarie gave to us just before our meet-up. Unfortunately Rose wasn't able to make it, but she was there in spirit and no doubt will be there this year!
THE BASICS
Too often we assume everyone knows the basic methods, products, and techniques that lay the perfect foundation for a great piece. We want our art to last another hundred years, don't we?
Details matter and not just for longevity. If we know the tips and tricks then we can save money, time and frustration. Feel free to lend your own tips in a comment.
Below are the basics I used to I finished the end tables. If you are in that new group, FFBasics, to help build our tribe with me, first, "thank you," and secondly, you'll be seeing these same videos over the next couple of months.
ATTACHING APPLIQUES
PAINTING WITHOUT TAPE
My life improved dramatically when I learned to paint without using tape...Hallelujah! I seriously disliked using tape and feel like my painting soul has been set free! VBG
APPLYING POLY
My preferred product is Retique It's Polyacrylic for inside projects, and Polytique It for exterior projects. There is also another couple of products by this brand to choose from: Tripletique, a more tougher solution with a higher concentration of solids for high traffic surfaces (and much more expensive) and an oil based product, Hard Wax Oil. I've used both and they are good products.
I've tried a dozen different polys and after trying them out and reading and asking questions about the best poly to protect my art, I now stick with this brand of water-based polyurethane. There is more to Polyacrylic's chemical makeup, but simply put, it's water-based polyurethane with a higher concentration of solids to give us the best protection.
I've used all of these products, and they were one of the reasons I decided to open my market. They are phenomenal.
THE BENEFITS OF GOOD BRUSHES
I'm demonstrating three different brushes as I apply poly to the tables to show how each works differently. Of course it is not necessary to use all three, but you might want to! It all depends on what brushes you have, what you prefer and how much of a "handle" you have on your brushes (pun intended).
I finished up off camera just using one, but can see the benefit of using all three.
A LEARNING CURVE
There is a decent learning curve with the graining tool with the liquid wood. Lucretia took the lead and quickly mastered the long sweeping movements of the tool. We didn't take the time to master edging, so it took me a few moments to decide how I would finish off the top.
By no means should you judge your first attempts at graining. It's easy once you get the hang of it, but it does take time. It took me several attempts to master it and even now I often will grab a brush and paint back over and redo my grain.
Lucretia caught on very fast and created a beautiful grain - she varied her sweeps just enough on the two table tops to make them alike but different. Then Tara came in and gave us a beautiful stained look that rivaled anything you will see in a retail store.
Next I will show you how to overcome edging that might be not so perfect.
This is where your creativity serves you well. Even though the edges needed work, the end result turned out better than if they had been "perfect." Yay for the accidental artist inside all of us, just waiting for an opportunity to shine!
LITTLE DETAILS
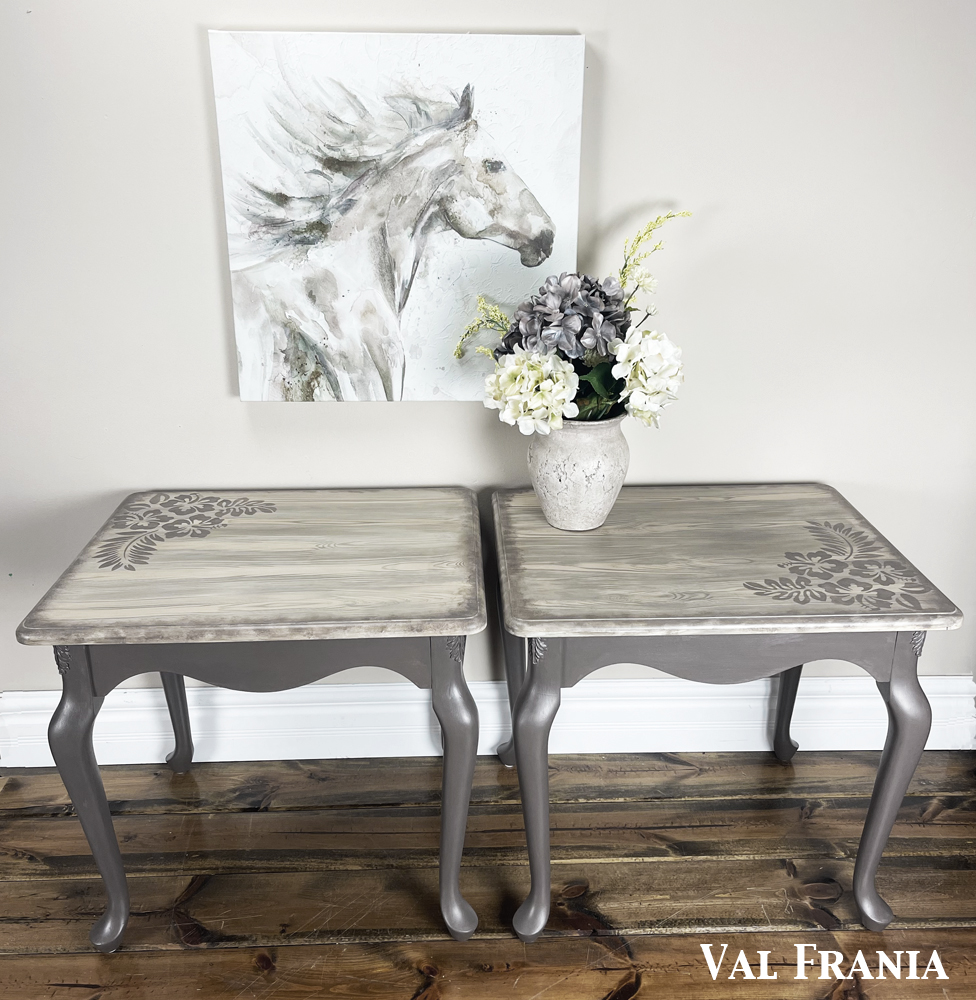
I elected to not accent the appliques, allowing them to show in a very subtle way. They are kinda like the little hidden surprise we sometimes include for the customer to discover. These little details support the main design without overshadowing it.

At our next meet-up we will work on different techniques and methods, use different products and experiment with different things. But no matter what we do, it will be fun and we'll make friends and/or solidify our friendships even more.
I'm shooting for July again - make plans now so you are ready to say, "Yes, I'll be there!" when we start making plans.
NOTE: To Tara, Lloyd & Lucretia...profits from this set once sold will be set aside to buy your dinner at our next meet-up!
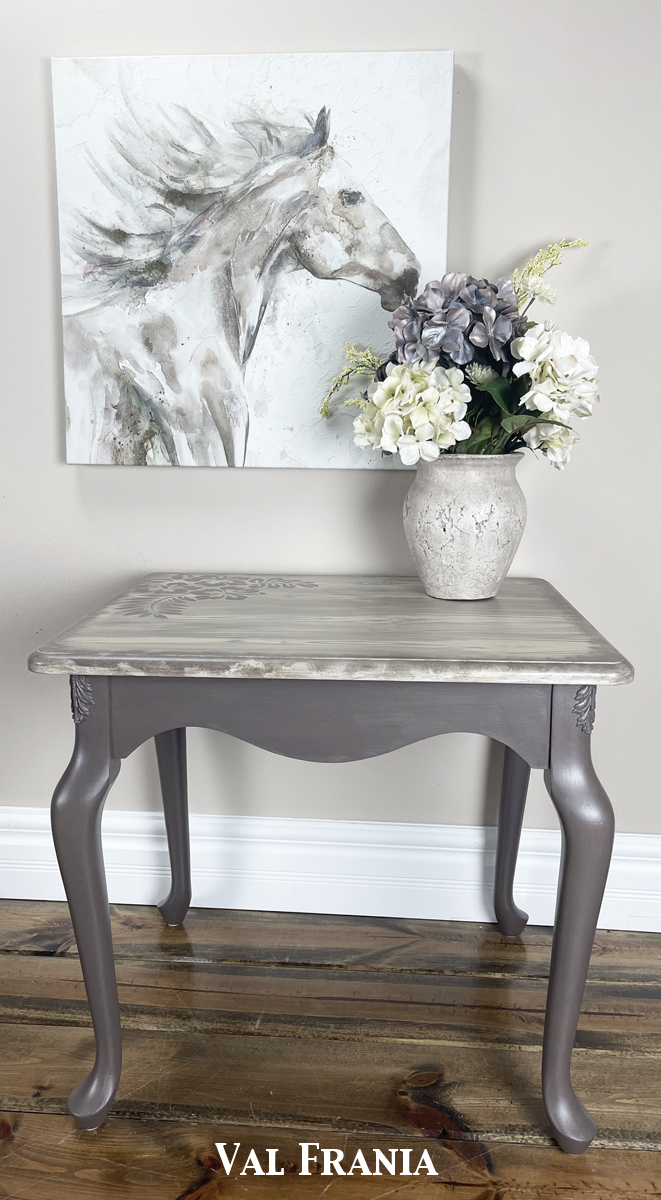

They turned out gorgeous! Kudos to all the FFB members that helped to create this gorgeous set!